How to Diagnose a Wobbly Wheel
You’ll start by measuring radial and lateral runout with a dial indicator on the rim, tread and sidewall. Record peak-to-peak values and compare them to OEM limits; prioritize on-car readings for alignment effect.
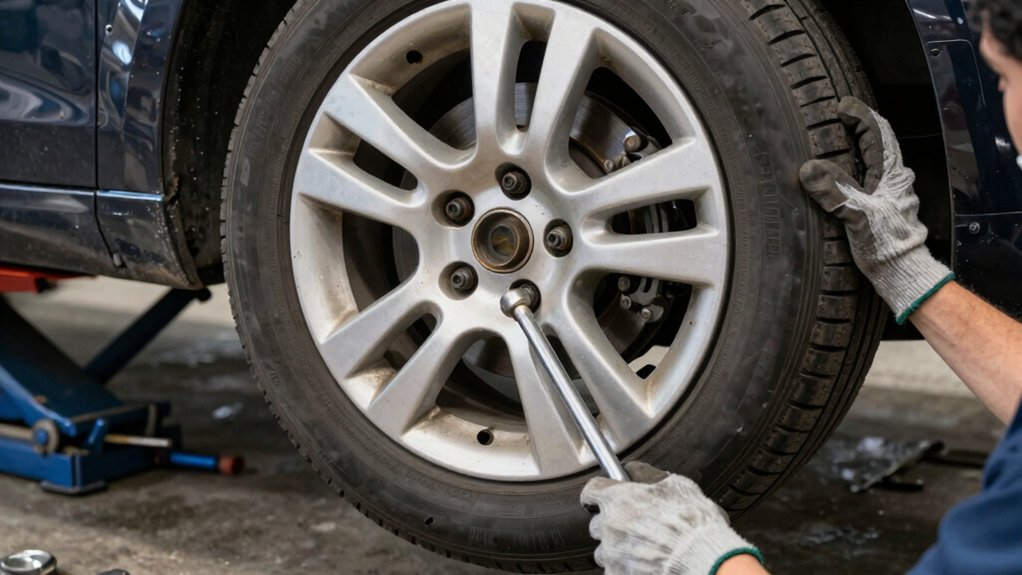
Check bead seating, lubricate and inflate to seating pressure. Then torque lug nuts in a star pattern with a calibrated wrench and recheck after 50–100 miles. If runout or torque varies beyond spec, inspect hub, studs and bearings and repeat corrective steps.
Keep going for full diagnostic steps.
Quick Overview
- Measure radial and lateral runout with a dial gauge on rim, tread, and sidewall; record peak-to-peak values.
- Compare on-car and off-car runout to OEM/industry limits and prioritize on-car readings for alignment impact.
- Attempt match-mounting or rotate wheel 90° or 180° and recheck runout before deciding repair or replace.
- Verify bead seating and wheel nut torque using a cross-pattern sequence, calibrated torque wrench, and recheck after 50 to 100 miles.
- Log all measurements, torque values, corrective actions, and repeat tests until runout and torque stabilize within spec.
Wheel Runout Chart
Wondering how much wobble is acceptable? You’ll use the wheel runout chart to decide repair vs replace. Measure radial and lateral runout with a dial gauge on rim, tread, and sidewall; record peak-to-peak.
Check assembly; then demount tire for rim-only verification. Compare readings to OEM and industry limits, noting tighter aluminum specs. If off-car and on-car differ, prioritize on-car for wheel alignment and steering behavior. Mark high/low (H/L) and attempt match-mount or rotate 90/180° before rejection. Document values and torque lugs to spec after corrective action.
Follow vehicle-specific limits: trucks and light-duty wheels have larger tolerances. Precision OE wheels use stricter thresholds.
| Spec Type | Typical Limit |
|---|---|
| Aluminum OE | 0.3 mm |
| Steel general | 0.6–1.5 mm |
| Truck wheels | 1.6–2.0 mm |
Max Allowable Lateral Runout
How much lateral runout can you accept before a wheel needs repair or replacement? You measure lateral runout to quantify wheel straightness. Exceeding limits causes steering pull, vibration, and accelerated wear. Follow this procedure to judge acceptability.
- Mount dial indicator against rim edge and rotate wheel slowly; record peak-to-peak lateral runout.
- Compare measured runout to manufacturer or industry limits (typically 0.010–0.030 in); use the tighter spec when available.
- If runout exceeds limit, attempt rim truing or wheel replacement; re-measure after any corrective action.
- Log values and repeat test after bearing, tie rod, or track bar repairs to confirm restored wheel straightness and safe operation.
Tire Bead Seating Torque
When you mount a tire, follow the manufacturer’s bead seating torque spec and a cross-pattern sequence to ensure even clamping. Use a calibrated torque wrench or a click-type gun set to the proper value; then recheck torque after the first 50–100 miles.
Under-torquing can allow movement and wobble. Over-torquing can warp the rim or damage studs.
Proper Torque Specifications
Why does correct bead seating torque matter? You must achieve specified bead seating torque to ensure the tire seats evenly on the rim. Inconsistent seating undermines wobble diagnosis and can mask wheel balance issues. Use the vehicle or wheel manufacturer’s torque spec for bead seating where provided, or follow tire-maker guidance for recommended incremental pressures and final torque on bead clamps.
Procedure: Inspect bead and rim for damage. Lubricate bead with approved agent. Inflate to seating pressure in a controlled environment. Then, apply torque to clamp or nut to spec using a calibrated torque wrench. Re-check torque after a short run-in (10 to 20 miles) and after any dismount or remount. Record values and note deviations from spec for corrective action.
Torque Sequence Importance
Ever thought about how the order you tighten bead clamps affects seating consistency? You’ll follow a defined torque sequence to seat the tire evenly and prevent eccentricity that shows as wobble.
Start at the valve stem, tighten to an initial low mounting torque in a star or crisscross pattern, then incrementally increase in consistent steps. Verify full bead contact before final torque. Use measured, repeatable increments and recheck torque after a short drive to account for seat settlement.
If you skip the sequence or apply uneven mounting torque, the bead can deform or trap air; this produces periodic runout. Document your sequence and values for each wheel so you can reproduce correct seating and isolate future wheel-related vibration causes.
Torque Tools Recommended
You’ve seen how a consistent torque sequence prevents bead eccentricity. Now pick tools that deliver repeatable, measurable torque for seating the bead. Use calibrated torque tool types: click-type torque wrenches for final seating, beam wrenches for low-cost checks, and calibrated electronic torque drivers where precision matters. Keep an impact wrench out of bead seating; its transient peaks can distort the bead.
Before use, verify torque wrench calibration against a certified master or send units to a lab on schedule. Record calibration dates and tolerances. When seating, apply torque in the prescribed sequence, pause between steps, and confirm readings on the tool display or click. Replace any torque tool that shows drift outside manufacturer spec.
Proper equipment and torque wrench calibration prevent mounting-induced wobble.
Rechecking After Mounting
When should you verify seating torque after mounting? Verify immediately after initial seating, then after a controlled cool-down and 50–100 miles of mixed driving. Rechecking after mounting prevents progressive loosening as the bead and hub surfaces conform.
Procedure: Park on level ground, torque lug nuts in the vehicle manufacturer’s star pattern to specified value, then mark fasteners and record torque values. After road break-in, retorque using the same pattern and compare to initial readings. If values differ >10%, inspect mating surfaces, studs, and hub runout.
Use a wheel runout chart to record lateral and radial measurements and correlate torque changes with runout readings. Document all steps and measurements; repeat until torque stabilizes within spec.
Effects Of Under/Over-Torque
Why does correct seating torque matter? You’ll prevent bead misalignment and unpredictable wheel behavior by applying specified torque during mounting. Use a calibrated torque wrench and follow manufacturer torque sequence to seat the bead evenly.
Under torque changes clamp load: under torque lets the rim shift, causing air leaks, eccentric seating, and wobble. Over torque can distort the rim, damage studs or the bead, and induce runout. Check torque effects immediately after initial seating and after a short road break-in; retorque to spec.
If you detect uneven seating or vibration, drop pressure, reseat the bead, and torque progressively in the prescribed pattern. Record final torque values and inspect for permanent rim or bead damage before returning the vehicle to service.
Frequently Asked Questions
Can a Bent Rim Be Safely Straightened at Home?
You can sometimes perform bent rim repair at home for minor bends, but you should be cautious.
First, remove the wheel and inspect for cracks or severe warping. Don’t attempt repairs if metal is cracked. Mount the wheel on a balancing stand or axle, apply gradual force with a rubber mallet and padded block opposite the bend, and recheck trueness and tire seal.
If uncertainty or persistent vibration exists, seek professional straightening.
How Long Can I Drive With a Worn Wheel Bearing?
You shouldn’t drive long with a worn wheel bearing; get it fixed ASAP. If you detect excessive play or gradual loosening, stop driving as soon as safely possible. Continued use risks sudden failure, wheel separation, brake damage, and loss of control.
Tow the vehicle or drive very short distances at low speed to a repair shop only if unavoidable. Inspect and replace the bearing promptly to restore safe steering and suspension function.
Will Wheel Alignment Fix Steering Pull and Wobble?
No, alignment alone won’t fix steering pull and wobble if worn components or bearings cause them. You’ll inspect suspension and tires first.
Discussion idea One Two: Check tie rods, ball joints, and track bar bushings for play.
Discussion idea Three Four: Verify wheel bearings and rim straightness; then correct tire balance and pressure. After replacing worn parts, perform a precise alignment and road test to confirm steering is centered and wobble eliminated.
Can Tire Balancing Cause Intermittent Vibration?
Yes, tire balancing can cause intermittent vibration. You’ll experience vibration that appears at certain speeds as wheel weights shift or detach, or when tire/tread wear creates dynamic imbalance.
Inspect wheel weights, re-balance tires on a spin balancer, and road-test at various speeds. If vibration repeats intermittently, check for bent rim, separated tire belt, or uneven wear patterns. Replace or repair components and re-balance to verify resolution.
Do Aftermarket Wheels Affect ABS Sensors?
Yes, aftermarket wheels can affect ABS sensors. You’ll check fitment and rotor clearance first; poorly seated wheels or wrong offset can rub tone rings or change sensor gap. You’ll inspect for metal debris, damaged sensor wiring, or altered wheel speed signal strength after installation.
If you see ABS warnings or intermittent braking modulation, you’ll swap to factory-compatible wheels or correct offset. You will also need to repair wiring and re-test sensor output with a scanner.
Conclusion
You’ve now got the measurements and procedures to diagnose and prevent a wobbly wheel. Use the wheel runout chart to compare readings against max allowable lateral runout, and seat the tire bead with correct torque.
Apply the proper torque sequence with a calibrated tool. Recheck after mounting, and correct any under- or over-torque immediately. Follow these steps consistently to guarantee safe, true wheel fitment and to eliminate vibration, uneven wear, and premature component failure.