How to Check Bike Part Compatibility Before You Buy (Full Guide)
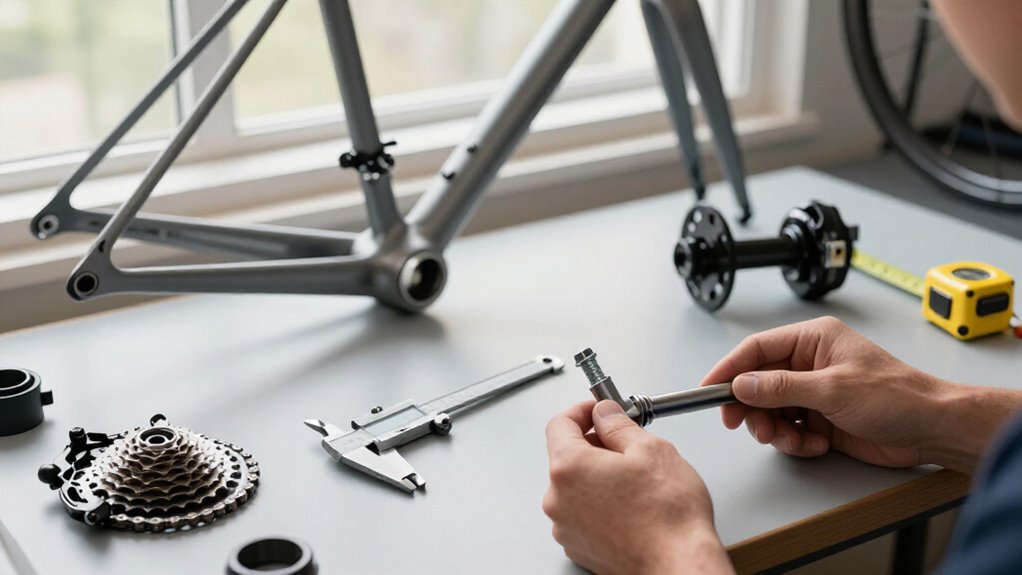
Before buying, identify your frame with its serial number and confirm OEM specifications.
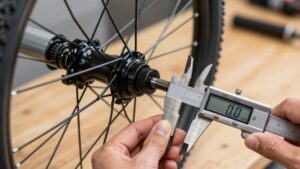
Measure axle diameter, spacing, length, end caps, rotor mount and diameter, and caliper mount.
Measure bottom-bracket shell width, thread or bore, plus steerer bearing-seat and clamp diameters.
Match the hanger’s OEM code, chainring interface, cassette speed, and freehub standard.
Install with specified torque, then test every gear, caliper alignment, and cables after a ride.
The steps below show how to verify every detail.
Confirm Axle and Brake Standards
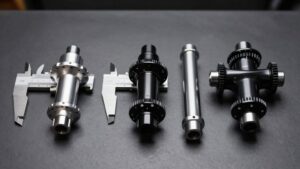
Start by identifying your wheel axle standard: quick-release (QR) or through-axle, then match the exact diameter, spacing, and axle length specified by your fork and frame. Measure: common combinations include 12×100 front, 12×142 rear, and Boost 15×110 or 12×148.
Confirm that end caps and through-axle thread engagement suit each dropout.
Next, inspect brake hardware. Determine whether your hub accepts a six-bolt or Center Lock rotor, then match rotor diameter—140, 160, 180, or 203 mm—to caliper and clearance limits. Check front and rear requirements. Identify flat-mount or post-mount calipers and use the size-specific adapter. Model-year configurations can differ, so verify the catalog specification.
Finally, test-fit the hub, rotor, and bracket for clearance and alignment; incorrect parts cause rotor rub, uneven pad wear, and weak braking.
Find Your Frame’s Serial Number
Your frame’s serial number opens the exact model, production year or batch, and manufacturer records needed to verify part standards, OEM replacements, recalls, warranty status, and theft registration. Use it to retrieve the brand’s technical documents and frame-specific fit notes before ordering components.
Stabilize the bike, then inspect marked areas with an LED light, soft rag, and phone camera:
- Road, gravel, and aluminum frames often carry a stamp beneath the frame, at a dropout, or along a chainstay.
- Carbon frames may hide a molded or printed code inside the seat tube, near bottle bosses, or at the head tube.
- E-bikes commonly place labels on the down tube, battery mount, or motor housing.
Clean gently; photograph it, transcribe every character, and save the image.
Step 1: Measure Your Bottom Bracket Shell
Measure the bottom bracket shell before choosing a crankset or bearings, since a few millimeters or the wrong interface can prevent proper installation. Use calipers or a steel ruler to measure the shell outside to outside. Record width: English-threaded shells measure 68 mm on road bikes or 73 mm on mountain bikes, but don’t assume this.
Next, identify the interface. For threaded shells, confirm BSA/English threads, typically 1.37 × 24 TPI, and measure thread diameter. This prevents accidentally ordering a press-fit unit.
On press-fit frames, measure the bore and identify its shell class; bearing housings use 41–46 mm bores. If you remove the existing bottom bracket, note OEM markings and cartridge or bearing dimensions. These verify spindle length; shell width and interface remain primary fit checks.
Step 2: Check Headset Steerer Diameter
Check the fork steerer diameter before buying a headset or stem, since the bearing seats and clamp interface must match the fork—not simply the bike’s make or model. Measure the steerer at bearing seats and at the stem-clamp area with digital calipers.
Many bikes use a 1-1/8-inch upper steerer, but don’t assume yours does. Determine whether the fork is straight or tapered: a common tapered arrangement uses a 1-1/8-inch upper and 1-1/2-inch lower section.
Your headset must support the upper and lower dimensions, as well as the frame’s headset format. Check fork or headset markings and the OEM part number against an exploded diagram. When using Bike Matrix or another database, enter the exact make, model, and year, then filter by headset/steerer diameter. Confirm ambiguous results by measuring again before ordering.
Step 3: Verify Derailleur Hanger Compatibility
Start with the exact OEM derailleur-hanger code or part number for your bike, because identical-looking frames can use different hangers across model years, production runs, and regional builds. Use your bike’s 17-character VIN to identify its production configuration, then compare the listing with an exploded parts diagram.
Don’t rely on silhouette alone: measure mounting-bolt locations center-to-center, bolt size, and the hanger’s offset and angle. If you’re changing derailleurs or brands, use a compatibility tool limited to confirmed fits for your selected bike. Cross-check a retailer catalog or technical drawing, and confirm return terms; mid-cycle changes occasionally occur.
A mismatched hanger can place the derailleur incorrectly, causing unreliable indexing, noise, or drivetrain damage, even when the replacement appears nearly identical beside the original part visually.
Step 4: Match Chainring Bolt Pattern
Match the chainring to the crank’s exact mounting interface—not merely the bike brand or chainring tooth count. Count the crank’s bolt holes, then verify its bolt circle diameter (BCD). A five-bolt compact road crank commonly uses 110 BCD, while other cranksets may use four-bolt, 104, 64, or 74 BCD layouts. Similar-looking patterns aren’t interchangeable.
Also establish whether your crank uses a bolt-on ring or a direct-mount interface. Direct-mount systems require the manufacturer-specific fitting profile, even when another ring appears to have a similar shape. Find the crank’s OEM part number on its arm or in the manufacturer’s documentation, and use it to identify rings.
If specifications remain unclear, measure the bolt circle with calipers or compare a crank photo against the seller’s fitment diagram.
Step 5: Confirm Cassette Speed Compatibility
After confirming the chainring interface, verify that the new cassette uses the same speed system as your shifters, derailleur, chain, and freehub. Count the sprockets on your current cassette and match its 8-, 9-, 10-, 11-, or 12-speed designation to the replacement. Speed determines cog spacing and chain width, so a mismatch may prevent installation or accurate indexed shifting.
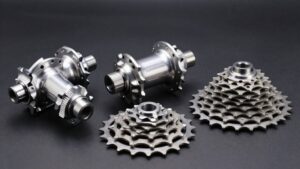
Next, identify the cassette and freehub family. Shimano-style, SRAM HG, Microspline, XD, and XDR interfaces use different spline profiles, cassette positions, and supported speed ranges; similar-looking parts aren’t necessarily interchangeable. Don’t rely on the bike’s model name alone.
Check cassette markings, freehub details, hub or freehub part numbers, and retailer fitment notes against the manufacturer’s catalogue. Confirm listed cassette speed and freehub compatibility before ordering.
Step 6: Torque Bolts to Specification
Why does torque matter when fitting a new bike part? Correct clamping force keeps the part secure without crushing components, stripping threads, or stretching fasteners. Find the value in your bike service manual or the component maker’s official instructions; don’t estimate from feel.
Use a calibrated torque wrench, set precisely to the specified Nm value. Prepare threads exactly as directed: clean and dry unless the manufacturer specifies grease, assembly paste, or threadlocker, since lubrication changes clamping force.
Tighten multi-bolt interfaces, including stem faceplates and brake calipers, in the prescribed sequence and pattern to distribute load evenly. If a bolt is torque-to-yield or marked replace after removal, install a new one and follow its torque-plus-angle procedure. Finally, re-check safety-critical fasteners at the manufacturer’s post-installation interval.
Test Shifting Through All Gears
Before fitting a shifting-related component, place the bike in a trainer or stable work stand and run the drivetrain through every gear. Pedal at a cadence, then shift up the cassette from the smallest sprocket to the largest. Each lever click should produce one clean shift without skipping, hesitation, or a second movement.
Shift back down from large to small cogs and listen for ticking, delayed engagement, or ghost shifting. Watch the rear derailleur: its jockey wheel should track smoothly beneath each sprocket, while the chain remains centered rather than rubbing or overshooting. With electronic shifting, command every gear and confirm that it selects each cog once, without error messages or repeated attempts. Complete this sweep before installation; misindexing accelerates chain and cassette wear.
Rotor Rub: Align Caliper
If a disc brake rubs after you install a wheel or rotor, first determine whether the caliper sits off-center or the rotor itself runs laterally out of true. Spin the wheel and watch the gap: contact at one rotor position indicates lateral rotor runout; continuous contact suggests caliper misalignment. Before adjustment, confirm the hub and rotor use matching CenterLock or 6-bolt interfaces, correct offset, clean mating faces, and specified spacers. Re-seat the rotor if needed.
| Check | What you see | Action |
|---|---|---|
| Spin | Rub stays fixed | Align caliper |
| Spin | Rub follows wobble | True rotor |
| Mount | Uneven pad gap | Loosen bolts |
| Hub | Dirty interface | Re-seat rotor |
Loosen mounting bolts, squeeze the lever, and retighten them to manufacturer torque. Spin again; pads should clear evenly without lever drag.
Inspect Cables After First Ride
After the first ride, inspect every cable and housing run, especially at handlebar bends and frame-entry points, for fraying, kinks, crushing, or sharp routing. Check that each brake and shift lever returns fully without hesitation. A slow or incomplete return usually means the housing binds, the bend radius is too tight, or the cable length is wrong.
Squeeze each brake and confirm pad clearance, cable tension, and lever travel match your pre-ride setup; excess slack or an overly long pull can reveal incorrect fitment. Then shift through every gear under load. Each click should produce one clean shift, without skipping, noise, or ghost shifts.
Finally, re-tension cables after several miles. New cables and ferrules can seat, altering free play and indexing despite compatibility.
Conclusion
Before you order, confirm every interface against your bike’s actual measurements, not product photos or assumptions. Check axle, brake, bottom bracket, headset, and hanger standards; record the frame serial number; and compare manufacturer specifications.
Install components with calibrated torque, then test shifting, brake alignment, and cable condition during and after the first ride. If any dimension, thread, or mounting standard remains uncertain, stop and verify it with the manufacturer or a qualified mechanic before riding.