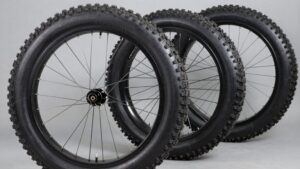
Freehub Body Types Explained: Match Your Hub to Your Cassette
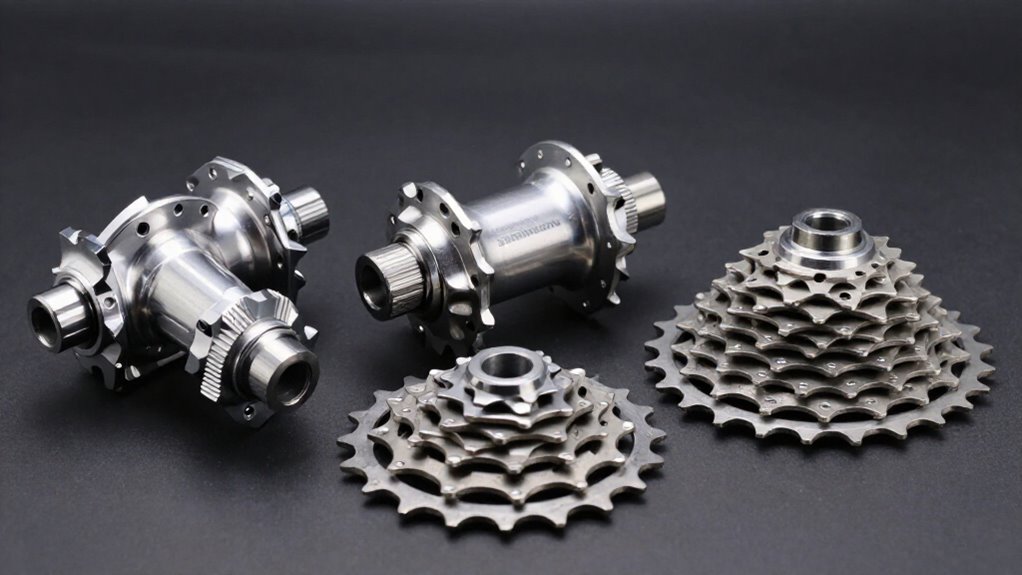
Match your cassette to the freehub’s spline standard, keyed slot, and body length, not merely its speed count. Shimano HG uses nine splines and a wide keyway; MicroSpline has 23 and won’t interchange. Confirm a take-off wheel has a cassette driver, then check lockring engagement and required spacers.
Correct end caps, axle hardware, and bearing preload keep cassette alignment intact.
Rotor mounting doesn’t identify driver.
Next, you’ll see how ratchet designs and trainers affect overall compatibility.
Spline Pattern Determines Cassette Fit
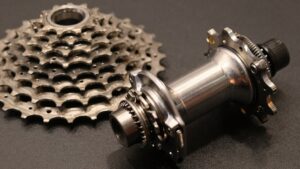
A cassette must align with both the freehub’s external spline pattern, including its keyed wide slot, and the body length available behind it. Before buying, identify the driver’s spline family rather than relying on brand alone. Standard Shimano HG uses nine splines with one wider keyway, so its cassette must line up with that slot. The keyway establishes orientation and prevents an incompatible carrier from seating.
MicroSpline uses 23 splines and isn’t interchangeable with HG. SRAM PG 8–10 cassettes built for Shimano-style HG drivers generally slide on without a spline adapter. Check the cassette specification and hub documentation before installation; a cassette that won’t fully engage the splines shouldn’t be forced, because it can damage the driver or cassette. Proper engagement ensures the lockring can clamp the cassette.
Driver Length Affects Smallest Cog
Even after the cassette matches the driver’s spline pattern, the driver’s axial length must also match the cassette stack. Axial length is the distance from the hub shoulder to the end of the splined section. It determines whether the cassette clears the shoulder and whether its lockring can clamp the stack securely.
A correct spline fit doesn’t guarantee this. If the driver is too short, the cassette can bottom against the shoulder before the lockring fully engages. Don’t add a spacer to solve that problem: spacers take up excess length on an overly long driver.
For smaller 10-tooth cogs, you generally need a purpose-designed XD, XDR, or Micro Spline driver, not merely a longer HG body. Check your hub’s specified driver length and cassette requirements.
Checking a Take-Off Wheel
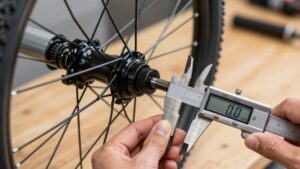
Start by confirming that the take-off rear wheel uses a cassette freehub, not a threaded freewheel: when you back-spin the wheel, a cassette/freehub assembly turns with the hub shell, while a freewheel’s sprocket body remains still. Remove the cassette and lockring, then count splines and find the single wider keyed slot. A 13-spline HG body generally accepts 11T minimum cogs. Measure body length: differences between HG and HG 11 can require roughly a 1.85 mm spacer. Don’t assume newer patterns interchange.
| Check | What you find | Fit implication |
|---|---|---|
| HG | 13-spline, wide key | 11T minimum |
| MicroSpline/MS | 23-spline, shorter driver | Not HG-compatible |
| Marking | MS or road driver | Verify specification |
Compare manufacturer documentation before you buy a cassette or replacement driver to ensure correct fit on this wheel.
Pawl and Ratchet Freehubs
When you pedal, a pawl freehub uses sprung pawls to catch a toothed drive ring, while a ratchet system locks paired toothed rings together. You’ll typically get broad, distributed engagement from a ratchet design and simpler, serviceable internals from a pawl design.
Compare their points of engagement, since more points reduce the crank rotation before the hub drives.
Pawl Freehub Mechanisms
A pawl freehub transfers pedalling torque through several spring-loaded pawls that bite into a toothed drive ring inside the hub. When you coast, the pawls slide over its teeth instead of locking the wheel; that movement creates the familiar clicking sound. Most designs use two to six pawls. More pawls can provide more engagement points and reduce the angle before drive takes up.
| Feature | What you notice | Practical implication |
|---|---|---|
| Pawls | Two to six sprung catches | They engage at discrete positions. |
| Offset timing | Alternating pawl contact | It can speed take-up and increase suspension kickback. |
To estimate response, divide 360 degrees by the engagement points reached in one wheel turn. Inspect pawls and springs during service; contamination or wear can delay engagement and cause unreliable drive.
Ratchet Freehub Mechanisms
Unlike pawl systems, ratchet freehubs transmit torque through two concentric toothed rings that large springs press together. One ring sits in the hub shell; the other is carried by the freehub assembly. When you pedal, opposing tooth faces mesh and transfer force from the cassette to the hub. When you coast, the rings separate slightly and slide across their teeth, allowing the wheel to turn without driving the cranks.
The ring-shaped interface distributes drive contact around its circumference. Manufacturers specify engagement points, such as 18, 36, 54, 45, or 72. Divide 360 degrees by that number to determine angular spacing: a 72-point ratchet has 5-degree intervals. For service, remove old grease and contamination, then use the lubricant and springs specified by the hub manufacturer.
Key Performance Differences
Pawl and ratchet freehubs differ most in how they engage, distribute pedaling torque, and feel during coasting. In a pawl hub, several spring-loaded levers bite a drive ring when you pedal. They release and slide across its teeth when you coast, producing clicking.
Because engagement occurs at discrete positions, you’ll feel some crank rotation before drive begins.
A ratchet hub presses two internally toothed rings together with large springs. This spreads torque around the ring rather than concentrating it at individual pawl contacts. Ratchet systems often provide more engagement points: 18, 54, 45, or 72 are common examples. Take-up angle equals 360 degrees divided by engagement points, so higher counts reduce pedal pickup. Both coast freely, but geometry changes sound, bite, and distinct feedback.
Axle End Caps Affect Fit
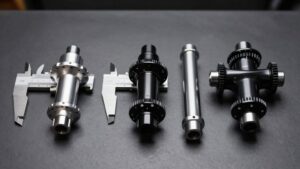
End caps must match your hub’s axle standard, including QR or thru-axle diameter and dropout interface. You can’t assume a freehub-body swap converts the hub to another axle system, because cap height and axle dimensions set wheel position and cassette alignment.
If the cassette sits too far inboard or outboard, verify the specified end-cap set and any hub spacers before diagnosing a driver mismatch.
End Cap Standards
Check the axle end caps as carefully as the freehub body: they locate and center the hub in the frame, so their length, offset, and interface affect effective dropout spacing, chainline, and derailleur indexing.
Don’t assume a cap that fits the axle belongs to your hub: manufacturers often use proprietary or generation-specific cap profiles. An incorrect cap can move the wheel laterally, alter the cassette’s position relative to the derailleur, and create shifting errors that mimic cable misadjustment.
Match the specified cap length, shoulder depth, thread form, and offset to the hub model and axle hardware. Hardware for quick-release and thru-axle versions isn’t automatically interchangeable. Before buying a driver, consult the hub manual and verify the complete axle-end assembly, not just axle size alone.
Axle Diameter Compatibility
Axle diameter compatibility depends on the hub’s axle and end-cap system, not the freehub body alone. You must match the wheel’s axle standard and end caps to your frame’s dropout interfaces. A hub family may use the same freehub while offering QR, 12×100, or 12×142 axle configurations.
If the caps don’t match, the axle may not clamp the wheel securely or establish its specified spacing. On a thru-axle hub, end caps determine overall axle length and position the wheel between the dropouts. Incorrect caps can shift the wheel laterally, misalign the cassette with the chain and derailleur, and degrade shifting.
Before buying parts, identify your axle diameter and dropout standard, then verify that the wheel includes compatible end caps. Confirm axle seating before installation.
Hub Conversion Limits
Freehub conversions have bounds beyond spline compatibility: axle end caps set the wheel’s effective width and its centered position in the frame. A driver swap can still misplace the rear wheel if you install caps with the wrong thickness or from another hub generation. The cassette may then sit too far left or right, altering chainline and causing frame, derailleur, or chain rub. Correct splines don’t ensure clearance.
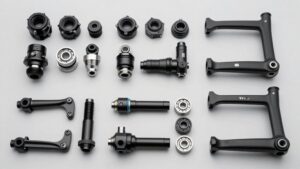
After any freehub-body conversion, confirm the specified end-cap pair and check that bearing preload and spacer stacks remain correct. Measure wheel dish or cassette centerline before and after the change.
If you move between hub families or cap styles, inspect cassette overhang, derailleur alignment, and lockring clearance before riding. Don’t assume a cassette fit ensures wheel fit.
Choosing a Trainer Cassette
Choosing a trainer cassette starts with identifying your bike’s cassette speed and driver standard: Shimano HG, Micro Spline, SRAM XD/XDR, or Campagnolo, because the cassette must match the trainer’s freehub body. Then confirm the trainer’s specific driver and cassette stack requirements before ordering. Shimano HG isn’t one universal fit: original/mountain-type bodies suit 7-, 8-, and 9-speed cassettes, plus often 10- or 11-speed MTB cassettes with an 11T-or-larger smallest sprocket.
For an HG 11 trainer body, Shimano/SRAM 11-speed cassettes generally fit, but install the specified 1.85 mm spacer when needed, especially with HG Mountain options. Check road versus MTB specifications; road 11-speed fit can be more restrictive. SRAM PG cassettes require the applicable XD or XDR rules, determined by smallest cog and any required 1.85 mm spacer.
Some Hubs Have Fixed Drivers
Not every rear hub accepts an interchangeable freehub body: some use a fixed driver with an integrated pawl or ratchet mechanism. With this construction, you can’t simply replace the driver to change cassette families.
The hub was built around a specific cassette/freehub interface, and its internal engagement parts may be proprietary.
Don’t assume matching external splines prove compatibility. A similar-looking component can use a different pawl or ratchet interface and won’t seat or lock correctly. Campagnolo illustrates this principle: its driver must match its cassette design, rather than a cross-brand substitute. Check the hub’s service documentation for a replaceable freehub-body interface. If documentation supports only the complete hub assembly, treat it as fixed. Changing among HG, Micro Spline, or road/MTB systems may require hub replacement.
Rotor Mount ≠ Driver Standard
A wheel’s rotor mount tells you only how its disc rotor attaches; it doesn’t identify the cassette driver. Rotor interfaces describe braking hardware, while cassette fit depends on the rear hub’s freehub body, its splines, length, and internal engagement design.
- Treat rotor mount and driver choice as separate specifications.
- Identify the rear hub or wheel model before buying a cassette or replacement driver.
- Match the required family: Shimano HG, HG 11, MicroSpline, or EV Road.
- Verify spline geometry and effective body length; HG 11 adds 1.85 mm for 11-speed road cassettes.
Two wheels can share a rotor mount yet use incompatible drivers, particularly where brands use proprietary engagement geometry. Confirm hub model in manufacturer documentation before purchase; don’t assume the cassette will seat correctly.
Read the Cassette Lockring Marking
After you identify the rear hub independently of its rotor mount, read the cassette lockring marking for a fast compatibility clue. Markings often name HG, HG 11, MS/MicroSpline, or XD/XDR/PG, so they narrow the driver family before you remove parts.
| Lockring marking | What you check |
|---|---|
| HG 11 | HG 11 length; 1.85 mm difference |
| MS, XD/XDR, PG | MicroSpline, SRAM, or HG driver |
Treat the text as a screening tool, not proof. An HG 11 lockring points to the 1.85 mm longer road-11 body; it doesn’t make a standard HG body longer. An MS marking excludes older HG. For SRAM, distinguish XD or XDR from HG-compatible PG applications. Finally, carefully compare cassette fitment with hub documentation and install 1.85 mm or 1.0 mm spacer before tightening.
Conclusion
Match your cassette to the freehub’s spline pattern, driver length, and smallest-cog requirement before you buy parts. Check take-off wheels carefully: end caps, axle standards, rotor mounts, and cassette fit are separate compatibility issues.
Read the lockring marking and identify the actual driver, whether it uses pawls, a ratchet ring, or a fixed design. For a trainer, use a cassette that matches both your hub driver and drivetrain speed. Don’t assume appearances guarantee compatibility.