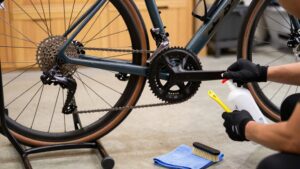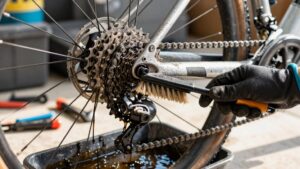
The Ultimate Drivetrain Cleaning Kit Checklist
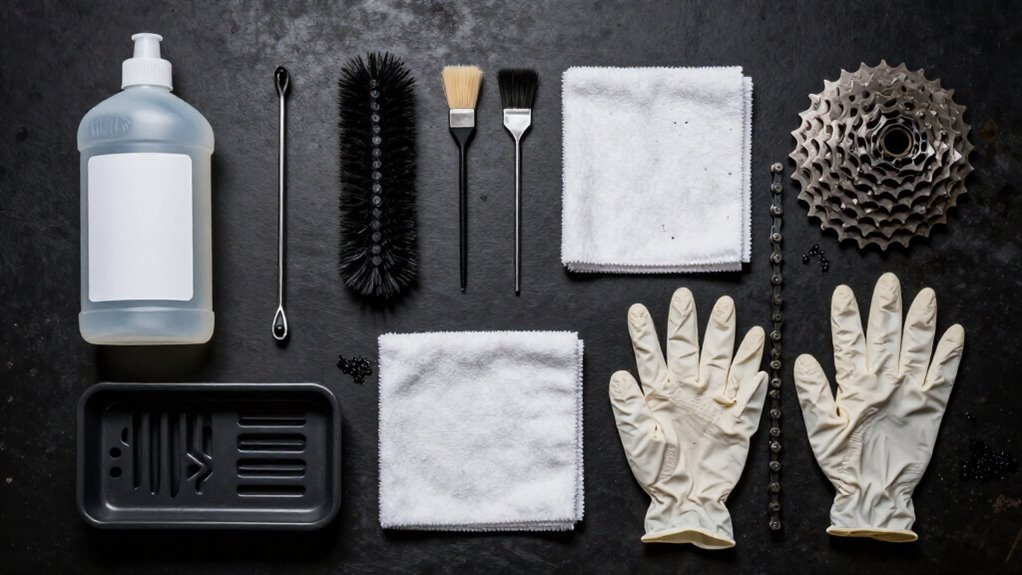
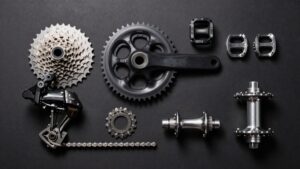
Build your kit around a biodegradable, water-based or solvent degreaser matched to soil level, a dedicated stiff drivetrain brush, nylon claw brush, microfiber rags, gloves, eye protection, and chain-wear gauge. Add dry-wax lube for light, dry conditions or wet lube for heavy oil and wet rides.
Shield rotors, pads, and rim tracks from cleaner, collect runoff, dry the chain fully, then use one lube drop per roller. The checklist below helps you protect drivetrain components.
Chain Degreaser Application Order
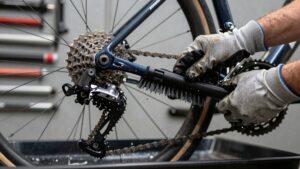
Start with a dry or lightly rinsed drivetrain, then apply biodegradable chain degreaser directly to the chain and cassette. Let it dwell for a few minutes, following the product label, so it can penetrate and lift built-up grease. Keep the work area ventilated, wear gloves and eye protection, and prevent runoff into drains.
After the dwell time, use a stiff drivetrain brush to agitate the chain links and cassette teeth from top to bottom. This order dislodges grime instead of smearing it. If you use a compatible chain-cleaning tool, fill it with the approved degreaser and run the chain through it. Rinse or wipe away dissolved residue with clean water or a damp sponge, then dry every drivetrain surface completely before lubing the chain.
Degreaser, Brush, and Lube Matrix
Choose degreaser, brush, and lubricant as a matched system: the cleaner must remove the existing soil without harming drivetrain materials, the brush must provide the needed agitation, and the lube must suit your riding conditions.
| Soil | Cleaner brush | Lube |
|---|---|---|
| Light oil | Citrus, natural fiber | Dry-wax |
| Heavy oil | Solvent, nylon | Wet |
Match solvent action to heavy grease after checking paint, rubber, plastics, and its SDS. Wear gloves and eye protection, ventilate, and keep low-flash-point products from ignition. Use natural fiber on finishes; choose nylon for compacted grit. Let cleaner dwell as directed, agitate, rinse when required, dry completely, then apply one drop to each roller. Wipe outer plates so excess lubricant doesn’t attract abrasive dirt.
Collect spent cleaner and oily runoff for disposal under local rules.
Water-Based Degreaser Defined
A water-based drivetrain degreaser uses water-friendly surfactants to loosen and lift chain grease without relying on harsh solvent-heavy formulas. You’ll usually find it as a ready-to-use spray or a concentrate. Apply it evenly, let it dwell as directed, then use brush or sponge agitation to release embedded grime. Thick foaming and clinging formulas keep the cleaner on chains, cassettes, and chainrings long enough to work efficiently.
Choose a drivetrain-specific biodegradable product when compatibility and lower odour matter; some are safe for rubber, plastic, and anodised metal. Don’t expect every surface to look spotless after one application. Rinse, inspect metal before repeating treatment.
Biodegradable doesn’t mean risk-free: wear gloves and eye protection, avoid inhaling mist, and prevent cleaner from entering drains or waterways.
Chain Wear Measurement Thresholds
After cleaning and lubricating the chain, use a wear gauge to measure elongation accurately. Replace most 10–12-speed road chains at about 0.5% wear, and check mountain-bike chains more often because mud and grit accelerate abrasion.
When your gauge reaches the replacement threshold, inspect cassette and chainring teeth for hooking so you can prevent skipping and further drivetrain damage.
Understanding Chain Wear Percentages
Because chain wear changes the chain’s effective pitch, a wear gauge helps you replace it before it damages the cassette and chainrings. A percentage reading describes elongation across a defined chain span, often 24 links, rather than a literal increase in plate length.
After cleaning and drying the chain, place the gauge squarely, without forcing it between rollers. Check several locations, including upper and lower runs, since wear can vary. A larger reading means roller-to-pin clearance has altered pitch, so sprocket engagement grows less accurate.
Near one percent, the chain may ride up or skip under load. Record readings and inspect drivetrain parts before riding hard. Use steady hand pressure only; forcing a gauge can produce a misleading result or damage a delicate tool. If readings differ, base your maintenance decision on the highest confirmed measurement and recheck after wiping away any remaining grit first.
Common Replacement Thresholds
Use the gauge reading—not mileage alone—to decide when to replace a chain. Plan early replacement at 0.5% elongation, especially on 10–12-speed drivetrains, to protect cassette cogs and chainrings. Treat 0.75% as an urgent limit: continued riding beyond it increases the likelihood of mis-shifts, skipping under load, and accelerated tooth wear.
As a cross-check, confirm that the gauge drops consistently into its marked worn position at the specified points. Don’t assume a thorough degreasing fixes elongation; cleaning may restore smooth running, but it can’t reverse wear. Many riders reach these limits around 1,000–2,000 miles (1,600–3,200 km) in mixed conditions, yet contamination, lubrication, and riding conditions vary.
After installing a replacement chain, inspect performance again within several rides, particularly after a neglected, dirty drivetrain.
Measuring Road Bike Chains
Measure chain wear with a dedicated chain-wear gauge on a straight, tensioned section of your road bike chain. After cleaning and lubricating, let it dry briefly so residue doesn’t prevent the gauge from seating accurately on the rollers. Check at least two locations, preferably three, around the chain’s circumference; wear can vary between sections.
Insert the gauge without forcing it, then note which 0.5%, 0.75%, or 1.0% mark drops fully into place. Replace at about 0.5% for maximum cassette protection, or near 0.75% as a practical service threshold. Don’t wait past 1.0%: elongation can reshape sprocket and chainring tooth profiles and worsen shifting. Record the result and mileage, then inspect drivetrain parts if you notice skipping, rough shifting, or hooked teeth during routine maintenance.
Measuring Mountain Bike Chains
A chain-wear gauge gives you a quick, reliable reading of elongation on a mountain bike chain, where mud, grit, and high-load climbing can accelerate wear. Place the gauge on a clean, dry chain and check pin spacing across 12 full links (24 half-links). A 0.5% reading, roughly 0.5 mm over 12 inches, signals developing wear.
Clean and lubricate the chain promptly, then monitor it often.
Don’t judge condition by smooth pedaling alone. Elongation creates pitch errors that can cause skipping under load. Record each measurement and compare it with your chain maker’s limit.
Plan replacement when readings approach that limit; many manufacturers specify about 1.0%, or 1.0 mm over 12 inches. Measure after cleaning, with bike stable, and keep fingers clear of moving cranks.
Protecting Cassette And Chainrings
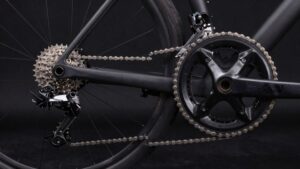
Chain-wear readings help you protect the more expensive cassette and chainrings before worn rollers and pins reshape their tooth profiles. Clean these parts regularly: grit-packed grease acts as an abrasive and speeds drivetrain wear. After cleaning and drying the chain, check it with a wear gauge; contamination can hide elongation.
Treat 0.5% wear—about 1 mm over 100 mm—as your replace-soon signal. At roughly 0.75%, or 1.5 mm over 100 mm, replace the chain promptly. Beyond that point, cassette teeth wear faster and shifting may deteriorate.
If the measurement reveals heavy buildup, clean the cassette and chainrings again before fitting the new chain. Lubricate only the chain rollers afterward. Don’t coat sprockets or chainring teeth, since excess lube traps grit in gaps and accelerates wear.
Choose Lube for Conditions
Choose chain lube for the conditions you actually ride: use an all-weather, water-resistant formula for wet or muddy routes, and a dry-style lube for dusty conditions to limit dirt buildup. For wet rides, select a water-and-wax formula that penetrates first and then sets into a dry lubricating layer. It resists water and grime ingress better than heavier oils.
After using degreaser or chain cleaner, disperse all water residue and let the chain dry completely before lubricating; otherwise, grime remixes faster. Apply cleaner with a precise stream, not a wide fan, to avoid waste. Once the chain is dry, lubricate promptly so it isn’t left unprotected.
Agitate degreaser on the cassette and chainrings to lift grease, then let condition-matched lube keep your drivetrain cleaner longer.
Keep Degreaser Off Rotors
Protect the braking surfaces while you degrease the drivetrain: keep solvent off disc rotors, pads, and rim-brake tracks, since even small amounts of contamination can reduce stopping power.
Use a fan or shielded brush to direct cleaner onto the chain, cassette, and derailleur; don’t spray toward either rotor. During rinsing, use fresh, clean water and wipe around each rotor carefully, preventing loosened residue from reaching its braking surface.
If degreaser splashes a rotor, stop and clean it immediately with brake-safe cleaner or isopropyl alcohol. Let it dry completely before you ride. Then spin each wheel and test the brakes gently in a safe area. If braking feels weak, noisy, or inconsistent, don’t ride until you remove contamination and restore reliable stopping performance with confidence.
Mud-Caked Mountain Bike Cleanup
When a mountain bike comes home caked in mud, rinse away loose debris first with low-pressure water. Keep the spray away from suspension pivots, the bottom bracket, and headset, so you don’t drive grit into bearings.
Liberally soak the drivetrain with biodegradable cleaner. Let it work, then agitate cassette cogs and the derailleur jockey area with a stiff drivetrain brush. Use its scraper on packed mud.
If you choose foaming degreaser, apply a controlled coat: it clings well but may expand, drip, and require a second application.
Rinse or wipe the drivetrain clean, then dry it thoroughly with a lint-free towel. Apply all-weather bike lube to the chain before riding; wipe excess from its outer plates to limit dirt re-adhesion and corrosion in storage.
Avoid Cross-Contaminating Cleaning Brushes
Thorough drying and lubrication finish the mud cleanup, but clean tools matter just as much for the next task. Keep greasy and clean brushes separate so you don’t transfer residue onto finished surfaces or brake components.
- Reserve a dedicated stiff drivetrain brush for the chain, cassette, and derailleurs; never dip it into frame or wheel-cleaner baths.
- If you use a claw brush, keep its nylon bristles and scraper on greasy components only.
- Keep degreaser-soaked tools away from disc-brake areas; residues can later foul braking surfaces.
- Color-code brushes or store them in separate compartments, then wipe or rinse each tool thoroughly before reuse.
Replace disposable brushes when grime remains embedded, and handle solvent-wet tools with gloves and eye protection at all.
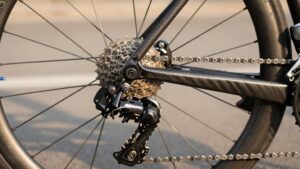
Cassette Tooth Wear Inspection
A clean cassette lets you judge tooth wear accurately: inspect the most-used cogs for hooked, “shark-fin” teeth instead of their normal smooth, rounded profiles. Use dedicated drivetrain cleaner first, but keep it off brake pads and discs. Then work methodically:
- Compare tooth angles across every cog; outer cogs often wear fastest.
- Measure chain elongation with a chain-check tool. A stretched chain accelerates cassette wear and harms shifting.
- If you feel skipping under load or see hooked teeth, remove the cassette and check each wear pattern.
- Replace a visibly worn cassette with a new chain; replacing only the chain won’t restore durable shifting.
Wear that differs sharply, or worsens quickly between cogs, signals advanced damage. Wear gloves and eye protection while cleaning. Dry thoroughly.
Conclusion
With the right kit and sequence, you’ll clean your drivetrain efficiently without compromising braking or component life. Apply water-based degreaser carefully, use dedicated brushes, and keep all chemicals off rotors. Measure chain wear before it damages the cassette, inspect teeth for hooking, and match lube to current conditions.
After muddy rides, remove debris methodically, dry every part, and lubricate sparingly. You’ll protect shifting performance, reduce wear, and ride with confidence for safer, smoother miles ahead.