How to Use Cadence and Heart Rate Together
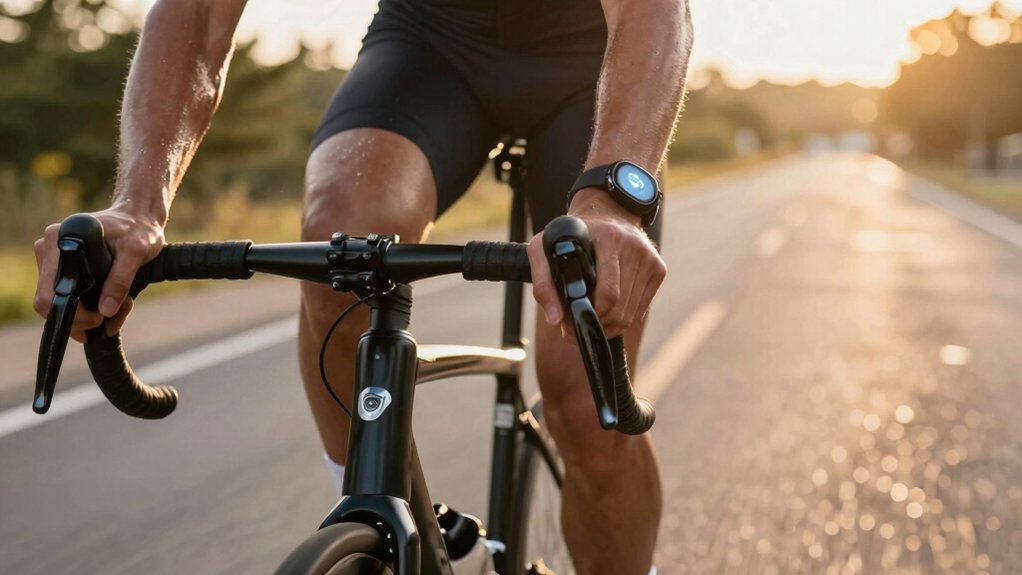
Use cadence to steer whether a given power stresses your heart or your legs: higher cadences (100+ rpm) raise HR and VO2 by ~3–15% at the same power, while lower cadences shift load to musculature.
Target cadence ranges with matching HR zones (60–75 rpm → zone 1–2; 75–90 → zone 2–3; 90–100 → zone 3–4) and prioritize power for load tracking.
Calibrate sensors, sync clocks, and establish baselines so heart-rate responses map reliably to cadence.
More practical setup and tuning tips follow.
Quick Overview
- Use cadence to shape cardiac vs muscular stress: prioritize power; then adjust cadence to increase or reduce heart-rate response.
- Map cadences to HR zones: 60–75 rpm → zone1–2, 75–90 rpm → zone2–3, 90–100 rpm → zone3–4, 100+ rpm → zone4–5.
- Calibrate sensors and time-sync devices with a 30–60s steady-pace test to ensure aligned cadence and HR data.
- If HR drifts above target during high cadence, reduce power or lower cadence until heart rate stabilizes.
- Log calibration, placement, and initial HR spikes. Expect adaptation over weeks; recheck if readings fluctuate >2–3%.
Cadence Vs Heart-Rate Zones
How should you use cadence alongside heart-rate zones during training? You’ll use cadence interpretation to predict cardiac load: higher cadences raise heart rate and VO₂ at the same power, so expect 3–15% HR increases. Use heart rate perception to adjust pace. If HR drifts above zone during high cadence, back off power or lower cadence until HR stabilizes.
Track adaptation: initial HR spikes last weeks; then they subside. Prioritize power for objective load, but use cadence to shape cardiovascular vs muscular stress. Example quick reference:
| Cadence | Expected HR change | Practical action |
|---|---|---|
| Low (60–80) | Lower HR, higher muscle load | Build strength, longer intervals |
| High (100+) | Higher HR, lower muscle strain | Neuromuscular work, short efforts |
Cadence/HR Target Table
Now that you know how cadence influences heart rate and How to use cadence to predict cardiac load, you’ll want a simple target table to guide session planning and on-bike decisions. Use a compact Cadence/HR Target Table that links rpm ranges to expected Heart Rate Zones for cadence optimization and reliable heart rate prediction. Apply it to set cadence prescriptions, manage cardiovascular load, and choose when to prioritize muscular vs. cardiac stress.
- Low effort: 60–75 rpm → HR zone 1–2 (recovery, low VO₂)
- Endurance: 75–90 rpm → HR zone 2–3 (steady aerobic)
- Tempo: 90–100 rpm → HR zone 3–4 (increased cardiac strain)
- High cadence reps: 100+ rpm → HR zone 4–5 (cardio-dominant intervals)
Sensor Calibration Procedure
Before you start a session, check sensor placement and cadence magnet alignment to guarantee consistent signal quality and avoid spurious heart-rate or RPM readings.
Sync device time and run the firmware calibration routine. Then, record a short baseline heart-rate while seated to establish an accurate resting reference. These steps reduce measurement error and let you interpret cadence-driven cardiovascular responses reliably.
Sensor Placement Check
Where should you place and calibrate your cadence and heart-rate sensors to get reliable data? Place cadence magnets or crank/cleat sensors on the drive-side crank or chainstay per manufacturer instructions. Mount heart-rate straps snugly on the sternum level so electrodes contact skin. Confirm sensor placement visually; then run a brief calibration routine: sit still, start both sensors, pedal at a steady low cadence for 30–60 seconds, and verify consistent rpm and bpm readings on your head unit.
Reposition and repeat if values fluctuate >2–3% at steady effort. Check battery seating, strap tension, and absence of interfering fabrics. Log calibration times and conditions so you can reproduce setup across sessions and minimize placement-related variability in cadence–heart-rate analysis.
Time Sync Adjustment
Why does precise time synchronization matter when you’re comparing cadence and heart-rate data? You need aligned timestamps so cadence events map to heart rate responses during efforts like heart rate driven intervals. Start by syncing device clocks to a single reference (phone or GPS time). Then, record a clear, repeatable trigger: five steady pedal strokes with a marked timestamp works.
Verify sample rates; match or note differences between cadence and HR logs. Resample in post-processing if needed. Calibrate offsets by doing a short calibration set (30–60 seconds) at steady cadence. Confirm heart-rate lag and adjust timestamps accordingly.
Accurate time sync improves your interpretation of cadence nutrition strategies and exercise fueling decisions based on true physiological responses.
Baseline Heart Establishment
Establishing a reliable baseline heart rate starts with a short, controlled calibration routine you perform while your sensors warm up and settle. This gives you a stable reference for interpreting cadence-driven HR responses.
Begin seated, breathe steadily for three minutes. Then perform two one-minute efforts at low and moderate cadence with known power so you can observe sensor drift and response time. Record the steady-state HR at each step and average the lowest minute as your baseline establishment value.
Use these values to adjust device offsets and enable heart rate synchronization across devices. Recheck baseline after any hardware change, strap adjustment, or firmware update. This procedure minimizes measurement error and clarifies true physiological responses to cadence changes.
Cadence Magnet Alignment
How closely aligned is your cadence magnet to the sensor? You should position the cadence magnet within the manufacturer’s recommended gap (typically 1–3 mm) and directly opposite the sensor’s trigger to ensure reliable pulse detection.
Follow a simple alignment procedure: stop the crank, rotate the pedal to the sensor location, attach the magnet flush to the spoke or crank arm, and confirm the sensor LED or app registers a cadence without false positives. Test across several revolutions at low and moderate speeds to confirm consistent triggers.
If readings drop or spike, re-check magnet orientation and gap before replacing batteries or recalibrating firmware. Proper physical alignment reduces measurement error and improves heart-rate–cadence data integrity.
Firmware Calibration Routine
Ready to calibrate your sensors? Start by placing your bike on a steady trainer and open the firmware menu. Run the cadence calibration routine at a controlled 90–100 rpm for 60 seconds so the sensor establishes baseline pulse and magnet timing.
Follow prompts to rotate the crank smoothly; firmware uses that data to map angular position to cadence counts. After cadence calibration completes, perform heart rate verification: remain seated at a known steady effort while comparing the device reading to a chest-strap reference for 30–60 seconds.
If discrepancies exceed manufacturer tolerance, repeat calibration or update firmware and retest. Log results and timestamp firmware versions. Regularly scheduled calibrations maintain accurate cadence and heart rate coupling for reliable training decisions.
Frequently Asked Questions
How Does Cadence Affect Recovery Days and Heart-Rate Variability?
On recovery days, using lower cadence recovery sessions reduces cardiovascular strain and helps restore heart rate variability. You’ll pedal at an easy cadence recovery pace, often below your training cadence, to lower VO₂ and cardiac load. This supports parasympathetic rebound and higher heart rate variability.
Keep intensity light; avoid sustained high-cadence efforts. Use short, mixed cadences occasionally to promote neuromuscular maintenance without compromising recovery or HRV.
Can Cadence Changes Alter Fuel (Carb Vs Fat) Use During Long Rides?
Yes, cadence changes alter fueling: higher cadence and fueling shifts you toward greater carb oxidation and less fat use. At equivalent power, pedaling faster raises VO₂, heart rate, blood lactate and carbohydrate reliance; this reduces gross efficiency.
For long rides, you’ll conserve fat by using slightly lower cadences and avoiding sustained high-rate efforts. Incorporate cadence variation in training to adapt coordination and improve metabolic flexibility for endurance pacing.
Does Pedaling Cadence Influence Injury Risk in Cyclists?
Yes, cadence can affect injury risk. You’ll reduce cadence injury likelihood by avoiding extreme low cadences that overload joints and high cadences that spike cardiovascular strain and neuromuscular fatigue. For cyclist safety, aim for moderate, individually tested cadences. Vary training to build coordination, and prioritize bike fit, strength training, and recovery.
Monitor pain and adapt cadence rather than pushing uncomfortable rhythms to prevent overuse injuries.
How Quickly Can Cadence-Focused Training Change My Preferred Cadence?
You can shift your preferred cadence within weeks to a few months with targeted cadence-focused training. By practicing varied cadences, interval drills, and motor-pattern replications, you’ll retrain cadence psychology and promote cadence synchronization between the nervous system and muscles.
Expect noticeable changes in 2–6 weeks. More stable adaptations will occur after 8–12 weeks. Track perceived effort, heart rate, and power to guide progression and avoid excessive fatigue while adapting.
Should I Adjust Cadence Targets for Hilly Versus Flat Terrain?
Yes, you should adjust cadence targets for hilly versus flat terrain. Use higher cadences uphill to reduce muscular strain and protect legs. However, accept slightly lower cadences on steep climbs for power.
On flats, maintain efficient, evidence-based cadences that suit your conditioning. Apply terrain nuance: shift targets by 5–15 rpm depending on grade and fatigue. Monitor heart rate and power, and personalize adjustments through training feedback.
Conclusion
You’ll get the most from cadence and heart-rate together when you base targets on calibrated, well-placed sensors and synced time data. Use the table to set cadence and HR zones, check magnet and sensor alignment, run firmware calibration, and establish your baseline heart rates before structured sessions.
Regularly verify placement and recalibrate after updates. That practical, evidence-based routine keeps your metrics reliable so you can train precisely, track progress, and avoid misleading data.
Related: Cycling Recovery Basics
Related: Cycling Speed and Cadence Calculator