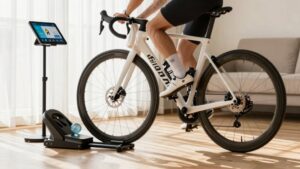
Trainer Tire Pressure Reference
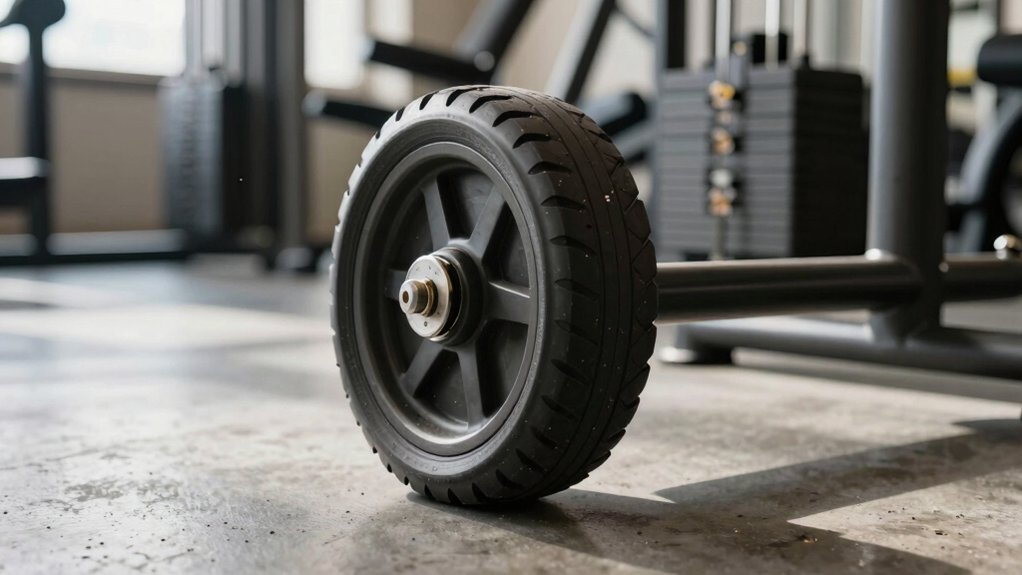
Set trainer Tire Pressure based on tire width, rim type, rider weight, and your trainer’s roller limits to balance grip, wear, and safety.
For 700×23–25 tires, aim for ~100–120 PSI; for 28–32mm, aim for around 80–100 PSI. Tubeless road tires typically sit near 100–120 PSI but increase a few PSI for heavier riders or load.
Keep the rear 1–3 PSI higher. Check cold, then after a short warm-up. Never exceed rim or sidewall maxs; more specifics follow.
Quick Overview
- Start from the tire manufacturer’s recommended PSI and adjust 2–3 PSI at a time to find trainer-specific feel.
- For narrow 700×23–25 road tires, aim roughly 100–120 PSI; for 28–32mm, aim about 80–100 PSI.
- Keep rear pressure about 1–3 PSI higher than front to compensate for weight distribution.
- For tubeless, stay within the tire/rim max. Add a few PSI for heavier riders and expect pressure to rise with heat.
- Inspect bead seating, sealant, valve cores, and recheck PSI after 10 minutes to prevent leaks and slippage.
Trainer Tire PSI Chart
A clear, practical PSI chart helps you set consistent trainer pressures for accurate roller contact and safe operation. Use the baseline table and adjust 2–3 PSI at a time; manufacturer limits and rim type matter.
Do not treat trainer setup as an irrelevant topic or start an unrelated discussion. Focus on rear tire load, roller tension, and sidewall maxima. For most road setups, follow weight-based baselines and keep rear slightly higher. Check pressure each session and avoid exceeding hookless or hooked rim maxes.
If you ride trainer-specific tires, follow their stamped limits and trainer maker guidance. Small, consistent changes preserve accuracy and safety.
| Condition | Guidance |
|---|---|
| Rider weight | Follow baseline PSI |
| Rim type | Reduce for wider rims |
Wheel Size & PSI Guide
How does wheel size change the PSI you should use on a trainer? You’ll find larger-diameter or wider wheels alter contact patch and required pressure for consistent roller grip. Adjust to maintain wheel alignment and frame stability. Check tire sidewall max and trainer recommendations; prioritize safety.
- Narrow road (700×23–25): higher PSI (100–120) for firm contact and stable alignment.
- Wider road/gravel (28–32mm): moderate PSI (80–100) to protect rim and keep steady frame stability.
- MTB or very wide: lower PSI (40–60), but ensure roller tension and alignment prevent slippage.
Always verify pressure before each ride. Avoid over-tightening tension and re-check wheel alignment after setups to prevent damage.
Recommended PSI for Tubeless
For tubeless setups on a trainer, aim for pressures within the manufacturer’s recommended range while adjusting for your weight. Higher loads need a few PSI more to prevent bottoming out.
Check compatibility of your tire and sealant with sustained roller heat. Expect pressure to rise slightly during long sessions. Finally, prevent leaks by seating beads securely, topping up sealant regularly, and avoiding over-tightening the roller.
Recommended Pressure Ranges
Curious what PSI you should run with tubeless tires on a trainer? Aim for a consistent range rather than chasing a single number: roughly 100–120 PSI for narrow 700c road tubeless setups works well on most wheel-on fluid trainers. You’ll prioritize consistency for measurement accuracy. Therefore, factor non-technical considerations like ambient temperature and maintenance scheduling into your routine checks.
Avoid exceeding the tire’s maximum sidewall pressure; that’s a clear safety limit. If you test higher pressures for feel, keep them uniform across sessions. Check pressure before every ride and inspect bead and sealant regularly. Proper roller tension plus correct PSI reduces slippage, protects the tire, and preserves accurate trainer calibration.
Rider Weight Adjustments
Because your weight directly changes how the tire compresses against the trainer roller, you should raise tubeless tire pressure as rider + bike weight increases to avoid bottoming out and slippage. Aim to keep rear tire pressure about 1–3 PSI higher than the front and target roughly 100–120 PSI for most 700c road setups. Increase modestly for heavier riders while never exceeding the tire sidewall maximum.
Adjust pressure based on rider weight and felt pressure feedback during short test efforts: if you hear slipping or feel excessive deflection, add 2–4 PSI and retest. Lighter riders can reduce pressure slightly for better comfort, but don’t drop so low that the roller grinds or power readings vary.
Check pressures before every session and document settings by total system weight.
Trainer Tire Compatibility
How should you set tubeless tire pressure for trainer use to balance safety, grip, and measurement consistency? You’ll want pressure high enough to prevent burping or sidewall collapse but low enough to maintain predictable contact with the roller.
Start by following the tire’s max PSI. Then reduce 5–15 PSI for indoor use depending on width and rider weight. Check for secure bead seating and sealant performance at your chosen pressure. Keep rear slightly higher (about 1–3 PSI) than front to support load.
Avoid pressures that cause excessive deformation against the roller or risk bead failure. Document your settings for repeatability. These subtopic ideas help you stay safety-focused and consistent, unrelated to listed h2s about heat effects.
Heat And Pressure Changes
Why does tire pressure rise on the trainer as you warm up? You’ll see pressure climb because heat effects from friction and ambient rise warm the tire’s air, increasing internal pressure.
With tubeless setups, that change can be noticeable; you should check pressure cold and again after a short warm-up. Aim for pressure stability rather than a single target: set initial PSI low enough to accommodate expected rise but high enough for secure roller contact and manufacturer limits.
Use a reliable gauge, record cold and warm readings, and adjust base PSI across sessions for consistent feel. Prioritize safety: never exceed sidewall maximums, and stop if you detect bulges, rapid leaks, or unusual heat that signals failure.
Leak Prevention Tips
When you run tubeless tires on a trainer, keep recommended PSI slightly lower than your outdoor target to reduce sealant blowouts and bead stress while still ensuring firm roller contact. Check tire and trainer manuals for the safe range; then set pressure toward the lower bound while maintaining stability.
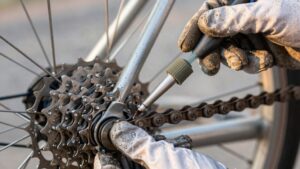
Inspect valves, tape, and bead seating before each session. A loose valve core or damaged tape invites leaks. Use a compatible sealant and confirm sealant compatibility with rim tape and valve materials to avoid degradation. Monitor for slow seepage during warm-up; stop if you see bubbling or smell unusual odors.
Tighten tension just enough for contact. Recheck PSI after 10 minutes, and replace aging sealant per manufacturer intervals for reliable leak prevention.
Frequently Asked Questions
How Does Rider Weight Change Trainer Tire Pressure Recommendations?
You increase trainer tire pressure as rider weight rises. Weight impact means higher pressure prevents bottoming out and maintains roller contact. For greater rider mass, you’ll raise rear-tire PSI slightly more (typically 1–3 PSI above front) and follow tire sidewall limits.
Check pressure before each session; avoid over-tightening the roller, and prioritize consistency for accurate power readings and safety. Adjust gradually and test feel to confirm proper setup.
Should I Use a Trainer-Specific Tire or My Regular Road Tire?
Use a trainer-specific tire for most indoor rides. You’ll get better tire contact, less heat and wear, and reduced slippage during trainer setup.
Trainer tires handle higher, sustained pressures safely and cut noise. They also protect your regular road tire from excess heat and wear.
If you only train occasionally, you can use your road tire; however, check pressure and tension closely to avoid damage and inconsistent roll feel.
How Often Should I Check and Adjust Tire Pressure for Indoor Sessions?
Check tire pressure before every indoor session and again if rides exceed an hour or conditions change. You’ll keep pressure consistent for accurate feel and power transfer. Record PSI and adjust to manufacturer or trainer-specific guidance. Inspect tension and seating too.
Maintaining correct tire pressure protects tires and frame, prevents slippage, and preserves smooth pedal cadence. If temperature shifts, recheck mid-session or between workouts to stay safe and consistent.
Can Over-Tightening the Trainer Roller Damage My Tire or Bike Frame?
Yes, over-tightening the trainer roller can damage both tire and frame. You’ll create excessive friction and heat that accelerates tire wear, risks sidewall cuts, and can deform rims or stress quick releases and thru-axles.
Tighten only until the roller just compresses the tire. Check pressure before rides, and follow manufacturer torque/tension guidance. If you hear creaks or see uneven wear, loosen tension and inspect components for damage.
Does Tire Temperature During Long Rides Affect Pressure and Readings?
Yes, tire temperature rises during long rides, and that increases tire pressure; this can bias pressure readings and roller contact. You should check pressure cold before riding. Avoid over-tightening the trainer as heat builds, and recheck mid-session if accuracy matters.
Use consistent pre-ride pressure. Monitor temperature-induced drift, and keep pressures within sidewall limits to prevent slippage, damage, or misleading power/feel during long trainer sessions.
Conclusion
You’ve got the essentials: match wheel size to the trainer’s PSI guidance, favor slightly lower pressure for tubeless setups, and adjust within recommended ranges for your weight.
Check compatibility and avoid overinflation. Heat raises pressure; so deflate a little after long sessions. Inspect for leaks, use proper valves and seals, and replace worn trainer-specific tires promptly.
Stay proactive about pressure and tire condition to keep indoor training safe and effective.