Seasonal Bike Maintenance Checklist Explained (Spring to Winter)
Start each ride with a two-minute A-B-C-M check: air, brakes, and chain, then inspect wheels, controls, and frame. Check cold tyre pressure weekly within sidewall limits; lower it 7–15 PSI for slippery winter roads.
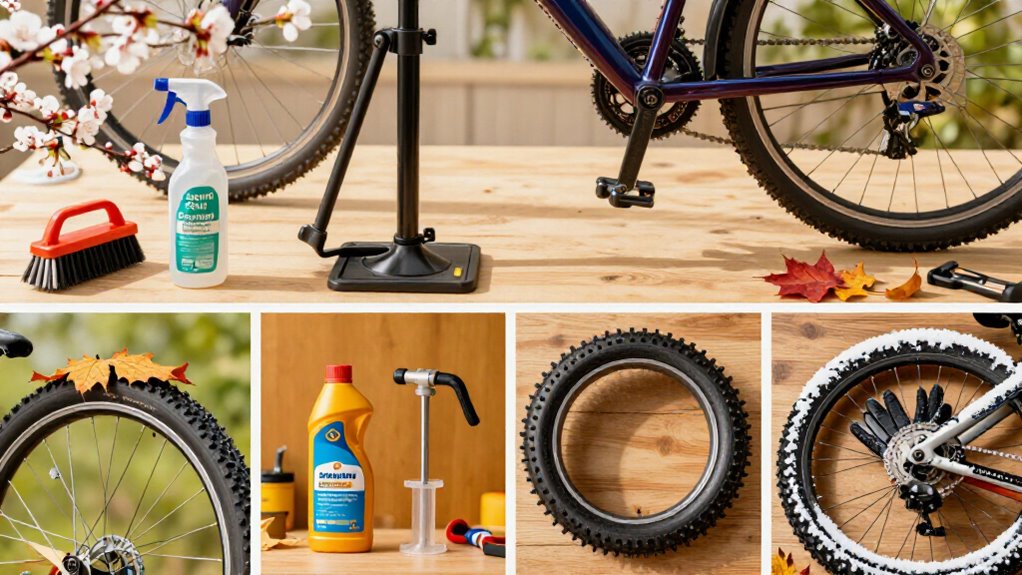
In spring and summer, clean grime, verify shifting, and lubricate a clean chain. After salted rides, rinse gently, dry, protect metal, and inspect pads.
Stop immediately for cracks or spongy brakes. The steps below organize each task by season safely year-round.
Seasonal Care for Commuting Cyclists
Commuting exposes your bike to frequent starts, braking, road grit, and changing weather, so begin each day with a 2–3 minute A-B-C-M check: Air, Brakes, and Chain, followed by a quick inspection from the rear wheel and seatpost through the pedals and handlebars to the front wheel.
Set tyre pressure cold within sidewall limits. For slippery winter roads, reduce pressure 7–15 PSI (0.5–1 bar); use higher pressure for summer commutes when conditions permit. Inspect pad material: replace it below 1.5 mm, or your manufacturer’s specified minimum, often 2 mm. If hydraulic levers feel spongy, arrange a bleed before riding.
Each week, check shifting and chain condition. Monthly, remove grime to preserve shifting. In winter, wash salt away promptly, dry the bike, and limit corrosion.
Pump, Hex Keys, Degreaser
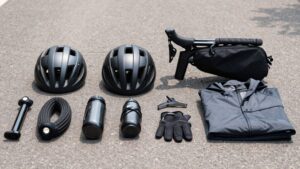
Build a dependable maintenance kit around three essentials: a gauge-equipped floor pump, correctly sized metric hex keys, and bike-safe degreaser. You’ll work more accurately and reduce avoidable component damage during seasonal servicing.
- Use the floor pump’s gauge to set pressure within the tyre manufacturer’s stated range; never exceed it.
- Confirm valve seating after inflation; replace erratic gauges, cracked hoses, and leaking fittings.
- Match each metric hex key precisely to its bolt, then apply steady torque without forcing it.
- Apply bike-safe degreaser to drivetrain grime, but keep it off brake rotors and pads.
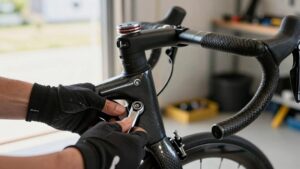
For stem, handlebar, seatpost, and rotor fasteners, use a torque wrench to the manufacturer’s specification.
Carry either a pump or CO₂ inflator; use short bursts, verify via mini-gauge, and discard corroded cartridges.
Weekly Tyre Pressure Checks
Check tyre pressure weekly—and before every ride when practical—while the tyres are cold, because pressure gradually drops even in tubeless systems. Use a gauge, then stay within the minimum and maximum pressures printed on each tyre sidewall; don’t exceed maximum or fall below minimum.
Record settings that suit your terrain, rider weight, and load.
| Condition | Adjustment |
|---|---|
| Dry-road handling changes | Alter pressure by 3–7 PSI (0.2–0.5 bar). |
| Wet, icy, or snowy commuting | Reduce pressure by 7–15 PSI (0.5–1 bar) for grip. |
Recheck after temperature shifts, as they can alter pressure and handling. Carry a compact pump or CO₂ inflator with a mini gauge. It lets you correct a slow puncture or restore your setting away from home. If a tyre loses pressure repeatedly, investigate it before riding.
Clean Chain Before Lubrication
Clean the chain before lubricating so fresh lube doesn’t trap abrasive grime and accelerate drivetrain wear. Wipe off surface dirt, then degrease the chain, cassette, and chainrings while keeping degreaser clear of rotors and pads.
Dry the chain fully, inspect it for elongation or damaged links, and apply lubricant sparingly.
Why Clean First
Before you apply fresh chain lubricant, remove the old oily grit from the chain, and from the cassette and chainrings when needed. Old lubricant holds dust, salt, and particles; adding fresh lube over it forms an abrasive paste that accelerates wear at the pins, rollers, sprocket teeth, and chainrings. This is important after winter riding: contamination can conceal chain wear and contribute to rough shifting despite relubrication.
Use degreaser only where required, then wipe the chain dry and allow solvent to evaporate. Otherwise, solvent can dilute the lubricant or prevent it from adhering. Keep degreaser and cleaner off rotors and brake pads; contamination can reduce braking performance and cause noise.
Once dry, use one drop per link, then wipe excess so it won’t collect dust.
Remove Surface Grime
Start by removing the oily surface grime that collects grit on the chain, cassette, and chainrings. Secure the bike so the drivetrain can’t turn unexpectedly, and keep cleaning materials away from brake pads and rotors. With a firm, clean brush, loosen residue from the outer chain plates, teeth, and pulley wheels.
Work a narrow brush or folded lint-free rag between cassette cogs, rotating the cranks backward by hand in controlled increments. Never place fingers near the chain while turning the cranks. Wipe the chain repeatedly until the rag lifts little visible dirt, then rotate the cranks again and check that the chain runs cleaner and quieter. If you wash the bike, use mild detergent and gentle water flow only on the frame and wheels.
Degrease Chain Thoroughly
Once surface dirt is removed, apply a chain-safe degreaser to the chain, cassette, and chainrings to dissolve the old lubricant residue that traps abrasive grit. Work in a well-ventilated area. Rotate the cranks backward while directing degreaser onto link plates, rollers, and gaps between cassette sprockets. Let the product dwell for its label-specified time; prolonged exposure can affect finishes or seals.
Scrub the chain with a dedicated chain brush, then use a narrow brush to clean between sprockets and around chainring teeth. Keep spray and runoff away from disc rotors, pads, and rim-brake tracks, because contamination can sharply reduce braking performance. Rinse or wipe away loosened contamination with clean, lint-free rags. Inspect teeth and links as you work for hooked profiles, stiff movement, or damage.
Dry Before Lubricating
Dry the drivetrain completely before adding fresh lubricant. After you’ve degreased the chain, cassette, and chainrings, wipe every accessible surface with a clean, lint-free rag. Continue until the rag comes away mostly clean; remaining grit or old lubricant will contaminate the new film and cause noisy, rough shifting. Keep degreaser and runoff away from brake rotors, pads, and rim-brake tracks.
Then allow the chain to air-dry fully, or wipe it thoroughly and wait briefly for water and solvent to evaporate. Lubricant applied to a damp chain becomes diluted and won’t protect the moving surfaces effectively.
If the chain still feels gritty, repeat the degrease-and-wipe process before proceeding. Apply roughly one small drop per link, backpedal to distribute it, then wipe away all exterior excess.
Inspect For Wear
With the drivetrain clean and dry, inspect the chain before applying fresh lubricant. Rotate the cranks slowly and examine every link for stiffness, rust, remaining grime, or damaged plates and rollers. A dry, binding link can impair shifting and increase drivetrain load. Check for elongation with a chain-wear gauge; skipping under load, poor shifting, or a sagging chain line also warrants investigation.
If residue remains, degrease the chain, cassette cogs, and chainrings with brushes, concentrating on gaps between teeth. Finish with a rag dampened with at least 90% isopropyl alcohol, and keep wiping until it lifts no black contamination. Spin the cranks again. Gritty rotation or binding may indicate wear beyond cleaning. Replace a worn chain promptly to protect the cassette and chainrings.
Winter Salt Protection
After each winter ride, rinse salt from the frame, drivetrain, brakes, and exposed wiring before it can cause corrosion or electrical faults. Dry the bike completely, then relubricate the chain and apply suitable protection to exposed metal components.
When you store it, keep it covered in a dry location to limit moisture and salt-contaminated corrosion.
Rinse Salt After Rides
Salt left on your bike after a winter ride can quickly corrode metal surfaces and work into moving parts, so rinse the frame, wheels, and drivetrain promptly with cool, low-pressure water. Use a gentle hose setting or bucket; never use a pressure washer. Direct water away from hub, headset, and bottom-bracket openings, where force can carry contaminated water past seals.
Work top-down, flushing road film from the chain, cassette, and brake hardware. Avoid aiming water at pads and rotors, since contamination can reduce braking consistency. Repeat after each salted-road ride, even when residue isn’t obvious: salt causes rust and hidden bearing or pivot damage.
Dry the bike with clean towels, then cycle the drivetrain briefly to shed trapped water. Confirm brake operation before riding.
Protect Vulnerable Components
Rinsing removes the immediate salt load, but you must also protect the parts most likely to trap corrosive moisture: the drivetrain, hubs, headset, bottom bracket, and derailleur pulleys. Clean the chain, cassette, and chainrings thoroughly after salty rides, then apply wet-weather lubricant sparingly. Excess lubricant captures grit and forms abrasive paste that accelerates wear.
Rinse around hub, headset, bottom-bracket, and pulley seals with low-pressure water; don’t direct a jet at bearing seals. Apply a corrosion-inhibiting wax or protectant to the frame and exposed metal, including bolt heads. Wipe away excess immediately and keep it off rotors and pads. Before each ride, inspect for pitted hardware, stiff spokes, gritty hub rotation, or reluctant shifting. Address these signs promptly to prevent bearing damage or failures.
Store Bikes Dry
Before you put the bike away, rinse off road salt with clean water, dry every surface thoroughly, and inspect the chain, derailleur pulleys, headset area, and bolt heads for trapped grime.
Salt-contaminated moisture attacks steel even when you aren’t riding, so don’t leave briny water to dry on the frame. If washing must wait, wipe the bike with a damp cloth, then complete the rinse and drying process before storage. Apply a light salt-displacing protectant or suitable lube to the drivetrain, and wipe away excess to prevent grit accumulation.
Keep it in a dry, enclosed, ventilated garage or shed, elevated on a rack or stand. Use a breathable cover if needed; it blocks spray without trapping humidity around corrosion-prone components through winter months.
Brake Pads Wear Evenly
Regularly inspect brake-pad thickness and compare the inner and outer pads during your pre-ride check. Replace pads before friction material falls below 1.5 mm; some manufacturers require replacement at about 2 mm. Uneven wear demands attention: one thin pad can signal caliper misalignment, sticking slider pins, or uneven rotor contact.
Use a light to verify that each disc-brake pad contacts the rotor across its full braking surface. Spin the wheel and apply the lever; it should feel firm and consistent, not spongy or grabby. Investigate rubbing or persistent squealing.
Clean contaminated rotors and pads with 90%-plus isopropyl alcohol, then confirm pad seating. Correct alignment, contamination, or caliper faults before fitting new pads, or rapid repeat wear can compromise stopping power and damage the rotor during use.
Stop for Frame Cracks
Stop riding immediately if you find a frame crack, especially near welds or heat-affected zones, the bottom bracket, head tube, downtube, or seat stays. Fatigue cracks can propagate quickly and cause sudden structural failure.
First, clean the frame, particularly after winter salt or mud, so grime doesn’t conceal damage. Under bright light, sweep a flashlight across each tube and joint. Look for hairline splits, rust trails, or bubbling paint; a new brown line can indicate corrosion at a crack.
Don’t ride it until it worsens or attempt a generic-adhesive repair. New pedaling creaks, saddle or handlebar movement under load, and altered ride feel warrant prompt inspection. Contact a qualified mechanic or frame builder for assessment, then recheck the cleaned frame periodically after impacts, too.
Correct Overtightened Stem Bolts
Correct an overtightened stem by loosening the affected bolts and re-torquing them to the stem manufacturer’s specified value with a calibrated torque wrench, often about 5–8 Nm for handlebar clamp bolts. Overtightening can crush or permanently deform bars and clamp surfaces, while excess force can strip threads and reduce clamping security.
- Loosen each bolt gradually in a cross-pattern; don’t fully remove the faceplate unless necessary.
- Inspect bolt threads, faceplate, and bar contact areas for damage or distortion.
- Re-tighten faceplate bolts evenly in small stages to maintain a uniform gap.
- For steerer-clamp bolts, follow their marked specification; overtightening can damage the steerer or bind steering.
Then grasp the front wheel and twist the bars. If anything moves, feels notchy, or creaks, stop riding and seek inspection.
Record Component Replacement Dates
Maintain a component-service log that records the exact replacement date and mileage or ride time for every chain, cassette, brake pad, rotor, tyre, tube, and brake cable or housing. Add the reason for replacement and measured wear, including pad thickness and tyre tread or sidewall condition.
Replace pads below about 1.5 mm, unless your manufacturer specifies a higher minimum. For chains, note whether you fitted only a chain or a chain and cassette; this identifies sprocket wear that can impair shifting and accelerate new-chain wear.
Record tubeless sealant renewal dates, at least once each season, because dried sealant weakens puncture protection. Review the log during each seasonal inspection. Your documented mileage, hours, and wet-weather exposure let you anticipate consumable service, order parts before failure.
Conclusion
Seasonal maintenance keeps your commuter bike safe, efficient, and predictable. You’ll check tyre pressure weekly, clean and lubricate the chain correctly, inspect brake-pad wear, and protect metal parts from winter salt.
Stop riding if you find frame cracks, and correct any overtightened stem bolts with a torque tool. Keep your pump, hex keys, and degreaser ready, then record replacement dates. This method lets you catch wear early and ride safely with confidence through every season.