How to Degrease a Bike Chain Without Making a Mess
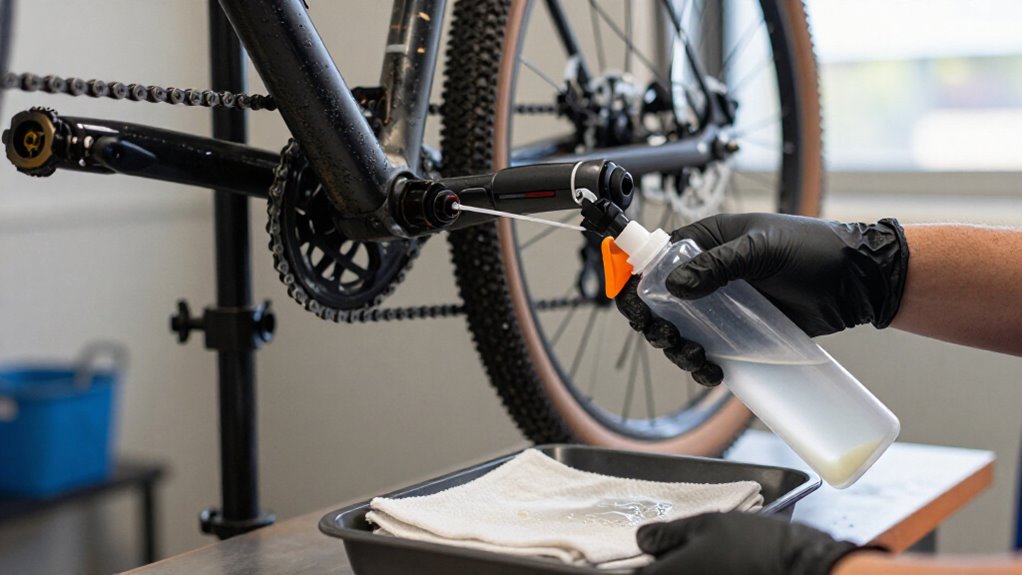
Put on nitrile gloves, slide cardboard and rag beneath the drivetrain, and shift onto small cogs.
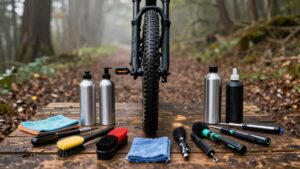
Spray bike-safe degreaser onto a stiff brush, then backpedal in short bursts while brushing the chain, cassette, and jockey wheels.
Let it dwell, rinse lightly, and wipe dry.
Keep cleaner off rotors; wipe them with alcohol and use a white rag test.
Flush stiff links, relube the dry chain, and check wear with a gauge.
More cleanup details follow below.
Easy 10-Minute Mess-Free Degreasing
For a quick, low-mess chain clean, place a large drip tray or old baking pan beneath the drivetrain, then spray a bike-specific degreaser onto the chain, cassette, and chainrings. Let it dwell for three to five minutes until it foams. Agitate with a stiff brush or backpedal through a chain-cleaning tool to contain grit.
Rinse with a light hose flow; avoid high-pressure water, which can force grit into bearings. Immediately wipe the chain, cassette, and rings. Repeat until runoff and your cloth come away clear.
Dry thoroughly with a clean rag, then spin the cranks. Apply one small drop of lubricant to each roller, rotate the pedals, and wipe off excess. You’ll prevent sling, sticky buildup, and unnecessary cleanup on your bike and clothing.
Wear Nitrile Gloves
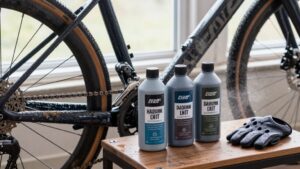
Before applying degreaser, pull on powder-free nitrile gloves to keep solvents, oily grit, and old lubricant off your skin and off clean bike surfaces. Choose snug, textured gloves so you can turn pedals and handle small parts without slipping. Nitrile limits skin contact and stops you from carrying black residue onto grips, tools, or clean components.
- Select 3–4 mil gloves for dexterity; choose 6–8 mil pairs for longer, tougher sessions.
- Check the degreaser’s SDS and compatibility guidance, especially for brake cleaner or aggressive thinners.
- Put gloves on with clean, dry hands, and replace them immediately if they tear, feel sticky, or become heavily soiled.
- Keep gloved hands away from your face, phone, brake surfaces, and other clean areas; remove gloves inside out when finished.
Step 1: Lay Cardboard Beneath Drivetrain
Slide a large sheet of cardboard beneath the drivetrain to catch degreaser drips, oily grit, and spray splatter before they stain the floor. Position it so it extends beyond both sides of the derailleur area and reaches beneath the chainrings, giving yourself a broad clean-up zone for spraying and scrubbing.
Place a reusable rag or several paper towels on top where runoff is likely to fall, especially near the chain’s contact point with the frame. The absorbent layer keeps liquid from pooling and makes wiping the chain and jockey wheels tidier.
When you’ve finished degreasing, fold the cardboard inward from each edge to enclose the wet grime and discard it. It catches mess, but you must still rinse thoroughly and dry everything before re-lubing.
Step 2: Shift Chain Onto Small Cogs
With the cardboard and absorbent layer in place, shift the chain onto the smallest front chainring and the smallest outer rear cog. Turn the pedals slowly and only as far as needed to complete each shift. This combination reduces chain tension, giving you more room to handle the lower run without pulling it tight against the drivetrain.
Stop pedaling once the chain is seated. Hold one gloved hand beneath the lower section to catch any old lubricant or loose grime that falls. If you’re removing the chain, the added slack lets you reach the quick link without yanking it. Set a rag or catch tray beneath the chainstay before applying cleaner. Keep the bike steady, and avoid turning the cranks unnecessarily to limit splatter.
Step 3: Spray Degreaser Onto Brush
Spray your degreaser onto a stiff-bristle brush rather than directly onto the chain. This keeps the cleaner controlled, preventing aerosolized mist and runoff from reaching your frame, drivetrain, or brake rotors. Use short, targeted spritzes, only enough to wet the bristles without saturating them. Hold a towel or piece of cardboard beneath the cassette and along the chainline to catch drips.
Work the damp brush over the chain, cassette, and chainring in small sections, keeping dirty fluid contained. Let the cleaner remain on each worked area for three to five minutes, until grime loosens or foaming appears. Wipe oily residue away with a clean rag. Rinse a heavily soiled brush lightly, then reapply degreaser before continuing. This prevents grit from being redistributed across components.
Step 4: Backpedal While Brushing Chain
Place the brush or enclosed chain-cleaning tool firmly around the lower run of the chain, then backpedal slowly to draw every link through the bristles. Keep the brush head fully engaged, and turn only fast enough to agitate the degreaser without flinging it outside the tool.
Use short pushes: a few pedal turns, then stop. This lets the spinning brushes scrub rollers evenly and carry loosened grime into the reservoir. Watch the fluid darken; if your cleaner has settings, switch to a cleaner brush pass.
For heavy buildup, repeat the cycle until a white cloth wiped along the chain stays clean. Finish with a brief rinse pass through clean, soapy water if your tool supports it, then wipe the chain’s outer plates dry immediately.
Step 5: Brush the Jockey Wheels Too
Don’t stop at the chain: the jockey wheels can hold gritty paste that quickly contaminates a freshly degreased drivetrain. With the bike over your drip tray, apply bike-safe degreaser directly to both derailleur pulleys and let it dwell for three to five minutes, until it begins to foam. Use a stiff-bristled brush to scrub each wheel’s teeth, grooves, and side plates.
Turn the cranks slowly by hand to expose all surfaces, keeping the brush and runoff controlled. Then use a fresh rag to wipe away loosened grime, paying close attention between the pulley spokes. This step keeps dirty slurry from running onto the chain and cassette during rinsing and drying. Once the drivetrain is dry, lube the chain sparingly, but don’t lubricate the jockey wheels.
Step 6: Wipe Overspray From Brake Rotors
Before you lube the clean chain, inspect both brake rotors for degreaser overspray. Look at each rotor face for shiny spots or a greasy sheen; aerosol mist can leave a thin film. Act immediately rather than riding with contamination.
Wipe each rotor dry with a clean microfiber cloth, then use a fresh section for a second pass so you don’t spread residue back across the surface. For light remaining overspray, moisten a cloth or dedicated rotor-clean wipe with isopropyl alcohol. Keep cleaner off the pads and let the rotors air-dry completely.
Make a few gentle low-speed stops before your normal ride. If braking feels weak or squeals, clean the rotor again and keep the pads untouched. Next time, spray away from wheels and cover rotors.
Run a White Rag Test
Next, check whether the chain is actually clean with a white rag test. Take a fresh white microfiber cloth and hold it lightly around the lower chain run. Backpedal slowly, letting several sections pass through the cloth, then inspect the fabric under good light. Black or gray marks mean the degreaser-dirt mixture, and likely grit, remains around the rollers, pins, and spaces between links.
If you see noticeable transfer, repeat your cleaning and agitation, then rinse or damp-wipe as needed. Use another clean area of the rag and test again rather than smearing old residue back onto the chain.
This controlled wipe keeps runoff contained and gives you a clear result. Continue until the rag shows only minimal discoloration. Don’t dry or lube it.
Stiff Links: Flush, Relube
If a link still feels tight after the white rag test, flush it before you lubricate. Put a tray beneath the drivetrain, wet the chain with a gentle hose or sprayer, then apply bicycle-safe degreaser to the chain, cassette, and chainrings. Let it foam for 3–5 minutes. Backpedal to work fluid into the rollers.
| Step | Action | Cleanliness check |
|---|---|---|
| Flush | Rinse until clear | Catch runoff |
| Relube | One drop per roller | Wipe outer plates |
Dry the chain completely with a clean rag, then air-dry if needed. Drip one lube drop onto each roller while backpedaling; spin the crank 5–10 times. Wipe all exterior excess. If binding remains, repeat the full flush, rinse, dry, and relube sequence; trapped grit is usually the cause. It must be removed.
Check Chain Wear Using Gauge
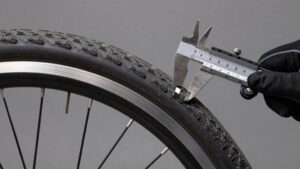
Use a chain-wear gauge, such as a Park Tool CC-4, to measure wear at several points along the clean, dry chain. Work over your drip tray and keep the tool free of leftover degreaser. At each location, seat its pins fully in the roller gaps, following the gauge’s printed procedure. Read the marking against the replace or do-not-ride threshold.
Check different link sections, since wear isn’t always even, and base your decision on the worst result. If it reaches the replacement limit, fit a new chain soon; extra stretch quickly wears cassettes and chainrings. Record the reading, date, and approximate mileage or hours since service.
Your log helps you monitor wear and schedule cleaning before it worsens. Wipe the gauge before storing it away.
Conclusion
You don’t need a solvent bath or a dirty floor to maintain a smooth drivetrain. Protect the area, control the spray, and clean only as much as the chain needs. Keep degreaser off rotors, wipe until the rag stays clean, then relube sparingly and shift through the gears.
If links remain stiff, flush them before adding lube. Finish by checking chain wear, so you catch replacement time before it damages costly drivetrain parts and downstream components.