How to Choose the Right Bike Tire Width for Speed & Comfort
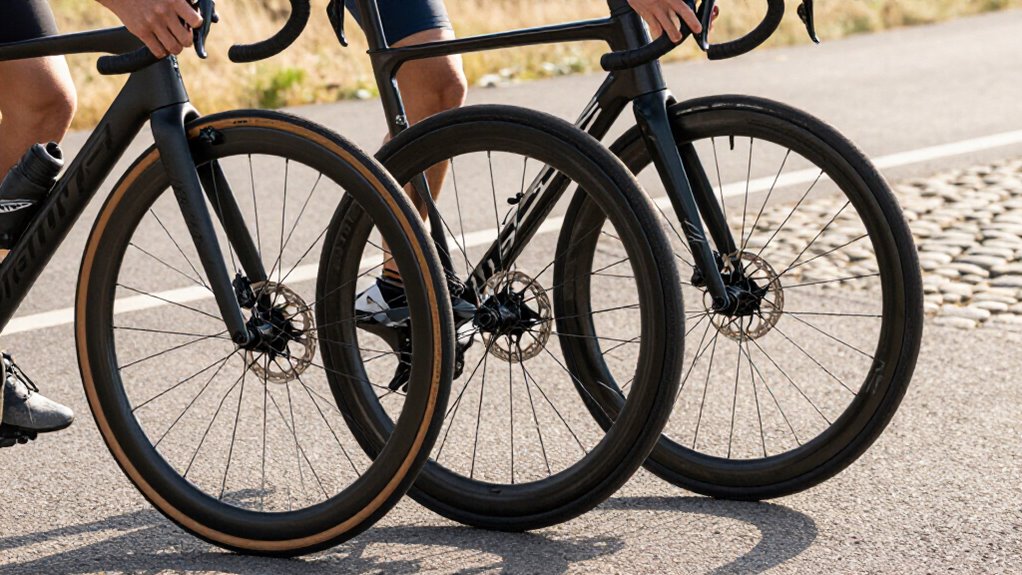
Choose the narrowest tire that confidently handles your roughest regular surface, then tune pressure for control without bounce.
Start with 31–32 mm for smooth pavement, 38–44 mm for broken asphalt, 42–45 mm for mixed riding, and 47 mm or wider for chunky gravel.
A supple 38 mm tire can offer a fast, comfortable sweet spot on imperfect roads.
Verify measured width, ETRTO compatibility, and frame/fork clearance, leaving about 4 mm around the tire.
More follows.
700x38c Pro One Findings
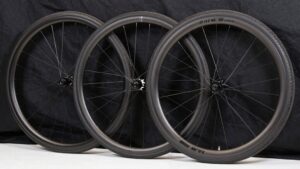
A 700x38c Schwalbe Pro One can be a performance sweet spot if your rides mix smooth pavement with broken roads: testing on roughly 22–22.8 mm-internal Reserve 34|37 TA rims found that it retains smooth-road speed while delivering noticeably better comfort and control. That benefit comes from lower pressures: you reduce vibration losses, keep rubber connected in corners, and arrive less fatigued. Testing suggests supple casings don’t impose a speed penalty toward 55 mm, while 38–44 mm supports handling.
Before buying, verify your rim’s approved tire range and measure frame and fork clearance. A 38c Pro One can fit tight; one SuperSix Evo left under 2 mm per side. Aim for at least 4 mm clearance, preferably 6 mm, then tune pressure through testing.
Identify Your Typical Terrain
Your usual surface should set your tire-width target before you chase a specific model or pressure. If you ride mostly smooth pavement, start with 31–32 mm; 28–30 mm can also suit a bike with limited clearance. For rough asphalt, broken pavement, and persistent chatter, target 38–44 mm to calm impacts and maintain control.
If your regular loop mixes pavement with occasional gravel paths or rail trails, 42–45 mm is a dependable all-round range. Choose 47–50 mm or wider when chunky gravel and extended off-road sections define your rides. Those larger casings help you track uneven ground with less battering. Map where you spend most of your miles, not your route, then choose the narrowest width that handles your worst common surface confidently. Confirm clearance before committing.
Rolling Resistance Versus Grip
Tire width alone doesn’t determine speed: rolling resistance, grip, pressure, casing, tread, and rim shape all work together. You’ll roll fastest when you match the tire to the surface, then tune pressure for control without excessive bounce.
| Priority | Best approach |
|---|---|
| Smooth pavement | Use a supple, slick tire and firm not excessive pressure. |
| Rough pavement | Choose more volume; lower pressure cuts vibration losses. |
| Loose gravel | Favor wider rubber, lower pressure, and tread for traction. |
On smooth roads, higher pressure reduces deformation; a narrow rim-tire profile may trim drag. Don’t chase pressure: vibration costs energy and grip. Wider tires roll efficiently at lower pressures. Choose softer compound or tread when traction demands it; both raise rolling resistance. Test pressures on route, noting speed, confidence, fatigue.
Tubeless Versus Tubed Setup
Tubeless doesn’t automatically lower rolling resistance, but it lets you run lower, well-supported pressures to reduce vibration and improve comfort. You’ll gain self-sealing puncture protection and avoid many pinch flats, while tubed setups offer simpler installation and service.
Confirm that your chosen tire width, rim, and frame clearance support the pressure range before you choose either system.
Rolling Resistance Differences
Compare like for like: tubeless setups often produce slightly lower rolling resistance than standard butyl-tube setups, but the tire’s casing, actual width, rim fit, and pressure usually have a larger effect. To test the difference, use the same tire model and compound, verify measured width on the same internal-rim width, and compare at an identical target pressure.
Tubeless can save small but meaningful energy on long, steady efforts, yet an overly heavy sealant dose can erase that advantage; follow the manufacturer’s recommended amount rather than adding extra. If you prefer tubes, latex is the fast alternative: it can save roughly 2–5 watts per wheel versus standard butyl. Choose the more supple casing and correct tire-rim pairing first, then treat tubeless or latex as the final efficiency upgrade.
Pressure and Comfort Range
Pressure is your biggest comfort and control lever: a wider tire’s greater air volume lets you run lower PSI without sacrificing stability, so it absorbs road chatter instead of passing it into the bike and your body. That extra compliance can preserve grip and reduce fatigue, especially on broken pavement.
With tubeless, sealant gives you freedom to test lower pressures, expanding your usable comfort range. Tubes become limiting sooner: overly low pressure increases pinch-flat risk and harsh rim impacts. Rim internal width also changes tire shape, so identical PSI can feel stable on one rim and vague on another.
Use a reliable gauge, verify clearance and handling, then adjust in small PSI steps for surface conditions. Stay within your tire and rim pressure limits.
Puncture Protection Tradeoffs
Puncture protection adds another practical layer to tire-width and pressure choices. Tubeless tires use sealant to close small punctures, so you can avoid ride-stopping flats and safely run lower pressures for more comfort and control.
That can preserve speed on rough roads by limiting harsh impacts and maintaining traction.
You must manage the tradeoff: tubeless installation takes more effort, and sealant needs periodic checking and replenishing. Don’t overfill it; more than the typical 50 ml can add rolling resistance without extra puncture protection.
Tubes cost less and make roadside replacement straightforward, but punctures normally mean an immediate flat or pinch failure until you repair or replace them. Wider tires at appropriate pressure deform less over sharp impacts, helping you reduce pinch-type failures, especially with tubes.
Width Compatibility Considerations
Tubeless and tubed tires both depend on correct rim width and frame clearance, but tubeless adds a critical requirement: its bead must seat and seal securely on the rim.
Check your rim’s internal width and approved tire range before choosing a size. A rim that’s too narrow for a wide tire can leave the casing unsupported, while a poor tubeless fit may resist sealing or demand higher pressure.
Either problem can compromise stability and waste energy over rough roads.
Measure actual clearance at the chainstays, seatstays, and brakes; leave at least 4mm per side, or 6mm where specified. Tight clearance can turn normal tire flex into destructive rubbing.
With a compatible tubeless pairing, run lower pressure for grip and vibration control. Test fit before riding.
45 Mm for Loose Gravel
A 45 mm tire gives you the float and traction to stay composed when loose gravel shifts beneath you. Start with lower pressures appropriate for your weight and setup, then pair the tire with a suitably wide internal rim to support its sidewalls.
Go wider when routes become rougher, sandier, or more load-heavy and control matters more than quick pavement response.
Float And Traction
For loose gravel, start around 38–44 mm to gain a larger, lower-pressure contact patch that grips uneven stones and stays composed through corners. If routes combine soft dirt, marbles, washboard, and firmer tracks, 42–45 mm is a strong all-round target. It gives you dependable float and traction without making the bike feel unnecessarily sluggish on smoother sections.
Choose 47–50 mm or more when your rides regularly include deep, chunky gravel, where extra volume spreads your load and helps the tire ride over obstacles instead of cutting into them. Don’t judge width by straight-line speed alone: better grip lets you brake later, hold cleaner lines, and accelerate sooner. Match the tire to a suitably wide rim, too. Narrow rims can round off wide tires, weakening cornering support.
Ideal Pressure Range
On loose gravel, start most riders on 38–42 mm tires at about 25–30 psi, then adjust within a roughly 20–35 psi window for terrain, weight, and setup.
Use a gauge and base your starting point on measured, mounted tire width, not only the label, because casing shape changes support and contact. A 40 mm tire can usually run a few psi lower than a 32–34 mm tire while remaining stable through corners.
For washboard, sharp chatter, or deep ruts, reduce pressure gradually toward the low end to improve traction, absorb vibration, and preserve speed. If bike feels harsh and skips, lower it. If the tire squirms while cornering or you feel rim strikes, add two or three psi. Test each change at a time, noting control, comfort, and feel.
Rim Width Matching
Pressure only works as intended when your rim supports the tire’s shape. For loose gravel, judge rim internal width alongside the tire’s labeled width. A narrow rim rounds a high-volume tire, weakening sidewall support.
You’ll often need more pressure to steady it, which sends vibration through the bike and reduces cornering confidence.
Check the rim maker’s approved tire-width range, then assess the casing on your normal gravel pressure. If it feels unstable or pinches excessively, the rim/tire pairing isn’t supporting the casing properly. A wider internal rim can stabilize a 38–45mm gravel tire at lower pressure, preserving shape over chatter and through corners. Rims such as the Zipp 303 XPLR illustrate this approach: they’re designed for high-volume gravel casings, so you retain traction and comfort.
When To Go Wider
Step up to 42–45 mm when loose, uneven gravel is a regular part of your rides: this range gives you enough air volume to run lower, more controlled pressures without sacrificing all-road efficiency. The added casing support damps vibration, maintains grip, and can roll faster over rough ground than a narrow tire pumped hard.
Choose 47–50 mm or more when routes include chunky gravel, washboard, broken pavement, or repeated sharp impacts; you’ll gain stability, traction, and better protection against bottoming out. For smoother rail trails or crushed limestone, 38–40 mm can stay quick and responsive, but it won’t forgive potholes or deep loose patches as well.
Set pressure for surface conditions, rider weight, and your system. Don’t overinflate: a tire that skips across gravel wastes energy and loses control.
Check Fork-Crown Clearance
Before moving to a wider tire, measure the gap from the mounted, inflated tire to the fork crown, fork legs, chainstays, and seatstays. Aim for at least 4 mm of clearance on every side; roughly 6 mm gives useful margin for real-world rim and tire variation.
Don’t trust nominal sizing: a 700x28c tire can inflate to 29–30 mm. Measure the specific tire on your wheel, at riding pressure, before committing. A frame rated for 700×34 may not fit a 700x38c; actual clearance can shrink to under 2 mm per side. Any buzzing against stays can cause irreparable damage.
If results are tight or uncertain, ask a local shop to check the bike physically with your proposed tire. It protects speed, safety, and your frame.
Sealant Refill and Replacement Costs
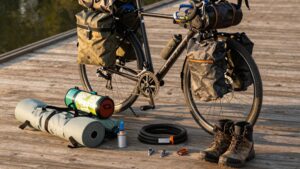
Tubeless running costs extend beyond the tire price: start with about 50 mL of sealant per tire, then budget for periodic top-ups as it dries or escapes through micro-leaks. Check manufacturer’s recommended volume for your tire rather than adding extra “just in case.” Excess sealant adds mass and can raise rolling resistance without delivering better puncture protection.
Wider, higher-volume tires chosen for comfort may require more frequent top-ups to maintain sealing, so include sealant in your width-change budget. When it’s time for replacement, account for liquid plus the labor and materials needed to remove dried residue and reinstall the correct dose. Inspect your setup, track refill intervals, and use measured quantities. This keeps puncture protection consistent while preventing cost and performance loss over time.
Maintain 4mm Mud Clearance
Allow roughly 4 mm of space on every side of an inflated tire for the frame and fork, or about 6 mm when the bike manufacturer calls for additional tolerance. This margin lets mud, grit, and tire flex pass without turning a fast ride into frame damage. Measure at the tightest point, not only where clearance looks generous.
- Check the chainstays, seatstays, fork crown, and brake area.
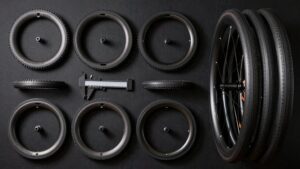
- Measure the tire’s actual inflated width with calipers before committing.
- Inflate to your maximum rated and recommended PSI when checking space.
- Stop if you hear buzzing or see rub marks after a test ride.
A 40-mm narrowest gap doesn’t reliably accept a 700x38c tire: near-miss clearance can still buzz stays and cause irreparable damage. Choose tire widths that preserve room everywhere.
Verify ETRTO Rim Compatibility
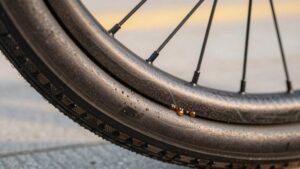
Match the tire’s ETRTO size to your rim’s internal width, because the rim controls the tire’s mounted shape, support, and handling. Don’t rely on the tire’s labeled width alone: check the manufacturer’s approved rim-width range for your exact ETRTO tire model. Testing with 22.8 mm front and 22.0 mm rear internal rims across 25–38 mm tires shows why this pairing changes real width, profile, and performance.
- Confirm nominal ETRTO width matches your wheel.
- Check the rim maker’s tire-width limits before ordering.
- Avoid overly narrow rims; they round wide tire sidewalls, demand higher pressure, and weaken cornering support.
- Inflate to riding pressure, then measure mounted width with calipers and confirm frame clearance.
A 38 mm tire can fit ETRTO guidance but still crowd your frame.
Conclusion
Choose tire width by matching your real terrain, riding speed, and available frame clearance. You’ll likely find 700x38c fast and comfortable on mixed roads, while 45 mm adds control on loose gravel. Balance rolling resistance against grip, then confirm ETRTO rim compatibility, fork-crown space, and at least 4 mm mud clearance.
Decide whether tubeless savings outweigh sealant upkeep. Test pressures, monitor wear, and adjust width as your needs change on different rides throughout the year.