How Often to Service Each Bike Component (Full Breakdown)
You should lubricate your chain every 100–200 miles.
Clean the drivetrain near 500 miles.
Measure chain wear at 1,000 miles; replace it above 0.5% stretch.
Inspect pads, rotors, tires, and wheel rotation every 500 miles, plus during a 15-minute weekly check.
Service brakes at 50 hours or three months of intense use, or 125 hours/year lightly.
Clean and relube after every wet ride.
Continue for condition-specific checks, tools, and safety limits for your bike.
Component-Specific Service Intervals
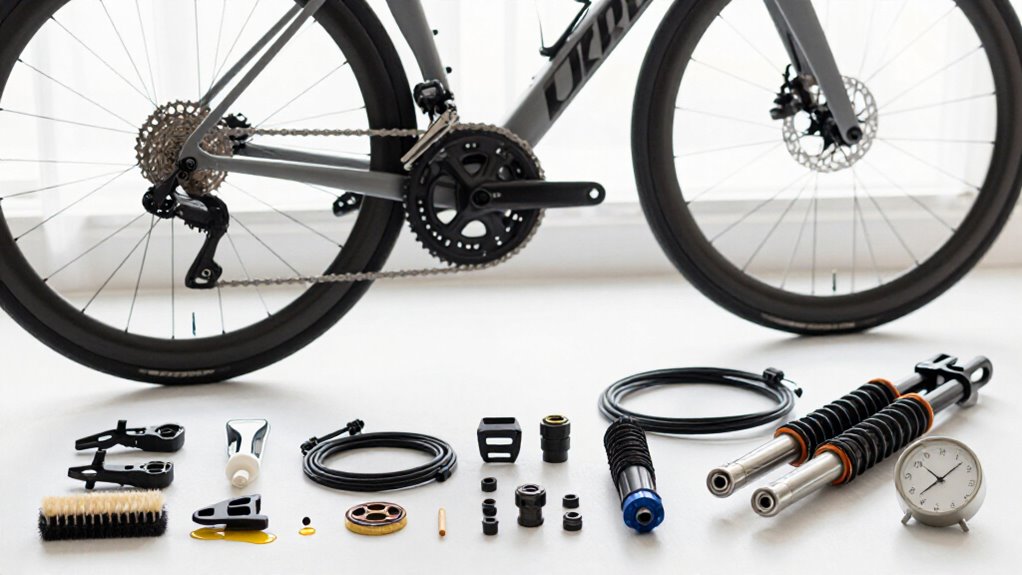
Service intervals vary by component, riding conditions, and whether you ride an e-bike, so use mileage and operating hours together rather than relying on a single schedule. Lubricate your chain every 100–200 miles and clean the drivetrain at about 500 miles. At 1,000 miles, measure chain wear; replace it above 0.5% stretch. E-bike chains commonly last 1,000–1,500 miles, versus roughly 3,000 for many road bikes.
Inspect pads and rotors every 500 miles. Service brakes at 50 hours or three months under intense use, or 125 hours or yearly under light use. Clean suspension stanchions and seals after rides; service suspension on the same hour-based schedule. Check torque-critical fasteners every 500 miles, especially motor mounts and battery connections.
During 1,000-mile tune-ups, run battery diagnostics. Avoid storing batteries at full or zero charge.
Bike Stand and Basic Tools
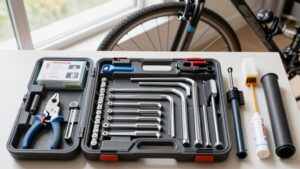
A stable repair stand and a focused set of compatible tools let you inspect, adjust, and replace bike components without stressing the frame or compromising safety.
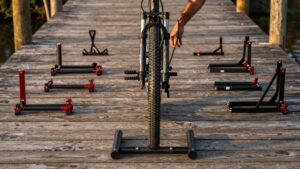
Choose a workstand with padded jaws, published clamp limits, a 90 to 150 cm height range, and capacity above your loaded bike weight. Don’t clamp carbon tubing unless its maker permits it.
- Clamp the seatpost or use approved adapters; secure through-axles by correct diameter and pitch.
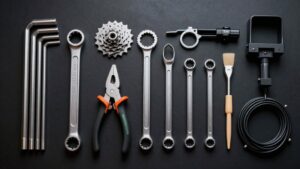
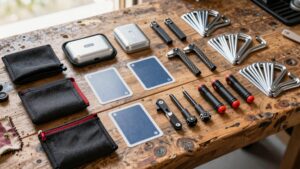
- Use 2–8 mm hex and T10–T40 Torx keys; T25 fits many rotors.
- Set fasteners with a calibrated 2–25 Nm torque wrench, never guessing on carbon.
- Keep a chain breaker, quick-link pliers, cassette tool, chain whip, and pedal wrench.
- Stage pumps, tire levers, a patch kit, lubricant, degreaser, rags, and a magnetic tray at home during disassembly and reassembly.
Sunday 15-Minute Inspection Plan
With your stand and basic tools ready, reserve 15 minutes each Sunday for an early-warning inspection. Spin both wheels and listen for rubbing or uneven drag. Inspect rotors for visible warping or scoring, then view pad material through each caliper window. Test tire pressure with a gauge and examine tread and sidewalls for cuts, debris, bulges, or cracking.
| Check | Action |
|---|---|
| Brakes and wheels | Stop riding if pads, rotors, or wheel rotation are compromised. |
| Tires and e-bike hardware | Correct pressure; remove debris; check battery connections and motor mounts for looseness. |
At 100–200 miles, inspect drivetrain contamination and shifting, and recheck tire pressure. After wet rides, watch for pad rub indicating rotor or caliper misalignment. At 500 miles, schedule fuller drivetrain and brake assessment without delay.
Clean Chain Before Applying Lube
Before lubricating, you should remove surface grime with a drivetrain-safe degreaser and work it through each chain link. Rinse away all residue, dry the chain completely, and keep degreaser off brake rotors and pads to prevent loss of braking performance.
Inspect for blackened contamination, stiff links, or wear before applying the manufacturer-recommended lubricant.
Remove Surface Grime
After every ride, especially in wet, muddy, or sandy conditions, wipe surface grime from the drivetrain before you lubricate the chain. Use a clean, lint-free rag to remove mud, dust, and black residue from the chain’s outer plates, rollers, cassette teeth, and chainrings. Rotate the cranks backward by hand only, keep fingers clear of the chainring and cassette, and never run the drivetrain while the wheel is powered or suspended unsafely.
Pay attention to caked material around the jockey wheels and between cassette sprockets. A low-pressure rinse can loosen fresh mud, but dry the drivetrain completely afterward. New lubricant mixed with abrasive grit forms a grinding paste that accelerates chain, chainring, and cassette wear. Make wiping and relubrication routine every 100–200 miles, sooner after contaminated rides.
Choose The Right Degreaser
Choose a dedicated drivetrain degreaser that matches the contamination level before applying fresh chain lubricant. For routine road dust and light oily film, select a water-rinse product; it simplifies regular maintenance and label-directed disposal.
After wet or muddy rides, or when grime has hardened, use a heavy-duty drivetrain formula capable of dissolving stubborn lubricant deposits. Avoid household solvents, fuel, and unapproved cleaners: they can damage finishes, leave unsuitable residues, or create fire and health hazards.
Keep degreaser away from brake rotors, pads, calipers, bearing seals, and suspension components. Shield these areas and work in a ventilated location while wearing gloves and eye protection.
Confirm that the degreaser is compatible with your drivetrain materials and the manufacturer-recommended lubricant. This supports reliable lubrication under riding loads.
Clean Chain Links Thoroughly
Clean each chain link thoroughly before applying fresh lubricant, because grit trapped in the rollers and inner plates forms an abrasive paste that accelerates drivetrain wear. Support the bike securely, keep fingers clear of chainrings and jockey wheels, and turn the pedals backward by hand only. Apply your chosen degreaser to a clean brush or chain-cleaning tool, then work it across the lower run while rotating the cranks.
Focus on roller gaps, inner plates, outer plates, and the areas where links articulate; the top run alone won’t expose all contamination. Wipe loosened black residue away with a dedicated rag and repeat until the rag no longer lifts visible grime. Clean after every dirty ride, and schedule a full clean-and-lube service about every 100–200 miles.
Rinse And Dry Completely
Once you’ve removed surface grime, rinse the chain only as needed with low-pressure water, keeping the spray away from hubs, bottom-bracket bearings, and suspension seals. Direct water along the lower chain run while backpedaling slowly, then wipe the rollers, inner plates, and outer plates until no grit remains. Avoid pressure washers: they can force water and contamination past seals and into bearing assemblies.
Dry the chain area immediately with lint-free cloths, then rotate the cranks and continue wiping until the chain is completely dry. Let trapped moisture evaporate before you lubricate; water-diluted lube can form an abrasive paste that accelerates drivetrain wear. After lubrication, wipe excess from the outer plates so dirt can’t adhere. Perform after wet or muddy rides, and before relubing.
Inspect Before Lubricating
Before applying fresh lubricant, inspect the chain for wet grit, rust, heavy black buildup, or a gritty feel as you rotate the cranks. If contamination is present, wipe the chain with a clean rag until the rag picks up little black residue.
After wet or muddy rides, rinse or wipe the drivetrain area promptly; dirt suspended in lubricant forms an abrasive paste that accelerates chain, cassette, and chainring wear. At your 500-mile maintenance interval, use a drivetrain-safe degreaser for a full cleaning. Let the chain dry completely before lubricating.
Apply quality lube sparingly to the rollers, rotate the cranks to distribute it, then wipe off all exterior excess. Although lubrication commonly falls every 100–200 miles, don’t lube a dirty chain: fresh oil must protect metal, not trap dust.
Wet-Weather Chain Care Frequency
After every wet ride, clean grit and moisture from your chain to limit abrasive wear. Once the chain dries, apply a suitable wet-weather lubricant and wipe off excess.
Inspect it weekly for rust, stiff links, or contamination, and correct any issue before it damages shifting or drivetrain components.
Clean After Every Wet Ride
Clean and relubricate the drivetrain after every wet or muddy ride, because water, grit, and road debris form an abrasive slurry that quickly wears the chain, cassette, and chainrings. Rinse off contamination with low-pressure water; don’t direct a hard stream at hub, bottom-bracket, derailleur, or freehub seals. Use a drivetrain cleaner and brush to remove mud from chain links, jockey wheels, cassette teeth, and chainrings, then wipe away residue.
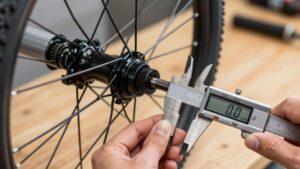
Dry components to limit corrosion and prevent moisture from trapping grit. Choose a wet-weather chain lubricant designed to resist wash-off and repel water. If you ride in rain or mud, inspect chain wear more often with a gauge, especially on an e-bike. Excessive elongation can damage cassette, impair shifting, and cause chain skips under load.
Lubricate Once Chain Dries
Once the chain has fully dried, apply a wet-weather chain lube to the rollers and wipe off excess from the outer plates. This targets the internal bearing surfaces without leaving a dirt-catching film across the drivetrain.
Before relubricating, wipe the chain thoroughly so you don’t work old grit into the rollers. In wet conditions, use a water-repelling formulation and lube about every 100–200 miles. Shorten that interval after mud, sand, rain, or salty spray, because contaminants dilute lubricant and accelerate wear.
Turn the cranks backward slowly while applying a controlled drop to each roller; keep lubricant away from brake rotors and pads. Check chain wear with an indicator and replace it above approximately 0.5% stretch to protect the cassette and chainrings from accelerated damage.
Inspect Weekly for Rust
Inspect your bike weekly for rust, focusing on chain links, cassette teeth, derailleur pivots, brake calipers, and exposed steel fasteners. Surface discoloration can signal retained moisture and contamination; treat it before corrosion impairs movement, braking hardware, or fastener integrity.
After every wet or muddy ride, wipe the chain thoroughly to remove water and abrasive grit. Clean it when contamination remains, then apply a fresh, thin coat of wet-weather chain lubricant. This lubricant repels water between cleanings, but excess lube attracts dirt, so wipe away surplus.
Check chain elongation with a wear indicator more frequently during wet periods. Accelerated wear can require earlier chain replacement and can damage the cassette. Plan to inspect cassette condition with chain replacement; cassettes commonly last three to five chains.
No Black Residue on Chain
A chain that leaves no black residue on your hands or drivetrain usually has the right amount of clean lubricant on its rollers rather than excess oil collecting grit. To maintain that condition, wipe the chain with a clean rag after rides whenever grime appears, then apply lubricant every 100–200 miles.
Use a quality product such as TriFlow Superior Lubricant, and wipe off surface excess before riding; lubricant belongs inside the rollers, not on the outer plates. In wet or muddy conditions, use wet-weather lube that resists water displacement and grit intrusion.
If dark residue returns quickly after cleaning, your chain is likely over-lubed or contaminated. Clean it, relube sparingly, and inspect wear with a chain checker. Replace the chain near 0.5% stretch to limit particle shedding and protect cassette teeth.
Sidewall Bulges Require Immediate Stop
Tire condition demands the same attention as chain cleanliness: stop riding immediately if you spot a sidewall bulge. A bulge normally indicates damaged casing cords, so the tire can fail abruptly under load. Replace it before riding another mile; higher pressure and fast descents raise blowout risk.
After removal, inspect the tire and inner tube, or your tubeless sealant system, for impact damage, pinch-flat evidence, or debris penetration. Check tire pressure at least every 100 to 200 miles. Overinflation increases sidewall stress and makes casing damage more likely.
If replacement tires repeatedly bulge at the same location, don’t continue troubleshooting on the road. Have a qualified professional inspect the rim for dents, cracks, deformation, or sharp internal edges that could damage tire or tube.
Overtightening Carbon Seatpost Clamps
Always tighten a carbon seatpost clamp only to the torque printed by the component manufacturer—often about 4–6 Nm, but never assume that range applies to your bike. Use a calibrated torque wrench and the specified tightening sequence. Excess torque crushes fibers, permanently weakening the post.
- Inspect for cracks, creases, and ovalization before riding.
- Use carbon assembly paste only where the manufacturer permits it.
- Tighten evenly in small increments, never beyond the stated limit.
- Treat creaking or persistent slip at correct torque as possible damage.
- Stop riding if you find new cracks, creases, or continued movement.
Recheck torque after your first few rides. Don’t chase slippage by adding torque: confirm clamp compatibility, interface material, and seatpost condition, then replace any compromised carbon component immediately.
Log Brake Pad Thickness Monthly
Brake safety needs the same disciplined inspection habit as carbon-component torque: check and log pad thickness at least monthly. Look through the caliper window, or remove the wheel when your caliper lacks one, and measure the remaining friction material. Compare the result with your pad maker’s minimum specification; many pads require replacement near 1–2 mm. Don’t wait for backing material to reach the rotor, because metal-on-metal contact can score the rotor and sharply reduce stopping performance.
Record thickness for both pads and note rotor contact, grooves, or uneven wear. A pad that thins substantially faster than its mate can signal caliper misalignment or a dragging piston. Inspect and log more often after wet, muddy, or salty rides: contamination can accelerate wear.
Check function pre-ride.
Conclusion
Use this schedule to catch wear before it becomes a roadside failure. Inspect your bike weekly, clean and lubricate the chain only after removing grime, and increase chain care after wet rides. Stop riding immediately if you find a sidewall bulge.
Check brake-pad thickness monthly, tighten carbon seatpost clamps to the specified torque, and record completed work. With a stand, basic tools, and a 15-minute Sunday inspection, you’ll keep every component safe, efficient, and reliable.