Pre-Ride Bike Safety Checklist
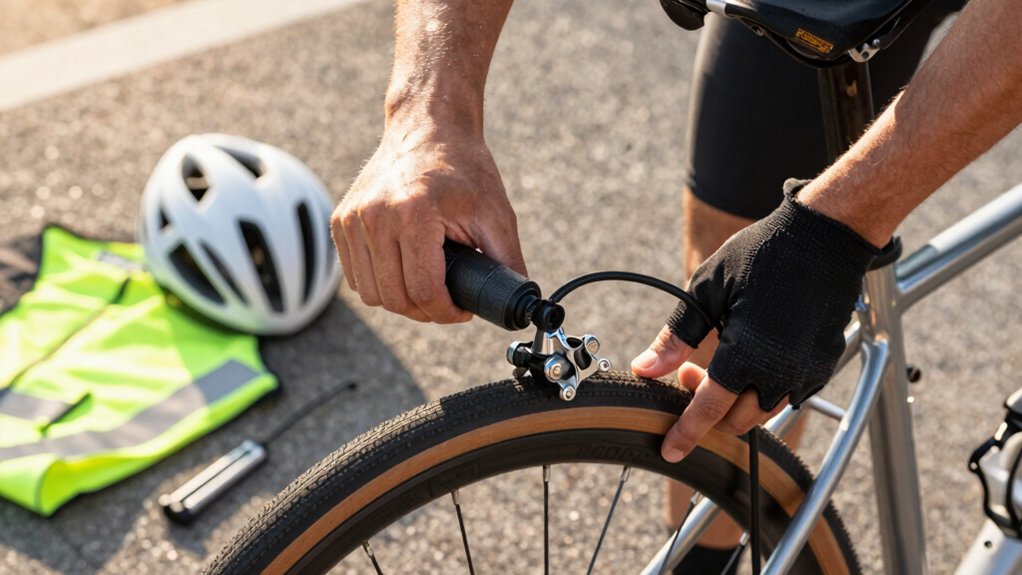
Before every ride you’ll quickly check three things: tires, valves, and chain. Inflate tires to the sidewall PSI matched to your weight and rim limits. For wider or tubeless tires, start near max then drop 5–10 PSI for comfort.
Verify valve type (Presta, Schrader, tubeless), seat and cap, and snug removable cores. Use a chain-wear gauge near the rear derailleur; test multiple links and replace at specified limits to protect the drivetrain. Keep going for detailed how-tos.
Quick Overview
- Check tire pressure against the sidewall PSI and rider weight; adjust for tire width and terrain.
- Inspect valve type and seating; ensure caps are present and snug removable valve cores correctly.
- Use a chain-wear indicator at multiple links. Replace the chain when the gauge shows specified limits.
- Clean, lubricate, and inspect the chain and drivetrain for stiff links, rust, or excessive cassette wear.
- Verify brakes, rotors, quick-releases, and headset are secure and functioning before every ride.
Tire Pressure Range Chart
Want the best ride and fewer flats? You check tire pressure against your tire sidewall and match it to rider weight and width. Then respect rim compatibility limits to avoid failures. Use this quick guide to set safe, confident pressures.
| Tire Width | Suggested PSI | Rim Limit |
|---|---|---|
| 25mm | 90–115 PSI | Hooked ≤100 PSI |
| 28–32mm | 65–90 PSI | Hookless ≤72.5 PSI |
| 33–50mm | 20–60 PSI | System-dependent |
You’ll prefer lower pressure for comfort on wider tires and tubeless setups; subtract ~5–10 PSI. Always start at the tire sidewall max, adjust for terrain and weight, and never exceed rim compatibility. Check before every ride.
Valve Type & Torque Specs
Which valve fits your wheel and pump matters: Schrader, Presta, and tubeless-specific valves each have distinct sizes, threading, and sealing needs. Therefore, match the valve type to your rim and pump head before inflating. Check valve cores for tightness and proper caps. Leaking cores or damaged seals cause slow losses. Use the correct adapter or pump head for the valve type to avoid damage.
- Inspect valve stem seating and cap presence; replace if bent or corroded.
- For tubeless, confirm valve core compatibility and a secure rubber base seal.
- Tighten removable valve cores hand-tight, then snug with the correct tool; don’t overdo it.
- Use manufacturer torque specs for rim, stem, and axle bolts to prevent loosening or damage.
Chain Wear Indicator Reading
Before every ride, check chain wear with a chain-wear indicator to measure elongation and confirm the tool sits squarely between links and rollers.
Read the indicator marks to decide if the chain is within spec, near replacement, or overdue. Replace the chain before it chews through your cassette.
Keep the chain clean, properly lubricated, and inspected regularly to extend drivetrain life and prevent premature wear.
Chain Wear Measurement
How do you know when a chain’s life is ending? Use a chain wear indicator or ruler to measure elongation: place the tool on the chain and read at specified marks (0.5%–0.75% for replacement on single-speed; 0.75%–1.0% for multi-speed). If the tool shows over the recommended limit, the chain’s stretched and will accelerate cassette and chainring wear; replace it promptly.
Check for stiff links and rust while measuring; clean and relube before retesting if contamination influenced the reading. Don’t ignore related symptoms: noisy shifting, skipping under load, or rapid cassette tooth wear indicate advanced chain wear.
While assessing drivetrain health, remember to routinely inspect rotor wear separately for safe braking performance.
Tool Placement Technique
Wondering where exactly to seat the chain wear indicator? Place the hooked end on a stationary chain link near the rear derailleur so the gauge drops naturally into the chain. You’ll want consistent tool handling: grip the indicator by its marked body, not the probe, to avoid misalignment. Keep the chain on a middle gear to reduce slack and make readings repeatable.
Mindful space management prevents accidental contact with the cassette or spokes. Work in a clear area, small movements only, and steady the bike by holding the frame; don’t rely on the handlebars. If the indicator seats fully, the chain’s worn. If it stops short, it’s within tolerance. Record the result and remove the tool carefully to avoid chain contamination.
Interpreting Indicator Marks
Curious how to read those tiny marks on a chain wear indicator? You’ll get a quick, reliable sense of chain life by interpreting indicators correctly. Place the tool on the chain and align the probe with a roller. Reading markings shows whether the probe drops into the chain.
If it seats at the 0.5% or 0.75% mark, the chain’s approaching wear but can often stay in service with close monitoring. If it reaches the 1.0% mark, you’re seeing significant elongation and should plan replacement to protect cassettes and chainrings.
Don’t force the tool or rely on a single check; test a few spots along the chain. Accurate interpreting indicators and disciplined reading markings prevent drivetrain damage and ensure safer rides.
When To Replace
When should you pull the trigger on a chain replacement? Use a chain wear indicator reading as your objective guide: Most manufacturers and mechanics recommend replacing the chain when the gauge shows 0.5% to 0.75% wear for single-speed or mountain setups and 0.75% to 1.0% for multi-speed drivetrains before skipping and excessive cassette wear occur.
Check periodically—every few hundred miles or after heavy rides—and measure in multiple spots to avoid false readings from grime or bent links. If the indicator hits the recommended threshold, replace the chain immediately. Delaying risks premature wear to chainrings and cassette, increasing repair costs.
In short, follow the chain wear indicator reading to decide when to replace and act promptly.
Preventive Maintenance Suggestions
A simple, regular habit of checking chain wear with a gauge will save you money and prevent drivetrain damage: measure every few hundred miles, after heavy rides, or whenever shifting feels rough. Replace the chain once the indicator reaches 0.5–0.75% for single-speed/MTB setups or 0.75–1.0% for multi-speed drivetrains.
Use a reliable chain checker and record readings so you spot accelerated wear. Clean and lube after rides that kick up road debris or leave grit from wet conditions. Store your bike clean, dry, and hung or on a stand to avoid sagging and rust in bike storage.
Replace the chain proactively when the gauge hits limits; doing so protects cassettes and chainrings and keeps shifting crisp. This reduces repair costs and downtime.
Frequently Asked Questions
How Do I Check Helmet Fit Quickly Before a Ride?
Check helmet fit by tightening straps and the rear retention until the helmet sits level, about two fingers above your brow. Snap the buckle, form a V under each ear, and pull straps snug. You shouldn’t be able to roll the helmet front-to-back or side-to-side. Make a quick adjustment if it shifts.
While you’re at it, glance at brake pads and note replacement cadence for maintenance reminders before riding.
What Should I Carry for a Long Solo Ride?
For a long solo ride, carry essentials: spare tube, patch kit, pump/CO2, multitool, chain quick-link, tire levers, ID, cash/card, phone, water, snacks, and visibility lights.
Include basic first-aid, map/GPS, and weather-appropriate layers. You’ll want discussion ideas if you meet riders or need mental prompts.
Don’t forget a helmet fit quick check before leaving. Pack gear for repairs, comfort, and safety so you can ride confidently alone.
How Often Should I Replace Brake Pads?
You should replace brake pads when wear indicators show or performance drops. This typically occurs every 500 to 2,000 miles depending on conditions. Replace brake pads sooner if you hear squealing, feel reduced stopping power, notice glazing or grooves, or see less than 1 to 1.5 mm pad material.
How often you replace brake pads depends on riding style, terrain, and weather. Inspect them regularly and swap them immediately if any damage or significant wear appears.
Can I Ride With a Slightly Bent Rim?
You shouldn’t ride with slightly bent rims for long. They can wobble, cause brake rub, pinch tubes, or fail under load. If the wobble is minor and you must ride a short distance, go slowly, avoid hard braking or heavy loads, and wear a properly fitted helmet. Check helmet fit before leaving.
Ideally, get the rim trued or replaced promptly. A trained mechanic can assess whether repair is safe.
How Tight Should My Pedals Feel?
Your pedals should feel snug with no pedal play. You shouldn’t feel looseness or side-to-side movement when you wiggle them. Tighten pedal threads to manufacturer torque; this is usually 25–35 Nm for most pedals. Check crank arm attachment for a secure fit.
After installation, spin and press on pedals to confirm smooth rotation without binding. Recheck after a short ride and periodically to maintain proper pedal tightness and safety.
Conclusion
You’ve covered the essentials: check tires against the pressure chart and valve specs, measure chain wear with the indicator, and place tools so you can fix issues fast. Read indicator marks clearly and replace parts when readings or torque limits tell you to.
Do quick preventive maintenance: cleaning, lubricating, and tightening before every ride. That routine keeps your bike performing reliably and lowers the chance of mechanical failures while you’re out on the road.
Related reading: How to Find the Right Tire Pressure — a closer look at this topic.