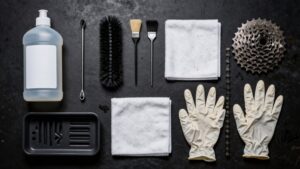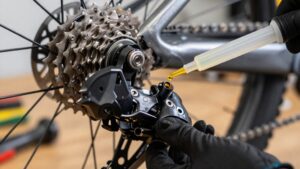
How to Deep Clean a Bike Drivetrain (The Complete Method)
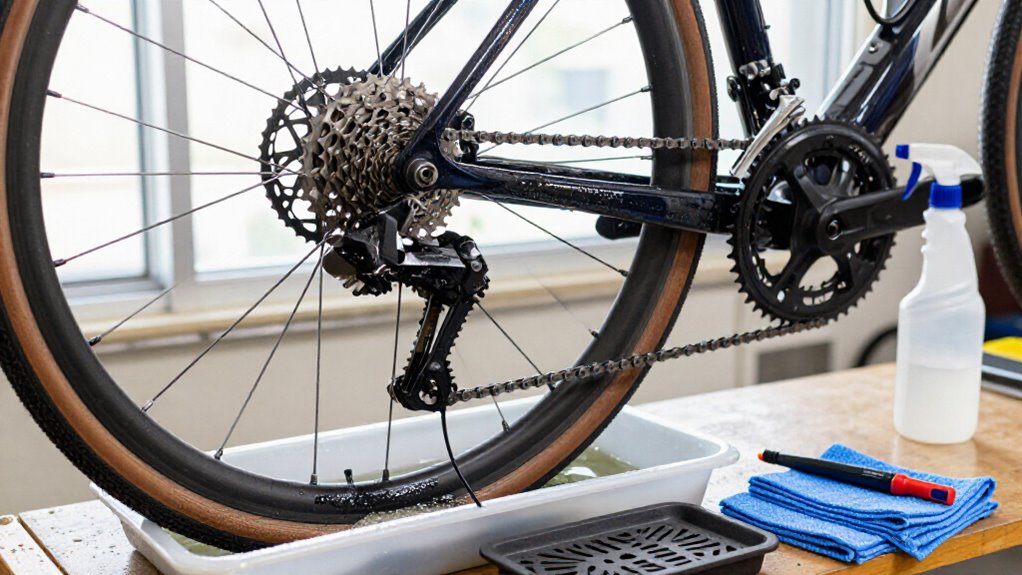
Shift to the smallest rear cog and easiest front ring, remove the rear wheel, and cover the rotor.
Use a bike-safe citrus degreaser to clean the chain, cassette gaps, chainrings, and jockey wheels; keep solvent off brakes.
Rinse twice, dry by backpedaling, then lube only the rollers and wipe excess.
Test every gear under light load. If skipping persists, inspect worn teeth and chain wear.
The following steps explain each check safely and confidently below.
Restores Smooth, Quiet Shifting
A deep-clean restores smooth, quiet shifting by removing the abrasive grime and diluted lubricant that interfere with chain engagement. Secure the bike in a stand, keep cleaning fluid away from brake rotors, and run a chain-cleaning device for 30–40 backward pedal revolutions. Inspect inner links and rollers; repeat if residue remains.
Scrub cassette sprockets, chainring teeth, jockey wheels, and derailleur surfaces with stiff brushes. Rinse first with hot soapy water, then with clean water, repeating until runoff is clear. Residual cleaner thins lubricant and produces noisy black buildup.
Dry every component with microfiber cloths, then spin the cranks to expel trapped water from the links. Once dry, place drops of lubricant only on rollers, rotate backward, and wipe excess. Test shifting before riding.
Choose Citrus-Based Bike Degreaser
For effective drivetrain cleaning, choose a citrus-based degreaser formulated with d-limonene to dissolve old chain oil, wax, and embedded road grit. Citrus terpenes are low-polarity solvents that penetrate chain links, cogs, and pulley teeth, emulsifying hydrocarbon grime without relying on chlorinated solvents. Select a bike-specific, biodegradable formula and read its label:
- Confirm it’s compatible with paint, plastics, rubber, and composite finishes.
- Use gloves, eye protection, and ventilation.
- Keep it away from flames; d-limonene is combustible.
- Avoid spraying bearings, hubs, and bottom-bracket seals.
- Test a hidden area, then follow dilution and dwell-time instructions.
Apply only enough to wet the grime, let it work for one to five minutes, and don’t let it dry. Rinse thoroughly, dry fully, then lubricate. Wipe surplus lube before riding again.
Step 1: Remove the Rear Wheel
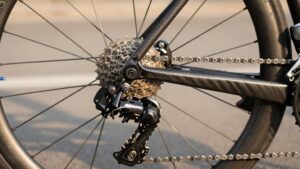
Shift the chain onto the smallest rear cog and the easiest front chainring before removing the wheel; this minimizes derailleur tension and creates clearance around the cassette. Support the bike in a stand or keep it upright and stable on the ground. Open the quick-release lever or loosen the axle nuts, following the axle system’s release procedure. Pull the rear wheel slightly forward to clear the jockey wheels, then guide it downward and out of the dropouts.
Keep the chain from snagging and confirm it remains on the front chainring without derailleur tension. Inspect the dropouts and rear axle for loose grit; remove it before reinstallation. Later, seat the axle fully in both dropouts, turn cranks, and verify cassette and jockey wheels move freely.
Step 2: Shield the Brake Rotor
Protect the brake rotor before applying any drivetrain degreaser: cover it with a purpose-made rotor cover or a clean plastic bag secured with tape. Make sure the cover fully shields both rotor faces and doesn’t contact the caliper or snag on the wheel mounts. Keep degreaser spray directed away from the brake assembly; even a light chemical residue can glaze the rotor or pads and reduce stopping power.
When rinsing adjacent components, use low water pressure and aim the flow away from the protected rotor. Don’t use a high-pressure washer, which can drive contaminated water into the caliper area.
After cleaning, remove the shield and inspect the rotor for streaks or an oily film. If you’re uncertain, wipe it with isopropyl alcohol using a clean cloth. Before riding normally, perform a slow, controlled test stop.
Step 3: Scrub Cassette Sprocket Gaps
With the rotor still covered, apply biodegradable degreaser across the cassette and allow the label-specified dwell time, commonly 30–60 seconds, to loosen compacted lubricant and grit. Use a dedicated cassette brush or stiff nylon brush, working it side-to-side through each sprocket gap. Rotate the cranks backward by hand as needed to expose fresh sections; keep fingers clear of teeth and moving parts.
Push bristles into narrow spaces beside the teeth and between cogs, where black residue and abrasive grit accumulate. Inspect the brush frequently. If it lifts heavy soil, rinse it and apply fresh degreaser to the cassette; deep gaps rarely clear in one pass. Rinse with low-pressure hot, soapy water until runoff from between sprockets is clear. Avoid directing water at hub bearings. Wipe cassette dry.
Step 4: Run Chain Through Cleaner
Clamp the chain-cleaning device around the lower chain run, midway between the lower jockey wheel and chainrings, and fill it only with the manufacturer-specified amount of bike-chain degreaser. Hold the unit firmly so it can’t shift into the chainrings or spill onto brake components. Rotate the cranks backwards through 30–40 pedal revolutions at a controlled pace, allowing its brushes and fluid to circulate through the inner rollers.
Stop and inspect the chain. If oily grime remains obvious, make another short pass; add fresh degreaser only when stubborn contamination has saturated solution. Use bike-chain-specific degreaser, not generic exterior grime remover, because the cleaner must dissolve lubricant within the moving chain. Remove cleaner once grime releases, then rinse. Residual degreaser turns lube into messy black goo.
Step 5: Inspect Derailleur Pulley Bearings
Once the chain is clean and dry, inspect both derailleur jockey wheels while turning the cranks backward. Watch the upper and lower wheels for smooth rotation, scraping, gritty noise, or side-to-side wobble. Keep fingers clear of the chain and pulley teeth as you turn the cranks.
With the bike secure in a stand, press each wheel lightly from side to side. Noticeable lateral play points to worn bearings. Check the bearing seals and wheel edges for black or gray sludge, rust, pitting, or dry-looking surfaces.
If buildup remains, scrub around the pulleys with bike-safe degreaser and a stiff brush, then rinse gently and dry completely so water doesn’t remain at the seals. If roughness persists after cleaning, replace the jockey wheels; sealed bearings aren’t reliably serviceable. Spin again to confirm smooth operation.
Step 6: Bag Solvent-Soaked Rags Safely
After degreasing, handle solvent-soaked rags as hazardous waste rather than ordinary shop towels. Put on nitrile gloves and maintain ventilation while you collect them; degreaser can irritate skin and release fumes. Place each rag flat in a solvent-compatible metal container or sealable jar temporarily.
Keep them separated; don’t mix them with other cleaners, since incompatible products can react unexpectedly. Never leave cloths bunched together, where drying or oxidation may build heat. When work is complete, either spread the rags flat to dry in a safe area away from ignition sources or transfer them to an approved oily-waste or solvent-waste bin. Don’t burn them or put them in household trash. Keep the container away from flames and sparks, and follow the solvent label and local disposal rules.
Backpedal to Verify Silent Running
Shift through the cassette, then backpedal the cranks steadily for 30 to 40 revolutions in each selected gear. Listen for silence and feel for gritty resistance in the cassette, chain, and jockey wheels. Keep fingers, clothing, and cleaning rags clear of moving teeth and pulleys. This reverse test loads every sprocket and exposes grime trapped where cog teeth meet inner chain links. Use it during the final verification pass.
If you hear noise or feel drag, pause and inspect for dirt or film. Repeat the degrease, scrub, and rinse cycle as needed; residual degreaser can make parts feel abnormal.
Once clean, spin the cranks fast to shed water, dry the drivetrain, and apply a thin amount of lube to rollers only. Wipe excess and backpedal briefly again.
Fix Chain Skipping Under Load
A quiet backpedal test doesn’t guarantee the chain will hold under pedaling force, so confirm engagement with a loaded ride test. First, deep-clean the chain, cassette sprockets, jockey wheels, and chainring teeth. Rinse twice, then dry fully by spinning the cranks to expel water from the links.
| Check | Action |
|---|---|
| Rollers | Apply lube sparingly |
| Excess | Wipe with microfiber |
| Engagement | Pedal forward and backward |
| Load | Climb in a harder gear |
Ride somewhere clear of traffic, apply force progressively, and test every cassette sprocket. Keep fingers, clothing, and tools away from the moving drivetrain.
If it skips after cleaning, drying, and correct lubrication, don’t keep adding lube. Inspect for hooked cassette or chainring teeth and have the drivetrain assessed; worn mating parts can release the chain under torque.
Check Chain Wear Monthly
Check chain wear at least monthly with a chain-wear gauge, using the same section of chain and the manufacturer’s specified replacement threshold each time. A worn chain accelerates cassette and chainring wear, so replace it once the gauge exceeds the limit; don’t assume fresh lubricant will correct elongation. For 9–10-speed systems, replacement commonly falls between 0.5% and 0.75%; 11-speed-and-up systems often allow 0.75% to 1.0%, but your manufacturer’s specification controls.
Inspect more often after wet, gritty rides or frequent cleaning, because abrasive contamination speeds wear. After cleaning and lubricating, shift through every gear under light load. Investigate skipping, hesitation, or rough running promptly: wear may affect performance before the chain appears dirty. Dry the chain before lubing, and wipe excess lubricant to prevent grit.
Conclusion
Deep-cleaning your drivetrain restores efficient, quiet shifting when you follow a controlled process. You’ll protect the rotor, remove contaminated grime with citrus degreaser, scrub cassette gaps, and contain solvent-soaked rags safely. Reinstall the wheel, lubricate the chain correctly, and backpedal to confirm silent running.
If skipping persists under load, inspect adjustment and component wear. Check chain wear monthly, because timely replacement protects the cassette and chainrings from accelerated damage while maintaining reliable pedaling performance.