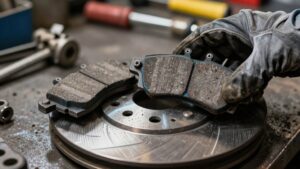
Disc Brake Squeal Troubleshooting
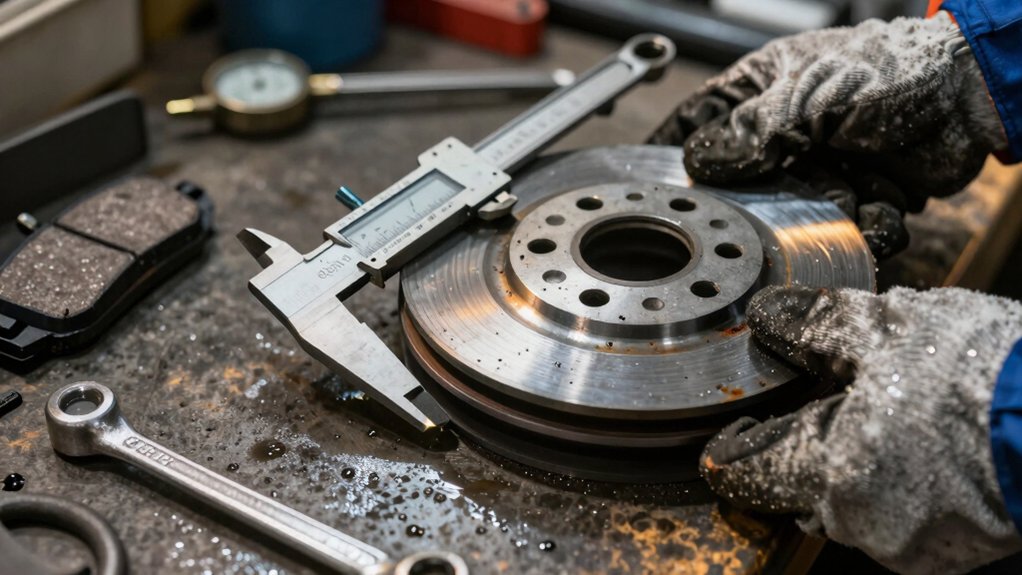
You can stop most Disc Brake squeal by methodically checking pad wear, minimum pad thickness, rotor runout, and caliper function. Measure pad thickness at three positions and compare to the manufacturer’s spec; replace if any reading nears minimum.
Mount the rotor securely and use a dial indicator to record runout peak-to-peak, typically 0.002–0.005 inch for passenger cars. Correct excessive runout by resurfacing, shimming, or replacing components and verify caliper sliding pins and piston release to confirm resolution. Keep going for step-by-step fixes.
Quick Overview
- Check rotor runout with a dial indicator and correct if beyond the typical 0.002–0.005 inch tolerance.
- Inspect pad wear patterns (outer/inner/taper) to identify caliper, piston, or cooling issues.
- Measure pad thickness at three across-face points and replace pads near minimum manufacturer specs.
- Verify caliper slide pins, hardware, and pad backing lubrication to ensure pads release and sit flush.
- If runout is acceptable, inspect pad-to-rotor contact, pad glazing, and re-bed new pads to eliminate squeal.
Brake Pad Wear Chart
Why check pad wear patterns? You’ll identify failure modes quickly: even wear means hydraulics and caliper diagnostics are healthy. Outer or inner bias signals seized pins, piston issues, or airflow imbalance. Use a simple chart to standardize inspection and decide corrective action.
| Pattern | Key Cause | Action |
|---|---|---|
| Even wear | Balanced caliper/piston function | No immediate action; monitor |
| Outer > Inner | Caliper not releasing; seized pins | Lubricate/replace pins; verify caliper slide |
| Inner > Outer | Poor inner cooling; piston issue | Inspect piston/seals; improve airflow |
Interpret taper and wedge shapes as progressive damage. Track pad wear accelerates with heat: rotate pads or swap calipers per protocol.
Minimum Pad Thickness Guide
How thin is too thin for your brake pads? You must monitor the minimum pad depth against the wear chart and replace pads before performance and noise degrade. Measure pad backing-to-friction thickness with calipers at multiple points. Record readings and compare to the manufacturer’s wear chart. If any reading approaches the minimum pad spec, service immediately.
- Inspect: Measure at three positions across the pad face for uneven wear.
- Compare: Use the wear chart thresholds; replace at or below specified minimum pad thickness.
- Act: If uneven or near-minimum, replace pads and evaluate caliper function and hardware.
Following this methodical approach prevents indicator contact and mitigates squeal caused by thin, degraded friction material.
Rotor Runout Limits
Check rotor runout against the manufacturer’s acceptable range before chasing other noise causes, because even small lateral variations can induce pad vibration and uneven wear. You’ll measure runout with a dial indicator at the rotor face and hat. Note tolerance effects on pedal feel and noise, and compare results to specified limits.
If runout exceeds tolerance, you’ll correct it by resurfacing, shimming the hub, or replacing the rotor. Uncontrolled runout accelerates pad wear and perpetuates squeal.
Acceptable Runout Range
When you measure rotor runout, you’re checking how much lateral wobble the rotor has as it spins. Acceptable limits are critical because even small deviations can cause pedal pulsation and squeal. You should expect acceptable runout to be tightly controlled: typical rotor runout limits are 0.002–0.005 inch (0.05–0.13 mm) for passenger vehicles and slightly higher for heavy-duty applications.
Stay within manufacturer specifications. If runout exceeds limits, you’ll see uneven pad contact and vibration. When diagnosing squeal, document measured runout, compare it to the acceptable runout band, and determine whether resurfacing or replacement is required.
Precise adherence to rotor runout limits prevents recurring noise and ensures consistent pad engagement and braking performance.
Measuring Runout Techniques
Accurate runout measurement requires the right tools and a methodical setup: mount the wheel or rotor securely. Bring a dial indicator tip to a consistent reference point near the rotor’s hat or outer face. Rotate the assembly slowly while recording the maximum deviation. You should zero the indicator against a known datum, index the rotor through multiple revolutions, and note peak-to-peak values.
Use a magnetic base and verify spindle play is absent. Repeat measurements at inner and outer faces to assess rotor flatness and discriminate lateral wobble from thickness variation. If available, complement the dial indicator with an optical comparator for high-resolution studies. Document readings, ambient temperature, and fixturing to ensure reproducibility and to guide corrective machining or replacement decisions.
Runout Tolerance Effects
How much lateral runout can your rotor tolerate before you hear or feel it? You’ll quantify runout tolerance as the maximum lateral variation the pad-rotor interface can accept without producing squeal or pulsation. Typical rotor runout limits are 0.05–0.10 mm for passenger vehicles; tighter tolerances apply to performance systems. You’ll evaluate vibration amplitude, frequency, and pad material sensitivity against those limits.
If measured runout approaches the lower bound of rotor runout limits for your pad compound, expect increased tendency to squeal under light braking or at resonance speeds. Use repeatable measurement points, controlled thermal state, and calibrated dial indicators to correlate measured runout with subjective noise. This technical correlation guides whether runout is a likely root cause.
Correcting Excess Runout
If your measured runout nears or exceeds the 0.05–0.10 mm window discussed earlier, you’ll need to correct the rotor to restore quiet, consistent braking. First, remove the wheel and caliper, secure the hub, and confirm runout with a dial indicator at multiple radii. If runout is marginal, loosen mounting bolts, seat the rotor, and retighten bolts in a star pattern to specified torque; recheck runout.
For persistent eccentricity beyond tolerances, machine the rotor on a lathe designed for brake discs, removing minimal material while respecting Disc Brake materials limits and preserving rotor metallurgy. Replace rotors if machining would compromise thickness, ventilation, or metallurgical integrity. After correction, reassemble and verify runout under torque and spin conditions.
Runout And Pad Wear
When does rotor runout start to affect pad wear and braking performance? You’ll detect measurable issues when radial runout exceeds manufacturer limits (typically 0.05–0.10 mm). Excess runout causes periodic pad lift, uneven contact, and accelerated edge wear.
Measure at the hat with a dial indicator while rotating the wheel. Isolate hub-centric effects and check wheel alignment and bearing play first. If runout’s within spec yet noise persists, inspect for unsuitable lubrication on pad backs, hardware, or abutments that permits chatter.
Replace or machine the rotor only if beyond tolerance; correct hub mounting or replace warped rotors. After correction, bed the pads with controlled stops and re-measure. Document final runout, pad thickness variance, and torque sequences to prevent recurrence.
Frequently Asked Questions
Why Do Brakes Squeal Only in the Morning?
You hear morning squeal because moisture and cool environmental conditions let thin rust or condensation form on the rotor surface. This changes noise frequency when pads first contact it. You’ll notice brake pedal feel is often firmer or slightly grabby until friction wipes the film away.
The transient noise frequency drops as pads bed in and temperatures rise. Inspect for contamination and ensure proper bed-in and lubrication to prevent recurrence.
Can Contamination Cause Squeal Without Visible Pad Damage?
Yes, contamination causes squeal without damage. You’ll often find oil, grease, or road grime on pads or rotors that creates high-frequency vibration even when pad material looks intact.
Inspect and clean surfaces with brake cleaner, deglaze pads if glazed, and bed in new contact after cleaning. If noise persists, check for trapped debris, misalignment, or sticking pistons; those factors can mimic contamination-caused squeal without visible pad damage.
Do Ceramic Pads Require Different Bedding Procedures?
Yes, ceramic pads require specific bedding procedures. You’ll follow a methodical bed-in: perform 8–10 progressive stops from 30–50 km/h, increasing braking force without locking wheels. Then allow cool-down laps. Avoid full stops during initial cycles to transfer an even friction layer.
You’ll check for glazing, uneven wear, or noise afterward and repeat if needed. Proper bedding procedures optimize pad transfer, reduce squeal, and stabilize friction performance.
Can Warped Rotors Make Noise Only at Certain Speeds?
Yes, warped rotors can produce noise at certain speeds. You’ll hear intermittent vibrations or whining as rotor runout couples with wheel rotational frequency; this amplifies noise at specific RPMs.
Check for noise at varying speeds, inspect runout, and measure lateral wobble. Also, rule out pad bedding issues and brake contamination (oil, debris) that mimic speed-dependent squeal.
Correct rotor trueness, rebedd pads properly, and clean or replace contaminated components.
Is Brake Squeal Harmful to Brake Performance?
Yes, brake squeal can harm brake performance and isn’t just a squeak. It signals issues that degrade stopping power and squeal safety. You should inspect pads, rotors, and calipers for contamination, glazing, misalignment, or sticking pistons.
Addressing wear, cleaning surfaces, re-lubricating hardware, and properly bedding new pads restores consistent friction and prevents thermal damage. If you ignore persistent squeal, you risk reduced braking efficiency and accelerated component failure.
Conclusion
You’ve reviewed pad wear, minimum thickness, and rotor runout limits; now act. Measure pad thickness and rotor runout precisely with calibrated tools. Compare values to tolerances, and document findings.
If pads approach minimum or runout exceeds spec, replace pads or machine/replace rotors and recheck. Correct mounting issues and torque calipers to spec to prevent recurrence.
Verify braking performance under controlled conditions before returning the vehicle to service. Follow repeatable steps every inspection.
Related reading: Bike Brake Pad Compatibility Reference — a closer look at this topic.