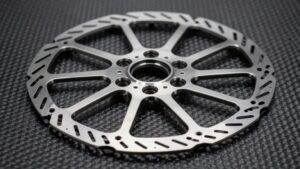
Mechanical Vs Hydraulic Disc Brakes Differences
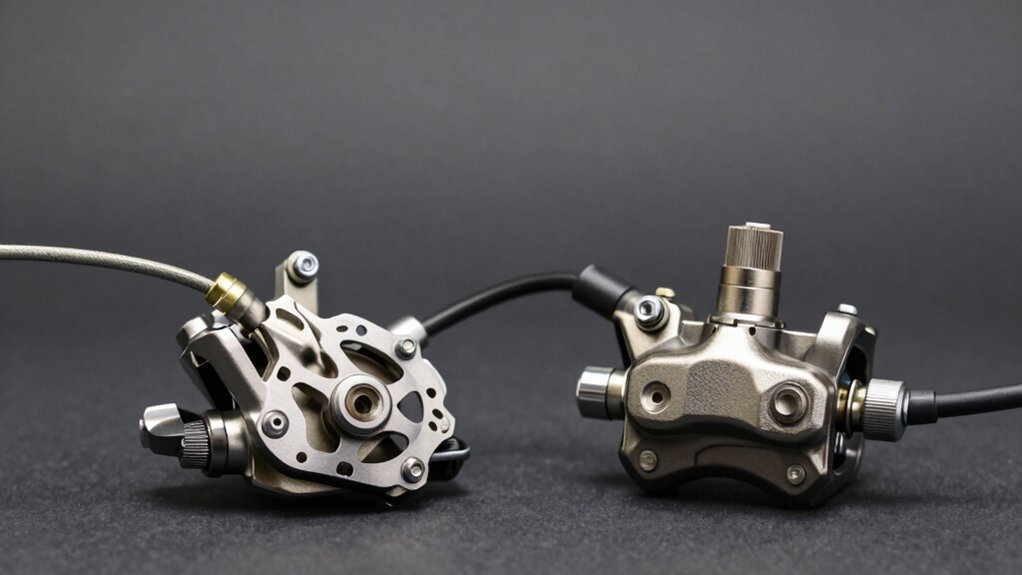
You’ll feel lower lever effort and smoother modulation with hydraulic discs because sealed fluid and dual-pad actuation cut cable friction and lever load.
Mechanical discs use a cable that adds friction, stretch and coarser bite; however, they are simpler to service in the field.
Hydraulics tolerate smaller rotors and give more consistent stopping power. Mechanical systems need more frequent cable adjustment. Bedding, contamination control and rotor size still matter; keep going to learn the practical setup and troubleshooting steps.
Quick Overview
- Hydraulic brakes use fluid-filled lines for smoother modulation and lower lever effort than cable-actuated mechanical discs.
- Mechanical discs rely on steel cables, which introduce friction, stretch, and higher rider hand force.
- Hydraulics actuate both pads evenly; this gives stronger, more controllable stops. Mechanical systems typically pull one pad first.
- Mechanical brakes need frequent cable adjustment and lubrication. Hydraulic systems require line maintenance and attention to air or leaks.
- Rotor sizing and heat handling differ: hydraulics tolerate smaller rotors. Larger rotors increase stopping torque and heat capacity for either system.
Brake Lever Force Comparison
How much effort you put into the lever determines stopping power and fatigue: mechanical discs use a steel cable with significant friction losses, so you’ll need noticeably higher lever force to achieve the same braking as a hydraulic system. You’ll feel mechanical advantages in simplicity and cost. However, cable friction and stretch force you to apply more effort, producing an on-off modulation and quicker hand fatigue.
Hydraulics give hydraulic consistency, lower lever force, smoother modulation, and move both pads for stronger, more controllable stops. Maintenance and edge cases affect required force: cable wear raises effort; air in a hydraulic line can too.
| Metric | Mechanical |
|---|---|
| Force Transfer | Cable, friction losses |
| Lever Effort | High, fatigue risk |
| Modulation | Coarse, one-pad actuation |
| Maintenance Impact | Frequent cable adjustment |
Rotor Diameter Minimums
Lever force and modulation influence how a rotor performs under load, so you should match rotor diameter to the braking system and riding demands. You’ll choose a minimum rotor to ensure basic heat capacity and stopping power; however, avoid undersizing mechanical systems that need more mechanical advantage. Hydraulics tolerate smaller rotors because they deliver higher pad force and better modulation. Conversely, maximum rotor sizes increase torque and thermal mass but can overload frames or calipers.
Consider minimum rotor specs from manufacturers to preserve pad contact and cooling. Use larger rotors for heavy, downhill or loaded riding to reduce fade. Verify caliper mount and fork/frame clearance before upscaling rotor size. Balance torque gains against increased unsprung weight and rotor stress.
Ensure your brake type (mechanical vs hydraulic) aligns with rotor diameter choices.
Pad Bedding Procedure
You’ll learn why proper pad bedding matters for consistent stopping, heat transfer, and avoiding squeal. Start by inspecting and cleaning the rotor. Then follow a controlled initial bedding routine of progressive stops to transfer an even pad layer.
If you spot glazing or contamination, troubleshoot with cleaning, light sanding or fresh pads. Finish with a cautious break-in ride to stabilize performance.
Why Bedding Matters
Ever wondered why fresh brake pads sometimes feel grabby or weak until they’ve been used a bit? Bedding transfers a controlled, thin layer of pad material onto the rotor surface, creating consistent friction characteristics. You’ll perform repetitive decelerations from moderate speed without stopping fully, letting pads heat and deposit uniformly. That stabilizes bite and reduces judder.
Skipping bedding leaves variable contact, causing grabby initial engagement or mushy feel; these are issues riders often misattribute to non-brake topics or unrelated gear reviews. Whether mechanical or hydraulic, bedding matters because it equalizes microscopic surface geometry and improves modulation, fade resistance, and predictable pad wear. Treat bedding as a calibration step: short, deliberate runs with increasing braking force until performance is repeatable and temperature-stable.
Preparing The Rotor
Why start with a clean rotor? You need a contaminant-free surface so pads transfer heat and material consistently. Any oil, grease, or residue undermines disc brake performance and causes uneven deposits.
Begin by removing the wheel and wiping the rotor with isopropyl alcohol on a lint-free cloth, avoiding solvents that leave films. Inspect the rotor for scoring or glazing; lightly deglaze with fine sandpaper or Scotch-Brite if necessary. Then, re-clean.
Mount the wheel, center the caliper, and ensure pad faces are clean and lightly sanded to expose fresh compound. Work in a well-lit area that reflects good maintenance accessibility. Arrange tools and rags so repeat steps are simple.
Document rotor thickness and wear limits for future checks before proceeding to bedding.
Initial Bedding Procedure
How do you properly bed new pads to the rotor? You start with thorough rotor preparation: clean the rotor with isopropyl alcohol and verify it’s true and free of debris. Install new pads and align the caliper per manufacturer specs.
For the bedding procedure, accelerate to 20–25 km/h and perform 8–10 controlled stops, applying moderate pressure to transfer an even layer of pad material without locking the wheel. Allow short cool-down rides between aggressive sequences. Avoid long holds that overheat.
For hydraulic systems, expect more consistent transfer due to dual-pad actuation; for mechanical, account for cable stretch and recheck alignment. After bedding, inspect pad glaze and rotor finish. Repeat if you see uneven transfer or reduced modulation.
Troubleshooting Contamination
When contamination shows up as squeal, reduced bite, or glazing after bedding, act quickly to isolate the source and restore proper pad-rotor transfer. First, inspect pads and rotor for oil, grease, or glazing. Remove pads and smell for brake fluid; hydraulic leaks compromise fluid cleanliness and require immediate attention.
Lightly sand glazed pad faces and clean rotor with isopropyl alcohol. Discard pads soaked with oil or mineral/synthetic fluid. Check caliper seals, hose fittings, and lever pivots on hydraulics and cables on mechanicals for ingress points. Re-bed only with clean surfaces and new or properly decontaminated pads.
For contamination prevention, store spare pads and tools in a clean area. Avoid touching friction surfaces with bare hands, and address any fluid leaks before riding.
Break-In Ride Tips
If you’ve just cleaned contamination or replaced pads and rotors, proper pad bedding immediately restores consistent friction and prevents glazing or uneven transfer. Start with a series of controlled decelerations from moderate speed (20–25 km/h), applying progressive braking to heat pads and rotor without locking wheels; repeat 8–12 times.
Then perform several harder stops to consolidate the transfer layer, avoiding emergency stops from full speed. Maintain straight-line runs to prevent lateral rotor wear and verify caliper alignment between cycles. Misalignment causes uneven pad contact and noise.
After bedding, check lever feel: mechanical systems may need cable take-up; hydraulics should be steady. Inspect rotor surface and pad condition for consistent transfer and minimal glazing. Finish with a short cool-down ride to stabilize temperatures.
Frequently Asked Questions
Can I Retrofit Hydraulic Brakes to Any Bike Frame?
You can sometimes retrofit hydraulic brakes, but retrofit feasibility depends on frame compatibility. You’ll need mounts for hydraulic calipers (post or flat), routing for hoses or external guides, and suitable fork and wheel hubs for disc rotors.
If your frame lacks mounts or clearance, adapters or machine work may be required; that raises cost and risk. Check manufacturer specs, measure clearances, and consult a mechanic before committing to a retrofit.
Are Mechanical Brakes Compatible With Drop-Bar Levers?
Yes, mechanical compatibility with drop bar levers is common but not automatic. You’ll need drop bar levers designed for mechanical disc or V-brake pull ratios, or compatible hood/shifter levers with appropriate cable pull and housing length.
Check lever pull specs, cable routing, and caliper actuation ratio. If mismatched, braking will feel grabby or weak. Test setup and adjust cable tension. Use levers marketed as mechanical-compatible for best performance.
How Do Temperature Extremes Affect Hydraulic Fluid Performance?
Hydraulic fluid performance shifts with temperature. Cold weather impact increases fluid viscosity, slowing piston return and reducing modulation. Cooling effects can temporarily stiffen feel.
High heat tolerance matters because temperature cycling and sustained braking raise fluid temperature toward its boiling point. This situation risks vapor, fade, and spongy lever feel. You should monitor reservoir specs, choose fluids rated for wide temperature ranges, and bleed regularly to prevent air ingress after extreme cycling.
Can I Transport Hydraulic Brakes on an Airplane?
Yes, you can transport hydraulic brakes on an airplane, but check airline transport rules and battery/bleed-fluid restrictions first. Drain or secure reservoirs to prevent leaks, relieve pressure, and pack hoses to avoid kinks.
Remove or protect rotors and calipers to prevent damage to your bike frame. Use padding and mounts to prevent shifting. Carry a bleed kit and documentation for bike frame compatibility and emergency servicing at your destination.
Do Hydraulic Systems Leak if the Bike Falls Over?
Rarely, if seals are intact, you won’t see leaks when the bike falls over. You should inspect hydraulic seals for damage after impacts. Compromised seals raise spill risk and can affect fluid viscosity and temperature effects on performance.
Check brake lever compatibility and bike compatibility if swapping assemblies. For air travel safety, drain or secure systems per regulations. Know brake fluid transport rules and carry tools to isolate or repair lines if needed.
Conclusion
You’ve seen how lever force, rotor size, and pad bedding differ between mechanical and hydraulic discs. Now, get hands-on: prepare clean rotors, follow the initial bedding steps, and ride progressively to seat pads without overheating.
If contamination shows up, strip and re-bed pads and rotors or replace contaminated pads. With proper prep and break-in, braking performance will stabilize; fade will drop, and modulation will become predictable. You’ll stop where you expect, every ride.
Related: Disc Brakes Vs Rim Brakes Explained