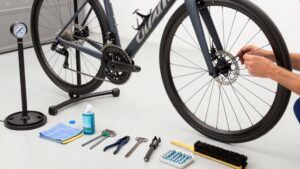
How to Set Up a Road Bike for the First Time (Beginner’s Guide)
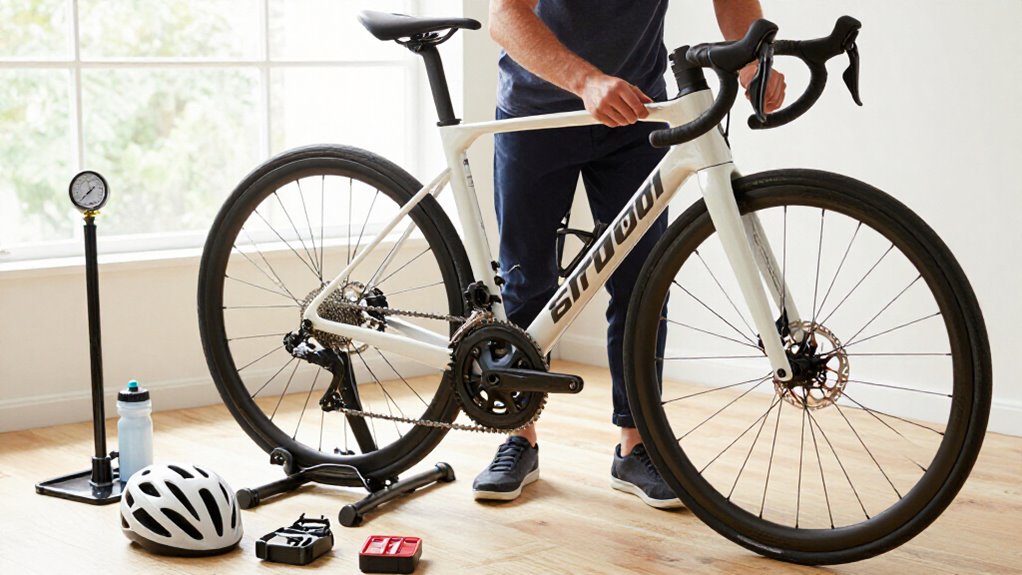
Start by inflating both tires to their guide pressure, then grease and install pedals: right threads clockwise, left threads counterclockwise.
Set saddle height first using the heel-on-pedal method, then make 5 mm cockpit changes for relaxed elbows.
Use a fully seated, unworn 5 mm hex key and specified torque, especially on carbon.
Check brake engagement and every gear’s cog holding before a flat test ride.
Pad checks and indexing improve safety; steps below refine setup.
Beginner-Ready Fit in 30 Minutes
A 30-minute starter fit gives you a safe, repeatable position before your first proper ride, but it doesn’t replace a professional fit if pain persists. Set saddle height first: place your heel on the pedal at bottom dead centre and adjust until your leg is nearly straight. Don’t judge height while stopped in the saddle.
With cranks horizontal, drop a plumb line from below your kneecap; it should meet the pedal spindle. Keep bars straight, then check that hoods don’t force a shrug or overreach. Make 5 mm cockpit adjustments, seeking relaxed, bent elbows and rear-biased weight.
With clipless pedals, place spindle between first and fifth metatarsal heads and match cleat angle to natural walking stance. Test gently, changing one variable at a time.
Gather a 5mm Hex Key
Before adjusting your road bike, gather a good-quality 5 mm hex key: it fits many common fasteners, including stem steerer-clamp bolts, some seatpost and saddle-rail clamps, and accessory mounts.
Choose a hardened, unworn key that seats fully in the bolt. A long-arm key improves leverage, but don’t use leverage to guess torque. Keep 2–6 mm keys available because fit varies by component.
- Check the size by hand; never force a key into a corroded or damaged socket.
- Use the straight end for final tightening; a ball end is for access only.
- Follow the marked torque specification; use a torque wrench for carbon parts.
Stop if a bolt binds or rounds. Excess torque can strip threads, deform aluminum, or damage carbon components without warning.
Step 1: Inflate Tires Before Adjusting
Inflate both tires to an appropriate starting pressure before adjusting saddle height, reach, or handlebar position. Proper inflation establishes the tire contact patch and handling. Low pressure can make the bike feel unstable or “squishy,” leading you to misdiagnose a tire issue as a saddle or cockpit problem.
If you have Presta valves, remove dust cap, unscrew the valve nut, and secure the pump head. Inflate according to your tire-pressure guide, using a value suited to your weight and riding style. Check the result with a gauge; hand pressure alone isn’t reliable, when you’re new to road tires. Remove the pump, tighten the valve nut, and replace the cap. Keep pressure fixed while you set fit, then refine it later through consistent test rides.
Step 2: Install Pedals With Grease
With the tires set to a consistent pressure, install the pedals so you can safely test the bike’s fit and drivetrain. Identify the markings before you begin: the right pedal has a standard right-hand thread, while the left pedal uses a left-hand thread. Apply a small smear of grease to each clean spindle thread, then wipe away excess; heavy grease attracts dirt and complicates service.
Start each pedal by hand, turning it several full rotations without resistance. Don’t force a pedal that won’t engage smoothly, since cross-threading can damage the crank arm. Once seated, use the correct pedal wrench or hex key to tighten it securely according to the pedal maker’s specification. Finally, spin both cranks by hand. Confirm free rotation and no looseness.
Step 3: Set Saddle Height First
Set saddle height before adjusting reach or fore/aft position, because it establishes your pedaling mechanics and reduces avoidable knee strain. Support the bike securely, then sit normally and place your heel on the pedal at the bottom of the stroke. Pedal backward until that leg reaches its lowest point.
Your knee should be just barely locked out with your heel on the pedal. If you must point your toes markedly downward to reach, lower the saddle; if your knee remains bent, raise it.
Don’t judge height while stopped, since that position doesn’t reproduce the pedal stroke. When pedaling normally, aim for roughly 25–35 degrees of knee bend at the bottom. Tighten the seatpost clamp to its specified torque. Then recheck comfort after small changes.
Step 4: Align Cleats Under Ball of Foot
Once your saddle height feels right, position each cleat so the pedal spindle sits beneath the ball of your foot, roughly between the first and fifth metatarsal heads. Mark this location on each shoe, then tighten the bolts lightly enough to hold the cleat while you refine its angle.
Rotate each cleat to match your natural walking direction; for many riders, that’s a slight heel-in position. Set sufficient pedal float so your foot can move naturally rather than being locked against its preferred tracking path.
Make fore-aft changes only in small increments: even minor movement changes downstroke pressure distribution across the foot. Secure bolts to the shoe manufacturer’s torque specification, alternating between them evenly. Before clipping in, support yourself and confirm free, comfortable foot motion.
Step 5: Test Ride Around the Block
Take your first test ride on a flat, low-traffic route for about 20–30 minutes, using the time to verify comfort, handling, and control rather than speed. Begin with 5–10 minutes of gentle pedaling. Check for saddle pressure, numbness, or pain in your knees, lower back, or hands. Use the heel-on-pedal method to assess saddle height: with your heel on the pedal at the bottom of the stroke, your knee should be almost straight.
Toes pointing down usually indicate a saddle that’s too high; a clearly bent knee suggests it’s too low. Keep your elbows slightly bent and relax your grip—wiggle your fingers to prevent a death grip. Confirm that you can reach the bars without shrugging and look ahead comfortably. Note any discomfort at the saddle, pedals, or bars before making one adjustment at a time.
Step 6: Torque Stem Bolts Evenly
Use a torque wrench to tighten the stem bolts evenly, alternating left and right in small increments so the stem clamps the steerer uniformly. Start with bolts snug by hand, then increase torque gradually in the alternating sequence. Follow the torque value stamped on the stem or listed in the bike’s manual; small bolts commonly require only a few newton-meters. Don’t exceed that specification, which can damage components or compromise clamping.
Before final torque, center the stem on the steerer and verify bar alignment. Hold the handlebar steady while tightening, then check that it cannot rotate or shift. After your short ride, recheck each bolt’s torque with the wrench, as fasteners may settle.
If you readjust anything, loosen and retighten using this alternating pattern.
Confirm Brake Lever Reach
With the stem secure, check brake lever reach from your normal position on the hoods. You should squeeze each lever comfortably without bending your wrist backward or stretching your fingers too far forward. Use the small inline barrel adjuster to bring the lever close enough that a light squeeze controls speed, but not so close that bumps trigger braking.
Pull the lever firmly and confirm it fully engages the brake before touching the handlebar. Contact at the rim or rotor must occur with usable lever travel remaining.
After changing stem height, stem reach, or bar height, repeat this check. Then ride slowly in an empty parking lot and brake firmly several times. Confirm consistent reach, smooth modulation, and no hand numbness during each stop.
Chain Skips: Index Derailleur
If the chain skips at the rear cassette, correct the derailleur indexing before riding at speed. A skip in one gear usually means cable tension doesn’t align the derailleur with that cog. Turn the barrel adjuster in tiny increments, shift, and pedal until the chain runs quietly and stays engaged.
| Symptom | Check or adjustment |
|---|---|
| One cog skips | Fine-tune cable tension |
| Chain travels beyond cassette | Set high/low limit screws |
| Skips under force | Inspect indexing and hanger alignment |
| Skips while freewheeling | Check chain and cassette wear |
Use the correct limit screw: an incorrect low limit can send the chain past the cassette, where it can’t remain engaged. After each adjustment, support the bike securely and pedal hard briefly in every gear. Don’t road-test until each cog holds
Inspect Brake Pads Monthly
Inspect your brake pads at least monthly to protect stopping power and prevent worn material from damaging a rim or rotor. Check that both pads wear evenly and meet the braking surface in the same position. Uneven wear usually indicates misalignment, which you should correct before it compromises braking.
Squeeze each lever and verify that every pad contacts the rim or rotor fully, not just its edge; partial contact can reduce force, cause vibration, and create squealing. Replace pads when material approaches the wear indicator or limit, or when you find cracks, glazing, or missing compound.
Don’t wait for the monthly inspection if stopping distances increase, brakes squeal, or a lever feels spongy. Inspect immediately, remove dust or grime, then replace pads if needed promptly.
Conclusion
With your tires inflated, pedals greased, saddle height set, and cockpit bolts torqued evenly, you’ve established a safe starting position. Test brake lever reach, confirm both brakes engage firmly, and shift through every gear before riding in traffic. If the chain skips, adjust derailleur indexing in small increments.
Recheck fasteners after your first few rides, using manufacturer torque values. Inspect brake pads monthly and replace worn components promptly to maintain reliable control on every ride.