Bike Tire Pressure Chart: The Right PSI for Every Tire
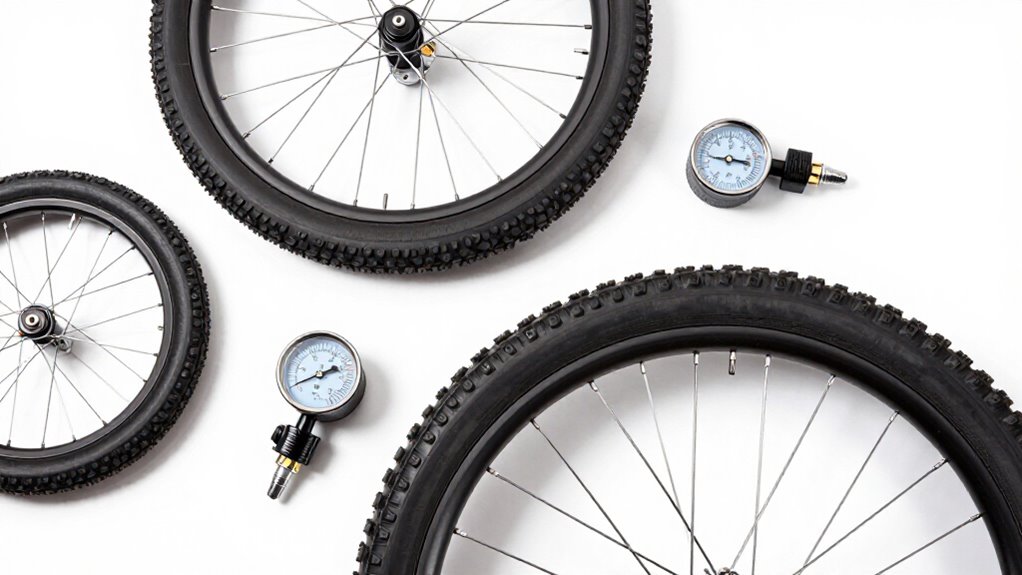
Choose tire pressure by bike type, tire size, and total system weight: road tires run highest, gravel lower, and mountain tires lowest.
Start with the front 2–4 psi below the rear, then adjust tubeless setups in 2–3 psi steps for grip, comfort, and support.
Set pressure cold, use one gauge unit, and never exceed the lower tire or rim maximum; hookless rims cap at 72 psi/5 bar.
Next, refine for cargo, wet gravel, and leak checks.
Starting PSI by Bike Type
Your bike type sets the correct pressure range before you fine-tune for weight or terrain: road tires generally need the highest PSI, gravel tires use lower pressures for control, and mountain-bike tires run lower still for traction and impact absorption.
Use a calculator chart that matches your road, gravel, or mountain setup. Enter total system weight—your body, bike, and gear—within its 75–450-pound (34–205-kilogram) input range; pressure targets change across weight bands. If it lists 650B/27.5-inch or 26-inch options, select the closest wheel and tire size before inflating.
After testing, adjust only 2–3 PSI at a time: reduce pressure if the ride feels harsh or bouncy; increase it if it’s sluggish or skittish. Never exceed the lower of the tire sidewall and rim maximum ratings.
Front–Rear PSI Split Chart
Because the rear wheel typically carries about 60% of total system weight and the front about 40%, start with the front tire 2–4 PSI (0.14–0.28 bar) lower than the rear on most road and gravel bikes. Set both pressures from your system-weight and tire-width baseline, then make the split. Matching tire deflection steadies cornering, preserves comfort, and helps each contact patch work confidently.
| Riding condition | Your pressure split |
|---|---|
| Normal road or gravel | Front 2–4 PSI lower |
| Heavy rear cargo | Add 4–6 PSI rear per 10 kg |
| Loose or wet descents | Front 5–6 PSI below standard |
| Rear-biased geometry | Consider equal pressures |
Check pressure with a gauge before every ride, especially after storage. Never exceed tire-sidewall or wheel-system limits; those limits override every chart and protect you from dangerous, sudden failure.
PSI Versus Bar Conversion
Bike tire pressure may appear in PSI (pounds per square inch) or bar, but both units describe the same inflation target. Before you inflate, confirm which unit your chart and gauge use. A conversion error can overinflate a tire, exceed a rim limit, and create a failure risk.
Use 1 bar ≈ 14.5 psi for quick checks. Consequently, 5 bar ≈ 72.5 psi; 70 psi equals about 4.8 bar, while 72 psi is about 5.0 bar. This matters when your rim/tire system specifies a 5-bar maximum, as some hookless systems do.
Convert the chart’s recommended value before setting the pump, then compare it with tire and wheel maximums. Don’t assume a PSI value is safe because it looks familiar. Verify the lower stated limit and never inflate beyond it.
Tubeless Pressure Adjustments
Start tubeless at a lower pressure than an equivalent tubed setup, then account for tire volume, system weight, and your rim/tire pressure limits. Lower pressure improves grip on rough terrain, but you must retain enough support to prevent rim strikes and casing damage.
Check pressure before each ride and monitor sealant level and slow leaks, adjusting with a gauge as conditions change.
Lower Starting Pressures
Tubeless tires let you use a lower starting pressure than comparable tubed tires because they resist pinch flats more effectively, particularly when sealant is installed. Use the chart’s system-weight guidance for your initial PSI: higher combined rider, bike, and gear weight still demands more pressure. As a general starting adjustment, reduce the comparable tubed baseline modestly, then test it.
If you use tubeless inserts, their added support and stability can justify a further reduction. On your first ride, adjust in 2–3-psi increments and assess comfort, grip, and tire squirm. Squirm, rim strikes, or unstable cornering indicate that you need more pressure. For hookless, straight-side tubeless rims, never exceed 72 psi (5 bar) or the lower stated tire or rim maximum under all operating conditions.
Account For Tire Volume
Account for tire volume before lowering a tubeless setting: a wider, higher-volume tire needs less PSI than a narrower tire carrying the same system weight because it supports the load with a larger air chamber and contact patch. Use a narrow-tire chart value as baseline, then reduce PSI as volume increases. Tubeless systems can run lower than comparable tubed tires because they reduce pinch-flat risk.
Inserts can justify a reduction by adding stability and pinch-flat protection. Verify tire-rim compatibility and never exceed its maximum. Hookless systems cap pressure at 72–73 PSI (about 5 bar), regardless of calculator output. Compare inflation and riding temperatures. If they differ by more than 10°F (5.5°C), allow for thermal pressure rise so warm operating pressure stays within the limit.
Balance Grip And Protection
Because a tubeless setup resists pinch flats better than a tube, you can usually lower pressure to gain grip and comfort without sacrificing basic reliability. Set your baseline from total system weight—your body, bike, and gear—and tire volume.
Then test small reductions; monitor excessive casing deflection, burping, or rim strikes. Rim strikes require more pressure; low pressure can damage tire and wheel.
Tubeless inserts provide support and pinch-flat resistance, so you may safely use a lower setting, but they don’t override manufacturer limits. With hookless straight-side rims, never exceed the specified rim/tire maximum; many systems cap pressure near 72 psi (5 bar).
Check pressure after major temperature changes. Heat increases PSI, so before sustained hot descents, set pressure conservatively to remain below the safety cap.
Adjust For Terrain Conditions
Terrain should guide small, deliberate changes from your tubeless baseline: drop a few PSI for chunky gravel, washboard, and loose corners so the tire conforms to the surface and maintains traction.
Stop lowering pressure if you feel harsh rim clunks, repeated bottom-outs, or excessive casing squirm; those signs mean the tire lacks support and rim protection. Your system weight, tire width, and casing determine the safe adjustment range.
For hard-packed gravel and pavement-like surfaces, add a few PSI to improve stability and reduce rolling drag. Never exceed the lower of the tire or rim maximums. Hookless straight-side systems commonly limit pressure to 72–73 PSI (about 5 bar). Recheck pressure when inflation and ride temperatures differ by 10°F (5.5°C) or more; heat greatly raises pressure.
Monitor Sealant And Leaks
Tubeless pressure is only as reliable as the system’s seal: check PSI before each ride and again after long storage, since slow air loss or drying sealant can leave a tire underinflated.
Use a gauge, not a squeeze test. If pressure drops consistently, inspect for punctures, valve leaks, and bead leaks; confirm that sealant remains fluid. Repair the leak, reseat the tire when necessary, and refresh dried sealant before resetting running pressure.
Then return to your chart baseline for tire size and total system weight, adjusting only 2–3 PSI at a time. Sealant performance, latex systems, and puncture-resistant casings make targets starting points, not guarantees. Never exceed the lower tire or rim maximum. For hookless rims, stay at or below 72 PSI (5 bar).
Read PSI on Cold Tires
Set and read tire pressure only when the tires are cold, before your ride or after they’ve cooled fully, because riding heat raises the gauge reading without adding usable support pressure. Use a reliable gauge and record measurements in one unit: PSI or bar. A cold reading is your baseline; even small increases mean more air and more support.
Don’t treat a post-ride reading as an inflation target, because warm air can display a misleadingly higher pressure. Check pressure before each ride and compare it with the chart’s cold-condition recommendation. If inflation and riding temperatures differ by more than about 10°F (5.5°C), apply temperature-adjustment guidance before setting pressure. Never exceed the tire or rim manufacturer’s stated maximum when cold; operating heat raises pressure further during use.
Hookless Rim Pressure Ceiling
Hookless rims impose a non-negotiable pressure ceiling: never inflate beyond 72 psi (about 5 bar), even when a tire-pressure calculator recommends more.
Treat this as a hard system limit, not a target. Check both the wheelmaker’s hookless specification and the tire’s sidewall maximum; use whichever value is lower. A calculator supplies only a starting pressure and can’t confirm that your exact rim, tire, and tubeless combination is approved.
Verify manufacturer compatibility before inflation.
On warm days or after extended riding, internal air temperature can increase pressure. Start below the applicable ceiling to preserve margin for that rise. Use an accurate gauge, check cold pressure, and don’t assume a tire rated above 72 psi makes the hookless wheel safe. Exceeding either component’s limit risks failure.
Wet Gravel With Bikepacking Load
For wet gravel bikepacking, calculate your baseline from total system weight—rider, bike, and loaded gear—then reduce it by about 7 psi (0.5 bar) to increase the contact patch and maintain grip. This setting lets casing conform to slick uneven gravel, improving traction and reducing vibration.
Don’t assume low pressure is safer: loaded tires must stay supported against rim strikes. Check pressure with an gauge before ride and test on representative terrain. Wider 28–32 mm tires need less PSI than narrow tires, with the wet reduction applied after establishing the load-based baseline. If you use hookless tubeless wheels, stay at or below the wheel and tire manufacturer’s limit, commonly 72.5 psi (5 bar). Add pressure if impacts bottom the tire against the rim under load.
Diagnose Valve-Core Leaks
A slow valve-core leak can quietly lower PSI even when the tire has no visible puncture, so check both tires with an accurate gauge before diagnosing other causes.
- Remove the valve cap and apply soapy water or leak-detector fluid around the valve core. Tiny, continuous bubbles that grow over a minute confirm escaping air: an unsettling fault that can undermine predictable handling.
- If bubbles appear, tighten the removable core slightly with the correct tool; don’t overtighten it. Apply fresh solution and test again, because a loose core often leaks.
- If bubbling continues, replace the core, seat it firmly, and inflate the tire to your chart-based target. Recheck PSI several hours later and again the next day with a reliable gauge. A stable reading confirms repair.
Check Sidewall Pressure Limits
Verify the maximum-pressure markings on each tire sidewall and the specifications for your rims or wheels before inflating. These limits are hard safety cutoffs, especially with tubeless or hookless systems. Your final front and rear PSI must not exceed the lower of the tire’s maximum and the wheelmaker’s maximum, regardless of what a calculator recommends.
- Protect yourself: If ratings conflict, use the lower number; excessive pressure can cause a tire to unseat or fail.
- Respect hookless limits: Straight-side hookless/tubeless rims are often limited to 72 psi (5 bar). Confirm your rim’s rating.
- Inflate with confidence: Check tires and rims, then use a gauge to stay below the strictest limit.
Manufacturer compatibility rules outrank apps and pressure charts. Never assume components share the same rating.
Conclusion
Use this chart as your starting point, then fine-tune pressure for your bike, tire size, terrain, load, and conditions. Keep the rear tire slightly firmer than the front, reduce pressure cautiously for tubeless traction, and check cold-tire readings before every ride.
Never exceed your tire, rim, or hookless-system pressure limit. For wet gravel and bikepacking, prioritize stability and pinch-flat protection. If pressure drops unexpectedly, inspect the valve core, tire, and sealant immediately.