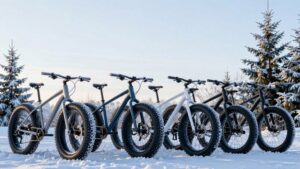
When to Use a Fat Bike for Sand and Snow
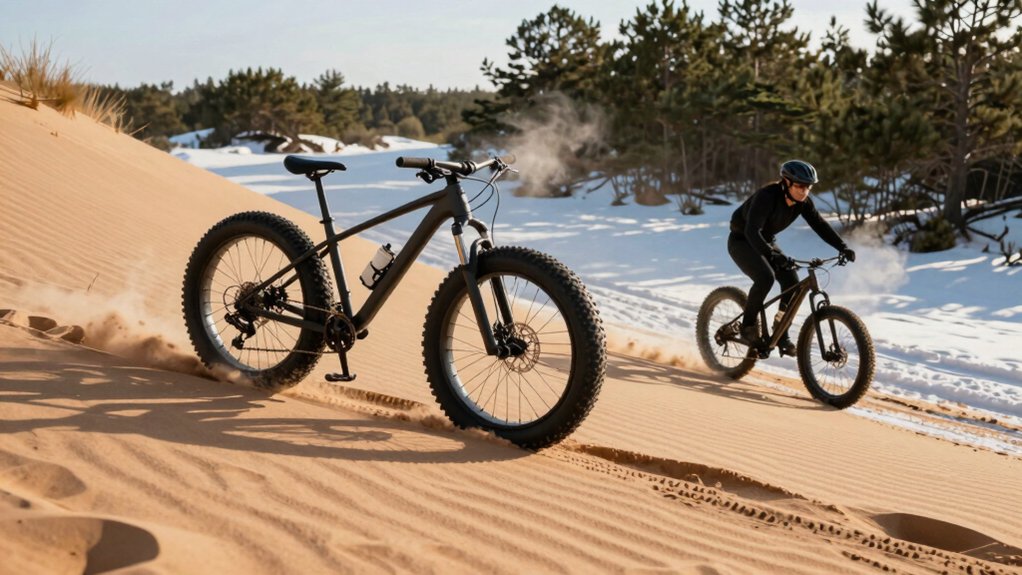
Use a fat bike when you regularly ride on deep snow or loose sand and need flotation, traction, and predictable handling that narrower tires can’t provide.
You’ll run much lower pressures, wider tires, and lower gearing to keep momentum and avoid bogging.
Expect slower rolling speed but more control, especially with weight low and steady pedaling.
Skip it for mostly pavement or hardpacked trails.
Keep going and you’ll get setup, pressure, and safety tips.
Quick Overview
- Use a fat bike when terrain is soft and unstable: deep snow or loose sand where standard tires sink or slip.
- Lower tire pressure (start in manufacturer range, tweak 1–3 psi) to increase flotation and traction on soft surfaces.
- Choose wider tires (4.0–5.0″) and appropriate tread: big knobs for deep snow; shallower ramps for sand.
- Carry a wide-range drivetrain, pump with removable core, and repair kit to handle low-pressure setups and field fixes.
- Prefer frames and components rated for heavier loads. Ride with centered weight, controlled power, and partner safety when possible.
Quick Decision: When to Choose a Fat Bike for Sand and Snow
When should you pick a fat bike for sand or snow? You should opt for one when terrain demands flotation and stability that standard bikes can’t provide. Evaluate performance needs against a cost analysis: fat bikes cost more up front and for replacement tires; however, they save time and frustration in deep sand or powder.
Check weight limits for both frame and rack if you plan loaded touring. Heavier riders or heavy cargo need frames and components rated appropriately to avoid failure. Choose a fat bike when you regularly face soft, unstable surfaces, want predictable handling, and value reduced sinking and improved control.
If your rides are mostly hard-packed or paved, a fat bike’s trade-offs may not justify the expense.
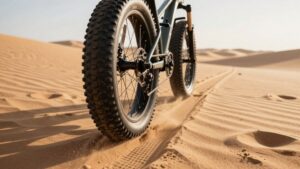
Tire Width & Pressure: How They Affect Traction and Float
How much difference do tire width and pressure really make on sand and snow? You’ll feel it immediately: wider tires increase contact area for float and traction, and lower pressure boosts grip on loose surfaces. Manage pressure to balance float and rolling resistance; too low risks rim damage and higher rim temperature on prolonged braking.
Monitor tread wear. Soft compounds and low pressures can accelerate it on abrasive sand.
| Width (in) | Typical Pressure |
|---|---|
| 3.8–4.5 | 5–12 psi |
| 4.6–5.0 | 3–8 psi |
Use the lower end for deep snow/sand, raise pressure on packed surfaces, and inspect rims and tread wear after rides.
How Fat Bikes Improve Stability on Snow and Sand
Lowering tire pressure and widening your contact patch gives immediate float; however, stability comes from how the whole bike works with those tires. You rely on increased contact area, lower center of gravity, and stable geometry to resist tipping and bouncing on snow or sand.
Tires absorb chatter. The longer wheelbase and wider rear triangle smooth steering inputs, and the frame spreads weight for consistent grip. Don’t buy buoyancy myths as a complete explanation: flotation helps, but balance, momentum, and tire-surface interaction govern control.
Think with regard to glide coefficient: a bike that maintains speed with minimal steering corrections feels more stable. Adjust pressure and posture, keep momentum, and the system will track predictably over soft terrain.
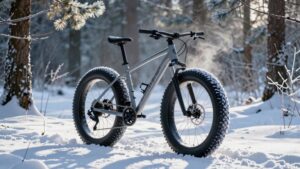
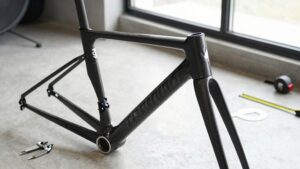
Best Frame and Tire Combos: Deep Snow vs. Loose Sand
Which frame and tire pairing suits deep snow versus loose sand comes down to floatation, traction, and handling trade-offs you can feel on the trail. For deep snow, pick a compliant, lightweight carbon or well-designed aluminum frame with wide clearances that guarantee frame compatibility with 4.5–5.0-inch tires. The larger tire footprint maximizes floatation and keeps you on top of soft snow.
For loose sand, favor a stiffer frame with slightly narrower 4.0–4.5-inch tires that still provide a generous footprint but improve steering precision and acceleration. In both cases, prioritize frames that allow easy tire swaps and mounting of lower-pressure-friendly wheels. Match casing and tread to conditions: softer, larger knobs in snow; shallower, ramped tread in sand for smoother roll.
Fat Bike Tire Pressure, Gearing, and Weight Tips
Want more control and efficiency on sand or snow? You’ll adjust tire pressure, gearing, and pack weight to match soft surfaces. Lower PSI increases contact patch and flotation; higher PSI helps firm snow or packed sand. Focus on Gearing optimization to keep cadence steady without bogging down. Mind your Weight distribution: center mass over the bike for traction, shift rearward for climbs, and forward for steering on soft fronts.
- Lower tire pressure for flotation (6–12 PSI typical), raise for firmer surfaces; watch bead seating.
- Use wide-range gearing and a granny gear to stay efficient in deep sand or soft snow.
- Lighten nonessential load and pack low to improve balance and reduce sink-in.
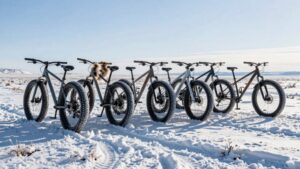
Real Scenarios: Commuting, Beach Rides, and Winter Trails
You’ve already got the basics: tire pressure, gearing, and packing. Now it’s time to apply them to real rides: daily commutes, breezy beach spins, and technical winter trails.
For urban commuting, drop pressure slightly to smooth pavement imperfections. Keep a nimble gear range for traffic stops; the bike’s stability helps when dodging potholes or wet leaves.
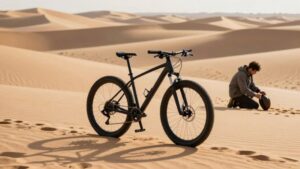
For beach cruising, run very low pressure to increase flotation and avoid digging into soft sand. Stay in a higher gear for momentum and pick firm-packed sections where possible.
On winter trails, favor slightly higher pressure than sand but still low enough for grip. Use studded tires if ice is involved and adopt a relaxed, balanced posture for traction.
Pack tools, layers, and a pump.
When a Fat Bike Is the Wrong Choice
When is a fat bike the wrong choice? You shouldn’t choose one if your primary needs clash with its strengths. Consider these situations:
- Cost constraints: Fat bikes, especially quality carbon or high-end models, cost more to buy and maintain. If budget is tight, a standard mountain bike or snow-specific tires offers better value.
- Frequent pavement or fast commuting: The wide tires slow you and sap efficiency on hard surfaces. You’ll expend more energy on daily rides.
- Mounting incompatibilities: If your racks, fenders, or storage systems don’t fit wide frames and tires, you’ll face added expense or awkward setups.
Pick a bike that integrates with your gear and budget rather than forcing a fat bike into mismatched roles.
Quick Checklist: Decide Now Whether to Ride a Fat Bike
If your gear, routes, or budget make a fat bike a poor fit, it’s time to be deliberate about the next step: use this quick checklist to decide now whether to ride one.
Assess timing window: Will conditions favor flotation and traction for the next few days or weeks, or is it a brief storm that won’t justify a specialized bike?
Check ride readiness: Do you have low-pressure tires, spare tubes, and the skills to handle wide-tyre steering and slower cadence?
Match terrain: Is sand, deep snow, or soft mud the primary surface?
Consider transport and storage, weight and frame material, and budget for upgrades. If most answers are yes, you’re cleared to ride; if not, postpone.
Frequently Asked Questions
Wondering when to ride and how to set up your fat bike for sand or snow? You’ll get clear tire-pressure targets, traction techniques to keep you moving, and practical safety and gear tips you can use before every ride.
Follow these guidelines to choose conditions, adjust PSI, and stay safe on soft or slippery terrain.
When To Ride
Curious about the best times to take your fat bike out? You should plan around season timing and short weather windows to get the most from sand or snow rides. Choose rides when surfaces are consistent: packed snow or firm, damp sand; do not ride during rapid thaw or fresh powder storms.
- Winter: Pick cold, stable days with consolidated snow. Mornings often offer the best grip.
- Shoulder seasons: Use early spring or fall weather windows after freeze-thaw cycles settle; avoid slush.
- Beach or sand: Ride at low tide or after light rain when sand firms up. Avoid hot, dry afternoons that cause sinking.
Check forecasts and aim for predictable surfaces. You’ll maximize traction, stability, and floatation.
Tire Pressure Tips
Because tire pressure controls how your fat bike interacts with sand and snow, dialing it in matters more than tire width alone. You’ll lower pressure for soft snow and deep sand to increase footprint and flotation; however, avoid going so low that the tire rolls off the rim.
Check bead seating during inflation. Proper seating prevents burping and rim damage. Use a pump with a removable valve core to deflate and reseat quickly; a core you can remove speeds tubeless seating and adds safety when topping up pressure.
Start with manufacturer ranges; then adjust in 1-3 psi increments based on feel. If it feels too squirmy, add a bit; if it feels too boggy, add more. Recheck pressure often as temperature and terrain change.
Traction Techniques
Master traction on sand and snow by combining proper tire pressure, deliberate body positioning, and smooth power delivery; small adjustments make big differences. You’ll tune tread pattern to match conditions: open, knobby tread for deep snow; flatter, closer siping for hard-packed surfaces.
Focus on weight transfer. Keep weight centered to avoid bogging, shift rearward slightly when climbing, and forward when cornering to keep the contact patch engaged. Maintain steady cadence and modulate throttle or pedal force to prevent wheel spin.
Use these quick techniques:
- Lower pressure to increase footprint, then test steering feel.
- Shift weight smoothly, not abruptly, to maximize grip during changes.
- Feather power on acceleration, keeping spin minimal to preserve traction.
Practice these moves to build confidence and control.
Safety And Gear
How do you stay safe and properly equipped for fat biking on sand and snow? You’ll pick gear that matches conditions: a helmet meeting current Helmet standards, insulated layers, padded gloves for warmth and vibration damping, and boots with grip.
Check tire pressure, lights, and carry a multitool, pump, and patch kit. Ride with a partner when possible and know hypothermia signs.
| Essential item | Purpose |
|---|---|
| Helmet (certified) | Impact protection |
| Padded gloves | Warmth + control |
| Low-pressure tires | Traction/floatation |
| Repair kit | Fix flats/adjustments |
Adjust clothing for windchill. Use eye protection and practice controlled braking. Reassess gear before each outing to stay safe and mobile.
Conclusion
When sand or snow slows your normal ride, choose a fat bike. Its wide tires float and bite where narrow rubber sinks. Run lower pressure for traction and higher for rolling; match frames and tire volume to deep powder or loose beach sand. Use lower gears for soft surfaces, and keep weight balanced.
Skip fat bikes for fast pavement commutes or steep technical climbs. If you want reliable float, stability, and confidence on soft ground, a fat bike’s the right call.