Bike Light Lumens Chart: How Bright Do You Really Need?
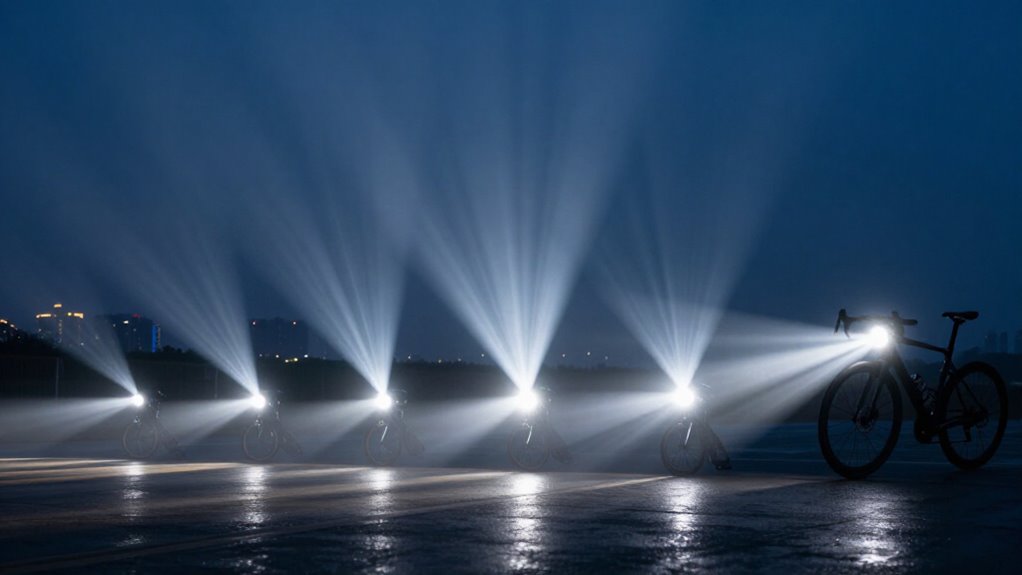
Choose 50, 150 front lumens for well-lit city streets, 100, 250 for partially lit urban routes, 600, 1,000 for unlit roads, and 700, 1,200+ for fast rural riding; trails often need 1,000+.
For a dawn commute, 400 lumens lets you spot pavement hazards.
Don’t judge output by lumens alone: a controlled beam and lux put light on the road.
Aim it downward, verify runtime, and use a 50, 100-lumen rear light.
Next, match weather protection and mounting to your route.
Beam Angle Changes Usable Brightness
Beam angle determines how effectively a bike light’s lumens reach the road. A light’s output spreads across its beam pattern: widen that pattern, and same lumens cover more ground but deliver less intensity, or lux, at any point. Tighten it, and you concentrate light for longer-distance detection.
You should match the pattern to what you must see. A narrow spot projects farther ahead, helping identify path early. A wider beam reveals nearby edges and peripheral hazards, valuable around roots and rocks. For roads, a forward-focused beam puts light ahead; for trails, broader coverage improves terrain awareness. Don’t judge brightness by lumens alone. Compare optics and beam shape; carefully aim it to prevent glare. Check runtime, including flash or pulse; beam design affects usable endurance.
Lumens by Riding Conditions
Your route, speed, and ambient lighting determine how many lumens you need: 50 to 150 lumens can make you conspicuous on well-lit city streets, while partially lit urban routes typically call for 100 to 250 lumens. Choose 600 to 1,000 lumens for unlit main roads; country roads and faster rural stretches need 700 to 1,200+ lumens. Use a cutoff road beam to protect oncoming traffic, and test whether you can spot hazards early enough to brake.
| Condition | Front | Rear |
|---|---|---|
| Well-lit city | 50 to 150 lm | 10 to 20 lm |
| Unlit main road | 600 to 1,000 lm | 100 to 120 lm |
| Trail riding | 1,000+ lm | Visibility beacon |
For trails, mount a light on your handlebar for surface detail; add a helmet spot for turns. Higher settings shorten runtime, so carry a backup or select a mode that lasts the full ride.
Lux Measures Roadway Illuminance
Lux measures the light that actually reaches the roadway, usually at a specified distance such as 1 to 10 meters, so it better indicates how well you’ll see pavement hazards than lumens alone. Unlike lumens, which describe total output, lux shows how optics place that output on the surface you need to read. A wide beam distributes the same lumens across more pavement and generally lowers lux. A narrower, forward-focused beam concentrates light and raises lux at the measurement point.
When comparing lights, check the stated test distance and beam pattern, not just the headline lumen figure. For unlit routes, choose a beam that delivers sufficient pavement lux far enough ahead for your speed and stopping distance, while limiting wasted spill and glare too.
IPX4–IPX7 Water Resistance
IPX ratings tell you how well your bike light resists water, from IPX4 splash protection for light rain to IPX5, IPX6 protection against driving rain and strong spray. If puddles or accidental submersion are likely, choose IPX7, which withstands up to 1 meter of water for 30 minutes. Match the rating to your route so your light won’t fail when wet conditions reduce visibility.
Understanding IPX Ratings
Water resistance matters when rain, road spray, and puddles are part of your ride. An IPX rating indicates how well a bike light resists water; the higher the final number, the greater its tested protection against water entry. IPX4 suits wet-weather commuting, while IPX5 withstands water jets from any direction and better fits heavy rain and road spray.
IPX6 tolerates powerful jets, giving you a stronger margin in severe weather. IPX7 protects against temporary immersion to roughly one meter for up to 30 minutes, making it the better choice for accidental dunking or deep water crossings. Match the rating to your route rather than assuming every waterproof claim means the same thing. Check seals and charging covers before rides; a damaged cover compromises protection.
IPX4 Splash Protection
For routine wet-weather riding, an IPX4-rated bike light resists splashes from any direction, so it can handle rain and road spray but not submersion. That rating suits ordinary commutes, wet pavement, and intermittent showers, provided you keep the charging-port cover fully closed and seals undamaged. It doesn’t guarantee protection after a crash, loose cap, or prolonged standing-water exposure.
Before riding, inspect the housing, lens, mount, and port cover; replace cracked seals or damaged cases. After a wet ride, wipe the light dry and charge it only under manufacturer instructions. Mount it securely so vibration can’t loosen covers or misalign the beam.
If flooding or dunking is likely, select a light rated specifically for immersion and follow all care instructions from its maker each ride.
IPX5 And IPX6
When rides involve sustained rain, heavy road spray, or frequent puddles, choose at least an IPX5-rated bike light. IPX5 withstands water jets from any direction, so it suits wet commutes and splash-prone routes. It protects better than IPX4, which covers splashes rather than full jets.
Choose IPX6 when you regularly face severe downpours or intense spray from traffic, tires, or exposed trail sections. Its rating covers powerful water jets, giving added margin when rotating tires repeatedly drive water toward the housing.
Check the exact rating for both front and rear models, including ports and mounts. An IP rating measures water ingress protection, not output: you’ll still need adequate lumens and a properly aimed beam to see hazards and remain visible safely in bad weather.
IPX7 Temporary Submersion
IPX7 protection covers a different risk than IPX5 or IPX6: it allows temporary immersion in water up to 1 meter deep for up to 30 minutes under the manufacturer’s stated test conditions. That rating gives you a stronger safety margin if you hit a flooded section, drop your bike into a puddle, or ride through sustained heavy rain.
Unlike IPX4 splash protection, IPX7 addresses brief, complete submersion.
It isn’t permission to hose the light with high-pressure jets or repeatedly exceed its depth and time limits. Seals age, loosen, and collect grit, especially around switches and mounts. Before riding, confirm that the battery compartment and charging port are included in the IPX7 rating. Close port cover, inspect it for damage, and dry light before charging.
Choosing Weatherproof Lights
Choose a bike light with at least an IPX4 rating for light-rain commuting, but step up to IPX5 or IPX6 if your routes regularly expose it to heavy rain, wheel spray, or road runoff. These ratings resist jets, important because road spray behaves more like a stream than a splash. Select IPX7 when puddles, flooding, or drops are plausible; it withstands submersion to one meter for about 30 minutes.
Don’t treat a lumen claim as proof of wet-weather reliability. Water ingress can cut output, shorten runtime, and leave you without illumination when hazards are hardest to see. Check that the housing, battery compartment, switch, and charging port are sealed. Before wet rides, inspect covers and mounts, charge, and carry a backup light for visibility.
Match Runtime to Your Ride
Match your light’s runtime to the full ride duration, not its maximum lumen claim: high or full-power modes can drain a battery far sooner than lower settings. Check the manufacturer’s burn-time table for the exact mode you’ll use, rather than relying on a headline figure that may apply to flash. A light rated for five hours flashing may last much less time at a steady high setting.
For a commute or night ride, choose a setting that delivers consistent, useful output from departure through arrival, with margin for delays, cold, or a missed turn. Compare products using equivalent beam types and modes; different optics and patterns affect sustained useful brightness. On longer rides, a get-home-safe mode can automatically reduce output and preserve battery life.
Avoid Blinding Oncoming Riders
Even a powerful bike light becomes unsafe when you aim it too high: tilt the front beam slightly downward so it illuminates the road and hazards ahead without shining into oncoming riders’ eyes. Check alignment after mounting, recheck after rough roads or bumps.
More lumens also create more glare, so don’t run a 600–1,000-lumen setting at full power around traffic. In well-lit streets, select a lower steady or wide be-seen mode; you need conspicuity, not maximum reach. Prefer road optics with a controlled cutoff, which keeps useful light below eye level. Avoid continuous high, full, or flashing modes in groups and on roads with frequent opposing traffic. Flash patterns can be distracting, while a correctly aimed steady beam lets others judge your position safely.
Dawn Commute: 400 Lumens
For a dawn commute, a 400-lumen front light typically gives you enough reach to spot broken pavement, curb cuts, and parked-car hazards as conditions shift between dim and daylight. It sits in the middle of the practical 300–600-lumen commuter range, giving you a margin when your route moves between lit and shaded sections.
At faster speeds, 400 lumens lets you identify pavement sooner than a 200–300-lumen unit, improving braking and steering time.
Use a steady beam for surface reading, and choose a road-focused optic that puts light where needed without sending glare upward. Pair the front light with a 50–100-lumen rear light for low-light conspicuity. Check 400-lumen runtime: prioritize sustained output for your first hour or two, not a brief maximum mode.
Fixing Loose Handlebar Mounts
A loose handlebar mount can turn a well-aimed bike light into a safety problem, so test it before every night ride by gently twisting the light by hand. If it moves even slightly, stop and correct it before riding.
- Clean the bar and clamp surfaces; dust, sweat, and residue reduce grip and encourage vibration.
- Re-seat the mount on a uniform bar section. Confirm its bolt has fully engaged threads, then tighten both sides evenly.
- Use a torque wrench and the manufacturer’s specification: small clamp bolts often need only a few newton-meters. Don’t over-tighten; you can damage the bar or mount.
If loosening persists, fit a purpose-made clamp shim. Don’t use grease or random tape; they can alter friction and worsen mount movement.
ANSI FL1 Testing Standard
ANSI/FL1 testing gives you a consistent way to compare bike-light output and runtime instead of relying on a headline lumen number alone. It uses consistent photometric measurement methods and test distances, making claims easier to compare across brands. A maximum figure may reflect a short high-mode test, not the brightness you’ll get throughout your ride.
- Check the initial, or “max,” output.
- Find the measured runtime for your intended mode.
- Prioritize sustained lumen performance over peak marketing claims.
For safe route planning, match sustained output and runtime to your speed, darkness, and trip length. A light that starts extremely bright but rapidly steps down can leave hazards visible too late. Choose the mode you’ll actually run, then verify its ANSI/FL1 figures before buying for each purchase.
Conclusion
You’ll choose a safer bike light when you look beyond headline lumens. Match beam angle, lux, and runtime to your speed, route, and ride length; 400 lumens can suit many dawn commutes, while unlit roads need more controlled output.
Check ANSI FL1 claims, secure the handlebar mount, and select IPX4–IPX7 protection for your weather. Aim the beam downward and use appropriate modes so you see hazards without blinding oncoming riders when nearby traffic is present.