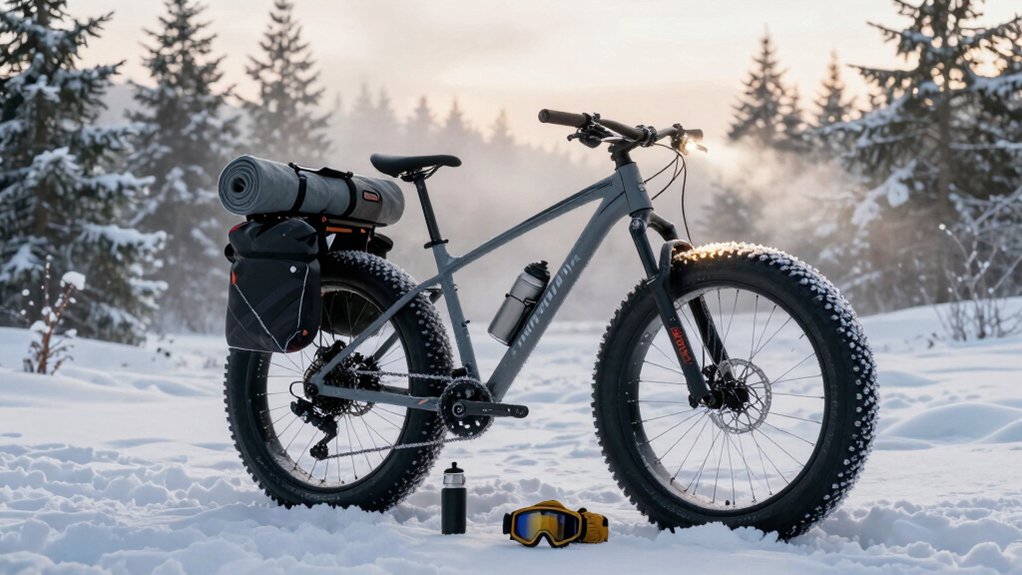
Fat Bike Winter Ride Checklist
You’ll prep your fat bike by inflating to the expected ride temperature (about +1 PSI per 10°F), since cold drops pressure and fat tires magnify small changes. For mixed snow/ice, drop 2–4 PSI to help studs bite. On hard-packed glare ice, add 2–3 PSI to avoid rim strikes.
Tighten valve cores, fit insulated caps or low-profile covers, and carry a core tool and silicone lubricant to prevent freezing. Keep going and you’ll get step-by-step checks and tips.
Quick Overview
- Set tire pressure for expected ride temperature, adjusting ~1 PSI per 10°F and rechecking with a reliable gauge after 15+ minutes indoors.
- Balance stud and pressure: drop 2–4 PSI for mixed snow to engage studs. Add 2–3 PSI on glare ice to avoid rim strikes.
- Keep valve cores tight (quarter–half turn past finger-tight); inspect for leaks. Carry a valve core tool and spare.
- Use low-profile insulated valve caps or covers to prevent frost, speed pressure checks, and avoid catching on fenders or gloves.
- Dry and wipe stems before work; apply silicone anti-freeze lubricant around bases. Reinstall caps after pressure set.
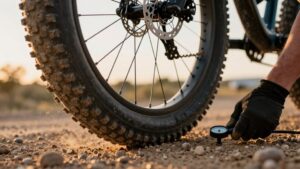
Tire Pressure vs Temperature
How cold is it going to get? Did you inflate in a warm garage? You need to account for temperature dynamics: pressure falls linearly with absolute temperature. A warm inflate will lose PSI as tires cool.
Inflate to expected ride temp or add PSI to compensate: about 1 PSI per 10°F is a practical rule. Fat tires magnify small changes; so 1–2 PSI matters.
| Inflation Temp | Ride Temp |
|---|---|
| 65°F | 32°F |
| 65°F | -10°F |
Use a reliable gauge, wait 15+ minutes after moving tires indoors, and recheck pre-ride. Aim for target ride tire pressure based on rider weight and terrain (snow 5–8 PSI).
Adjust conservatively to preserve flotation and avoid pinch flats.
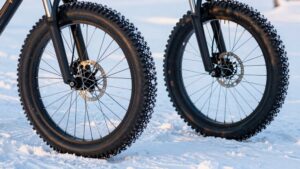
–5 Psi for Studs
Wondering how tire pressure affects stud performance? You want enough psi for the studs to bite without sacrificing flotation or control. Lower pressures let the stud tire tread conform to ice, increasing contact and traction. However, too low invites rim strikes and slower steering. Higher pressures reduce conformity, making studs skip on hard glare ice. Start in the manufacturer’s recommended low range for your fat tire; then fine-tune by feel.
For mixed snow and ice, drop 2–4 psi below nominal to let studs engage without squirm. On hard-packed glare ice, add 2–3 psi to prevent rim impacts when cornering. Recheck psi with a reliable gauge; cold lowers readings. Respect winter riding etiquette: avoid aggressive skids that tear trails or endanger others.
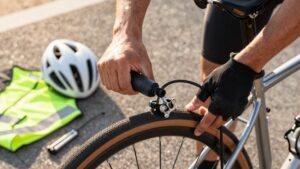
Valve Stem Frost Protection
Don’t let frozen valve stems strand you. Prevent ice by using insulated caps or snug valve stem covers, and keep the valve core tight. Apply a small amount of anti-freeze lubricant around the base if you regularly ride in wet, subzero conditions. Check caps after spray or slush.
A quick pre-ride inspection of cap fit and core tightness takes seconds; however, it can save a tube change in -20°F.
Preventing Valve Stem Freezing
Why would your valve stem seize up in freezing temps when you’re trying to add pressure or swap a tube? Cold moisture freezes around the stem, creating valve stem frost that locks caps, cores, and pump heads in place.
You’ll prevent that by keeping stems dry, tapping collars to shed snow, and wiping fittings before you work. Use a compact hand pump with a snug chuck that mates quickly; this minimizes exposure. Carry a spare valve core tool so you can remove moisture-built pressure if needed.
If you run studded tires, you’ll often ride wetter surfaces. Dry the valve area during pit stops and store tubes inside your pack against your body. Small, consistent steps avoid stuck valves and lost minutes on the trail.
Choosing Insulated Caps
After you keep stems dry and pack tubes against your body, add insulated valve caps to reduce valve stem frost and make pressure checks faster. When choosing insulated caps, pick metal bodies with internal foam or silicone seals; they shed cold and resist cracking. Match cap thread type to Presta or Schrader, and torque lightly; overtightening can strip threads in cold.
Look for low-profile designs that fit under fenders and won’t snag glove cuffs. Carry a pair in a small pocket or frame bag, not loose in a pack where they can freeze to metal. Treat them like winter headwear for your bike: simple, protective, and intended to keep critical bits functional. Replace worn seals before a long cold tour.
Using Valve Stem Covers
Valve stem covers help prevent frost buildup and slow heat loss at the valve. You’ll get more reliable pressure readings and fewer frozen cores on cold rides. Use snug, insulated caps designed for Presta or Schrader stems. Silicone or rubber covers seal better than thin metal caps.
Check threads and seating before each ride so covers don’t loosen with vibration. Carry a spare from your stem cap collection; covers can get lost in snow or on trail repairs. Choose covers that balance function and valve stem aesthetics if you care about looks, but prioritize fit and insulation. Install covers after you set pressure and remove them only when adding air.
Inspect periodically for cracks. Replace any that harden in cold.
Applying Anti-Freeze Lubricants
How do you prevent frost forming around the stem and freezing the core? Apply a small amount of anti freeze lubrication specifically formulated for low temperatures to the valve stem base and cap threads. Work the lubricant into the rubber seal with a cotton swab. Then thread the cap on and off a few times to distribute it.
Use winter specific lubrication products labeled for valve stems; avoid heavy greases that attract dirt or solvents that harden in cold. Reapply before long rides, after wet or slushy conditions, and whenever you remove a wheel. Carry a tiny tube in your pack for roadside touch-ups.
This targeted, minimal application keeps moisture from freezing the core without compromising seal integrity or increasing maintenance hassle.
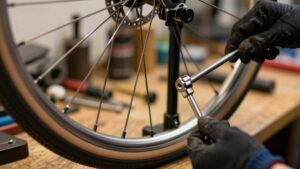
Checking Valve Core Tightness
Wondering whether your valve cores are tight enough to keep frost from forming? Check them before every ride. Use a proper valve core tool to perform valve core tightening; don’t use pliers that can round the core. Remove dust caps, depress briefly to ensure no debris, then snug each core until it’s firm. A quarter to half turn past finger-tight is usually sufficient.
After tightening, apply a small drop of silicone-based lubricant on the stem for frost prevention and reinstall caps to seal out moisture. Inspect for slow leaks with soapy water or a pressure gauge; re-tighten or replace faulty cores immediately. Proper valve core tightening prevents mid-ride flats and frozen stems, saving you time and cold fingers.
Frequently Asked Questions
How Do I Layer Clothes for Varying Winter Temperatures?
You layer by matching layering principles to temperature ranges: use base, insulating, and outer shells. For mild cold (near freezing), pick a thermal top, light fleece, and waterproof jacket. For colder temps, add thicker fleece or vest and insulated pants. For extreme cold, use fleece leggings, down mid-layer, and Gore‑Tex outerwear.
Layering strategies focus on garment choices that let you ventilate, add or remove pieces, and protect extremities as conditions change.
What Gear Protects Hands While Maintaining Brake Control?
Use thin glove liners under bar mitts or lobster-claw gloves so you keep glove grip and preserve brake sensitivity. Switch to bar mitts when temps drop; they shelter hands while thin inner gloves let you feel levers.
For wet or icy rides, choose insulated gloves with textured palms and short cuffs; or heated glove options. Test brake sensitivity before hard efforts. Carry extra thin liners in a waterproof pack.
How Many Spare Tubes and Tools Should I Carry?
Carry two spare tubes and three tire levers, plus a compact multi-tool and a pump with a gauge. You’ll replace a second tube if one’s ruined or you find a slow leak. Three levers prevent brittle cold breakage.
Pack duct tape, a spare derailleur hanger, and extra tools in a small bag. Keep windproof gloves with glove liners accessible so you can stay dexterous while fixing flats.
What Snacks and Hot Drinks Are Best for Long Rides?
You should pack high-calorie snacks for energy: dense bars, nut butter packets, trail mix with dried fruit and chocolate, and energy gels for quick hits. Bring salty snacks too to replace electrolytes.
For hot drinks for warmth, carry two thermoses: one with hot tea or broth for sodium and caffeine-free comfort; another with hot chocolate or coffee for calories and morale. Rotate sips to stay warm and fueled throughout long rides.
How Do I Prevent Goggles or Glasses From Fogging?
Use anti-fog products and good ventilation to prevent goggles or glasses from fogging. Clean lenses, apply an anti-fog spray or wipe, and let them dry per instructions.
Keep vents open and wear a moisture-wicking balaclava or adjust your helmet fit so warm air escapes upward. Avoid heavy scarves that trap breath. Carry microfiber cloths for quick wipes and reapply anti-fog treatments before long rides in cold, humid conditions.
Conclusion
You’ve seen how temp changes, studded tires, and valve stems interact on winter rides. Keep tire pressure slightly lower for studs. Check valve cores and use insulated caps or covers to stop frost buildup. Apply a light anti-freeze lubricant where metal meets rubber.
Tighten fittings without overdoing it, and inspect before every ride. Do these small, practical steps consistently, and you’ll prevent common cold-weather failures and ride safely all season.