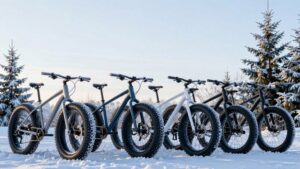
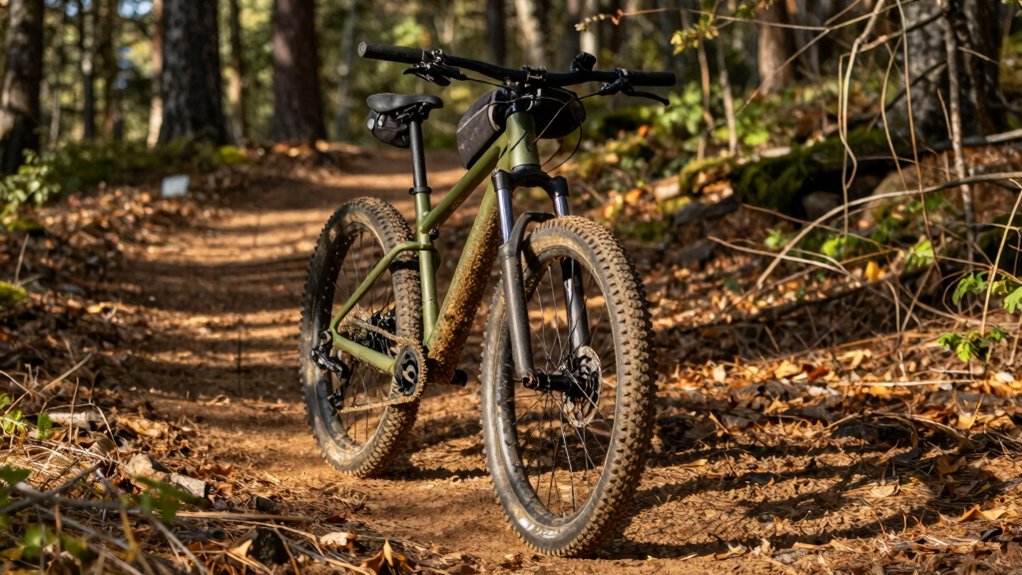
Fat Bike Setup for Trail Riding
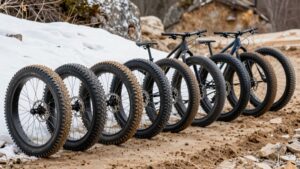
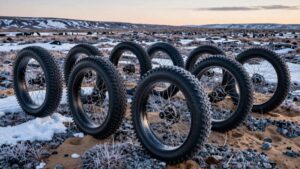
You’ll run 3.5″–4.8″ tires tubeless at very low pressures (4–6 PSI deep snow, 6–10 PSI mixed) with tread matched to snow density.
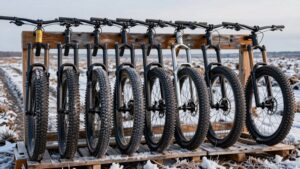
Use tightly spaced knobs for hardpack; taller widely spaced knobs for powder.
Fit a small 28T chainring and a 10–52T cassette for low-speed climbs.
Prefer a rigid or 100–120mm fork tuned for cold and allow extra frame clearance for studs and snow.
Follow a checklist for pressures, gearing, and clearance to optimize traction and efficiency.
The next sections cover setup specifics and troubleshooting.
Quick Overview
- Use 3.5″–4.8″ tires, tubeless if possible, and set pressure at 4–6 PSI for deep snow or 6–10 PSI for mixed surfaces.
- Choose tread with tightly spaced knobs for hardpack; choose taller, widely spaced knobs for deep, loose snow.
- Fit a wide-range drivetrain (e.g., 28T ring + 10–52T cassette) to maintain 60–80 rpm cadences on low-speed climbs.
- Ensure frame and fork clearance for tire width and studs. Leave 6–10 mm per side for flex and snow buildup.
- Use a rigid fork or 100–120mm suspension with 20–25% sag. Tune rebound/compression for cold, soft-snow conditions.
Set Fat‑Bike Tires and Pressure for Trail Snow
When you’re preparing for trail snow, fit wide tires (3.5″ or larger) and run pressure low: typically 4–6 PSI to maximize flotation without letting the tire burrow more than about an inch into the snow. For mixed conditions or variable snow pack, 6–10 PSI gives a compromise between float and stability.
You’ll select tread choice based on snow texture: tightly spaced knobs for hardpack and lower rolling resistance; taller, widely spaced knobs for deep, breakable snow. Use tubeless setups where possible to run very low seasonal inflation without pinch flats.
Check pressures before each ride with a calibrated gauge. Adjust for rider weight and pack load, and monitor for rim strikes. Maintain consistent seasonal inflation targets rather than ad hoc guesses.
Choose Gearing for Low‑Speed Climbs (28T Rings, 10–52T Cassettes)
Alongside tire and pressure choices that keep you afloat and stable in soft snow, your gearing has to let you spin up steep, low-speed climbs without mashing or stalling. Choose a small chainring—around 28T—to reduce pedal force required in deep snow and retain forward momentum.
Pair that ring choice with a wide-range cassette, 10–52T, so you have tight top-end spacing for flats and an ultra-low granny gear for technical climbs. Use a single-ring Eagle-style drivetrain to simplify shifting and reduce chain-drop risk.
Focus on cadence tuning: stay in a comfortable 60–80 rpm range, shifting early to maintain spin rather than muscle. Adjust chainstay length and saddle position to keep traction while you modulate power on churned snow.
Pick Fork Type: Rigid or Suspension (Pros, Cons, 100–120mm)
Why choose a rigid fork or 100–120mm suspension for your fat bike? You’ll weigh trade-offs: a rigid fork gives clear weight savings, simplified maintenance in cold conditions, and direct steering feedback. It’s ideal when wide, low-pressure tires already provide compliance and you want predictable handling and minimal service.
A 100–120mm suspension fork adds controlled compliance over rougher trails; this improves traction and reduces rider fatigue. Focus on damping performance: adjustable compression and rebound let you tune pedal efficiency and bump control without excessive bob. Expect higher mass, periodic service, and potential fluid issues in extreme cold. Choose models rated for low temperatures or use appropriate fluids.
Match fork stiffness and travel to tire compliance and your trail profile for best results.
Adjust Frame Geometry and Chainstay Length for Handling
If you want snappy handling without sacrificing traction, tweak frame geometry and chainstay length deliberately: shorten chainstays for quicker cornering and a more responsive rear end, or lengthen them to boost straight-line stability and rear-wheel traction in deep snow.
You’ll assess head tube angle, bottom bracket height, and chainstay spacing together. Frame geometry dictates steering radius and weight distribution. For technical trails, choose a slightly steeper head angle and 10–20mm shorter chainstays (via sliding dropouts or dedicated frames) to improve agility and power transfer.
For float on soft snow, increase chainstay length and lower BB modestly to stabilize tracking. Make length adjustment increments small; test on familiar terrain, and record outcomes. Incremental changes preserve predictable handling and keep the bike balanced across varied winter conditions.
Fit Essential Fat‑Bike Accessories and Cold‑Weather Kit
After you’ve dialed geometry and chainstay length for the handling you want, outfit the bike and yourself to match those settings and the conditions you’ll ride in. Select pedals, grips, and pogies that preserve brake modulation and allow glove compatibility with lever reach adjustments. Fit flat pedals for easy dismounts; clipless if you train for efficiency, but tune release tension.
Choose a helmet that layers with a thin hat and vents you can close. Use boot gaiters with sealed gaiter design and ankle reinforcement to keep snow out of soles. Carry a compact tool roll, tubeless repair kit, spare lever cables, and a micropump. Mount low-profile racks or frame bags to keep weight centered and avoid altering handling.
Tune Ride Feel and Troubleshoot Common Snow‑Trail Problems
When you tune ride feel on a fat bike, start by dialing tire pressure and chainstay length to match snow type and your pedaling style: drop pressure for flotation in powder, raise it for hardpacked tracks, and shorten chainstays for quicker power transfer on technical sections. Troubleshoot common issues methodically.
- Lower pressure (4–6 PSI) to reduce tire chatter on soft snow; increase incrementally to eliminate squirm on crust.
- Adjust chainstay sliding dropouts 10–20mm to balance traction versus responsiveness. Test climbs with smaller chainrings (~28T) to confirm gearing.
- Prevent brake freeze by keeping calipers dry, using DOT-fluid-compatible systems or cable-actuated brakes, and insulating lever assemblies when temperatures dive.
Record settings per condition and iterate until steering, traction, and pedaling feel are consistent.
Frequently Asked Questions
You’ll get better results if you start by setting tire pressure to suit snow depth and flotation: typically 4–6 PSI for deep snow, higher for firmer surfaces. Check suspension and fork travel (100–120 mm or rigid in extreme cold) and tune it against tire compliance to avoid a bouncy ride.
Verify tread compound and pattern for traction. Confirm frame clearance and chainstay length to prevent rub and maintain handling.
Tire Pressure Guidance
Curious How to dial in tire pressure for a fat bike? You’ll target flotation without sacrificing corner grip or pinch-flat protection. Expect altitude effect and temperature swings to change PSI: higher altitude and warmer temps raise pressure; lower altitude and cold drop it. Start low, then adjust.
- Measure: Use a precise gauge; begin 4–6 PSI for snow, 6–10 PSI for mixed trail.
- Test: Run short laps, note rutting, sidewall tuck, and rolling resistance. Add or subtract 0.5–1 PSI.
- Fail-safe: For rocky sections or heavier loads, increase pressure toward the upper range to prevent rim strikes and maintain predictable handling.
Stay systematic: Log conditions, pressures, and ride feedback for repeatable setups.
Suspension And Fork Setup
A well-tuned suspension and fork setup gives you controlled traction and comfort without compromising pedaling efficiency. Tune travel, spring rate, and damping to match tire cushioning and trail severity. You should match 100–120mm fork travel to expected hits; shorter travel keeps pedaling efficient, longer soaks bigger impacts.
If your fork has an air spring, set sag to 20–25% of travel for balanced support. Use low tire pressures for flotation but do not rely on them instead of suspension. Fat tires add cushioning but will not replace proper damping tune.
Adjust rebound to prevent pogo on soft snow and compression to resist bottoming on rocks. Lockout or firm modes help climbs. Service seals and stanchions before cold-weather rides.
Traction And Tread Choices
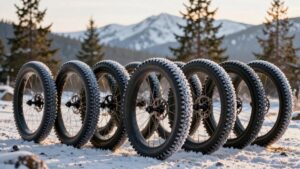
Suspension settings and tire pressure set the baseline for how the bike contacts snow, but tread pattern and rubber compound determine grip, braking distance, and side-hill bite. You’ll choose tread patterns for the expected snow type: aggressive knobs channel slush; tightly spaced knobs bite hardpacked snow; siped low-profile knobs reduce rolling resistance on groomed surfaces.
Match tire compounds to temperature. Softer rubber at cold temps improves adhesion; harder compounds resist chunking in mixed debris.
- Select knob height and spacing to match snow density.
- Use softer compounds below freezing; harder compounds for variable trails.
- Consider sacrificial center knobs or stud-ready casings for icy sections.
Run low pressure within recommended limits to maximize the contact patch without burping.
Frame Fit And Clearance
When you choose a fat-bike frame, prioritize clearance and fit so your tires, mud, and studs never interfere with steering, suspension, or drivetrain. Measure expected max tire width (including studs) against fork and chainstay clearances and allow at least 6–10 mm per side for flex, snow build-up, and mud.
Check standover clearance against your inseam fit: you should be able to straddle the top tube with boots on without compressing snow or suspension. Verify chainstay width for 3.5–4.8″ tires and studs, and confirm fork crown and arch clearance for mud.
Assess bottom bracket height to avoid pedal strikes in deep ruts while maintaining stability. If you plan suspension, guarantee travel doesn’t reduce lateral clearance under compression.
Conclusion
You’ve now got the core setup to turn a fat bike into a capable snow-trail machine. Set wide, low-pressure tires for flotation and traction. Choose low gearing (28T rings with a 10–52T cassette) for steep, slow climbs. Decide between a rigid fork or 100–120mm suspension based on control needs.
Optimize frame geometry and chainstay length for predictable handling. Add cold-weather accessories, and regularly tune pressures and drivetrain to prevent common snow-trail issues.
Related: Fat Biking in Snow Tips